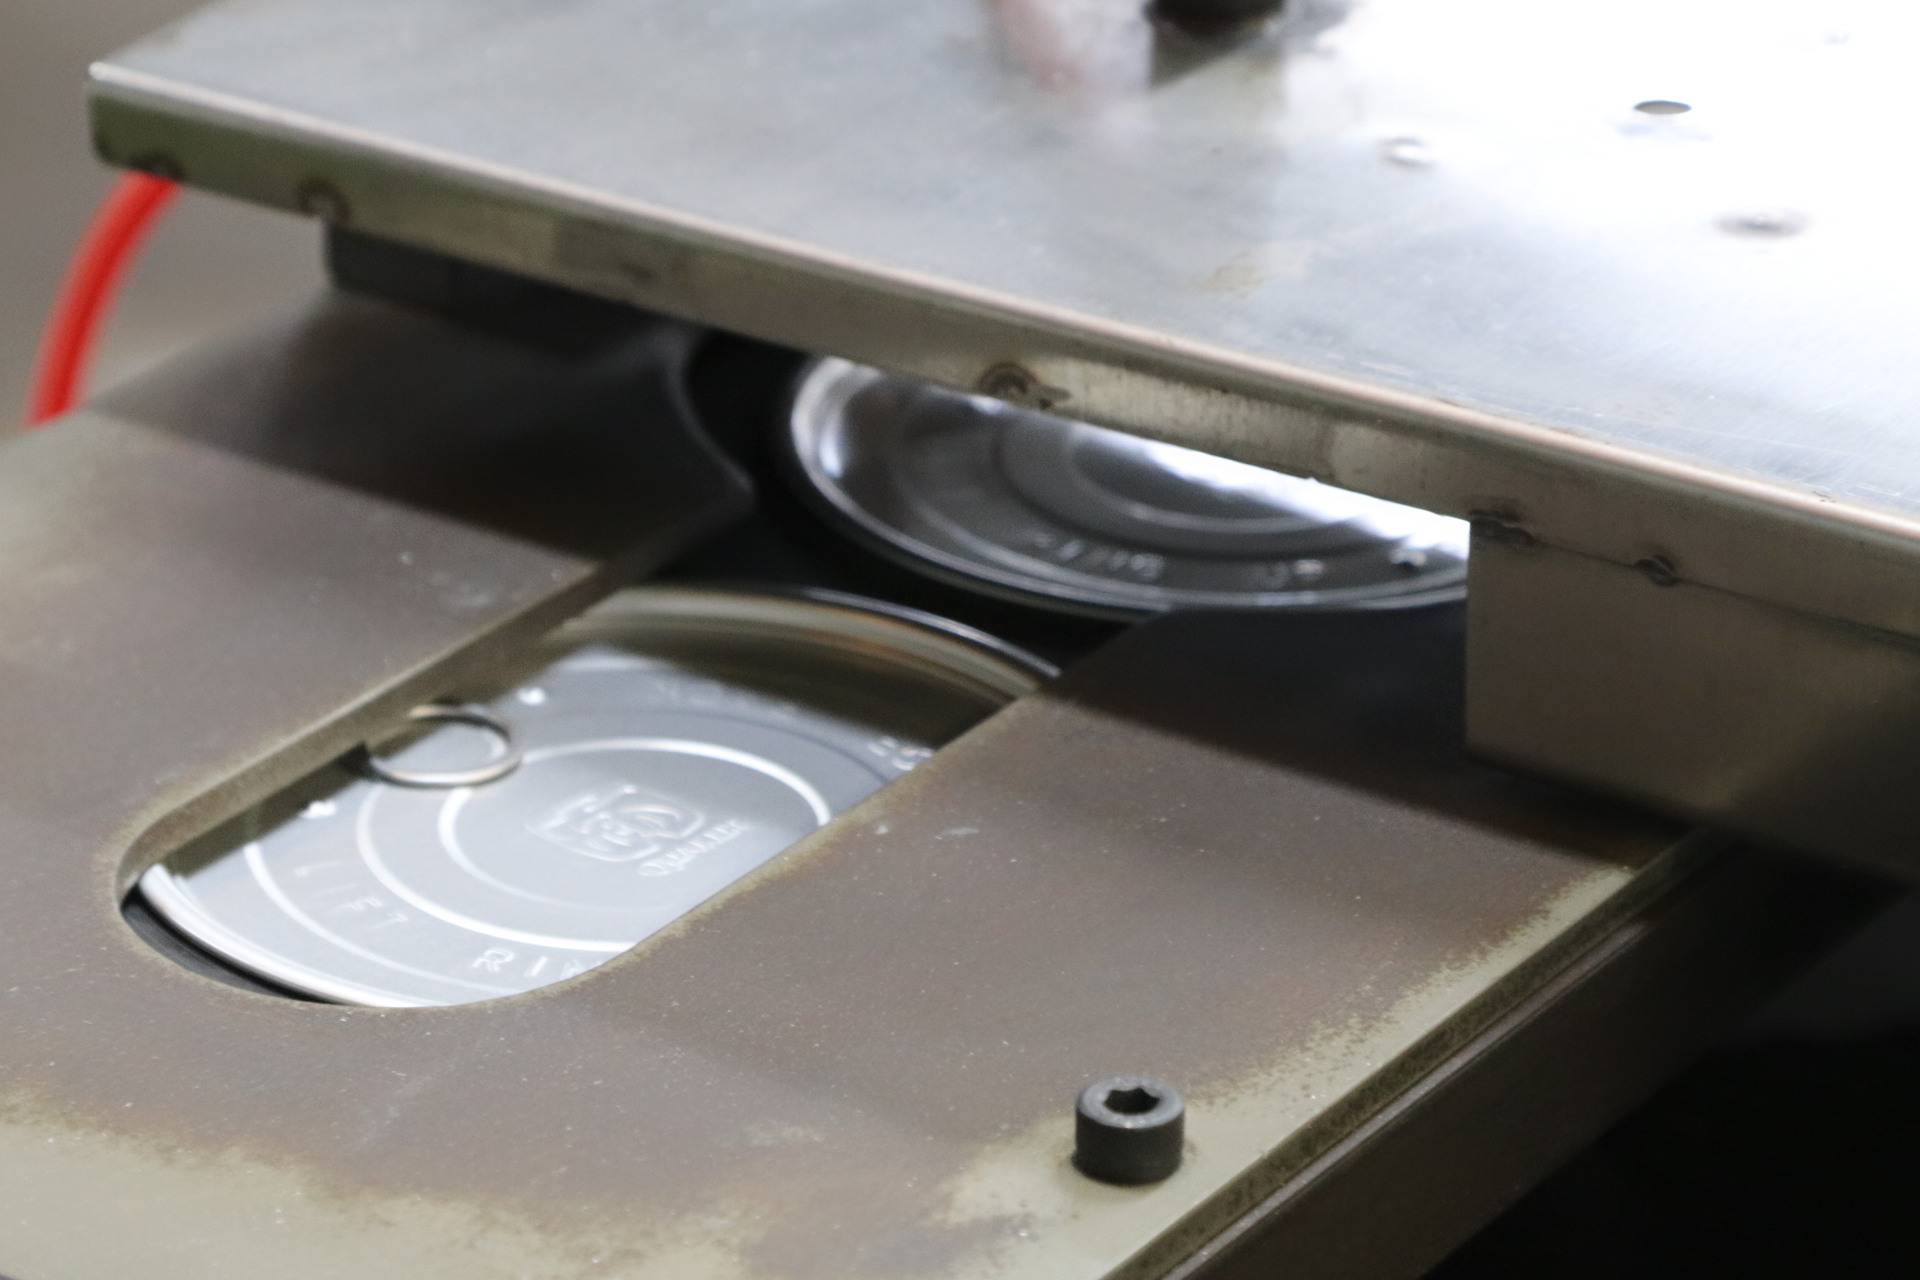
PROCESS
Inside canning

Comprehensive Guide to Can Manufacturing
Curious about how aluminum cans are made?
And what sets them apart from steel cans?
Join us as we uncover the secrets of aluminum can manufacturing andexplore the fascinating journey from aluminum sheet to finished product!
ECO(Slim) Aluminum Can Process
GCM uses eco-friendly processes to cut emissions and wastewater, aiming for sustainable aluminum can production.


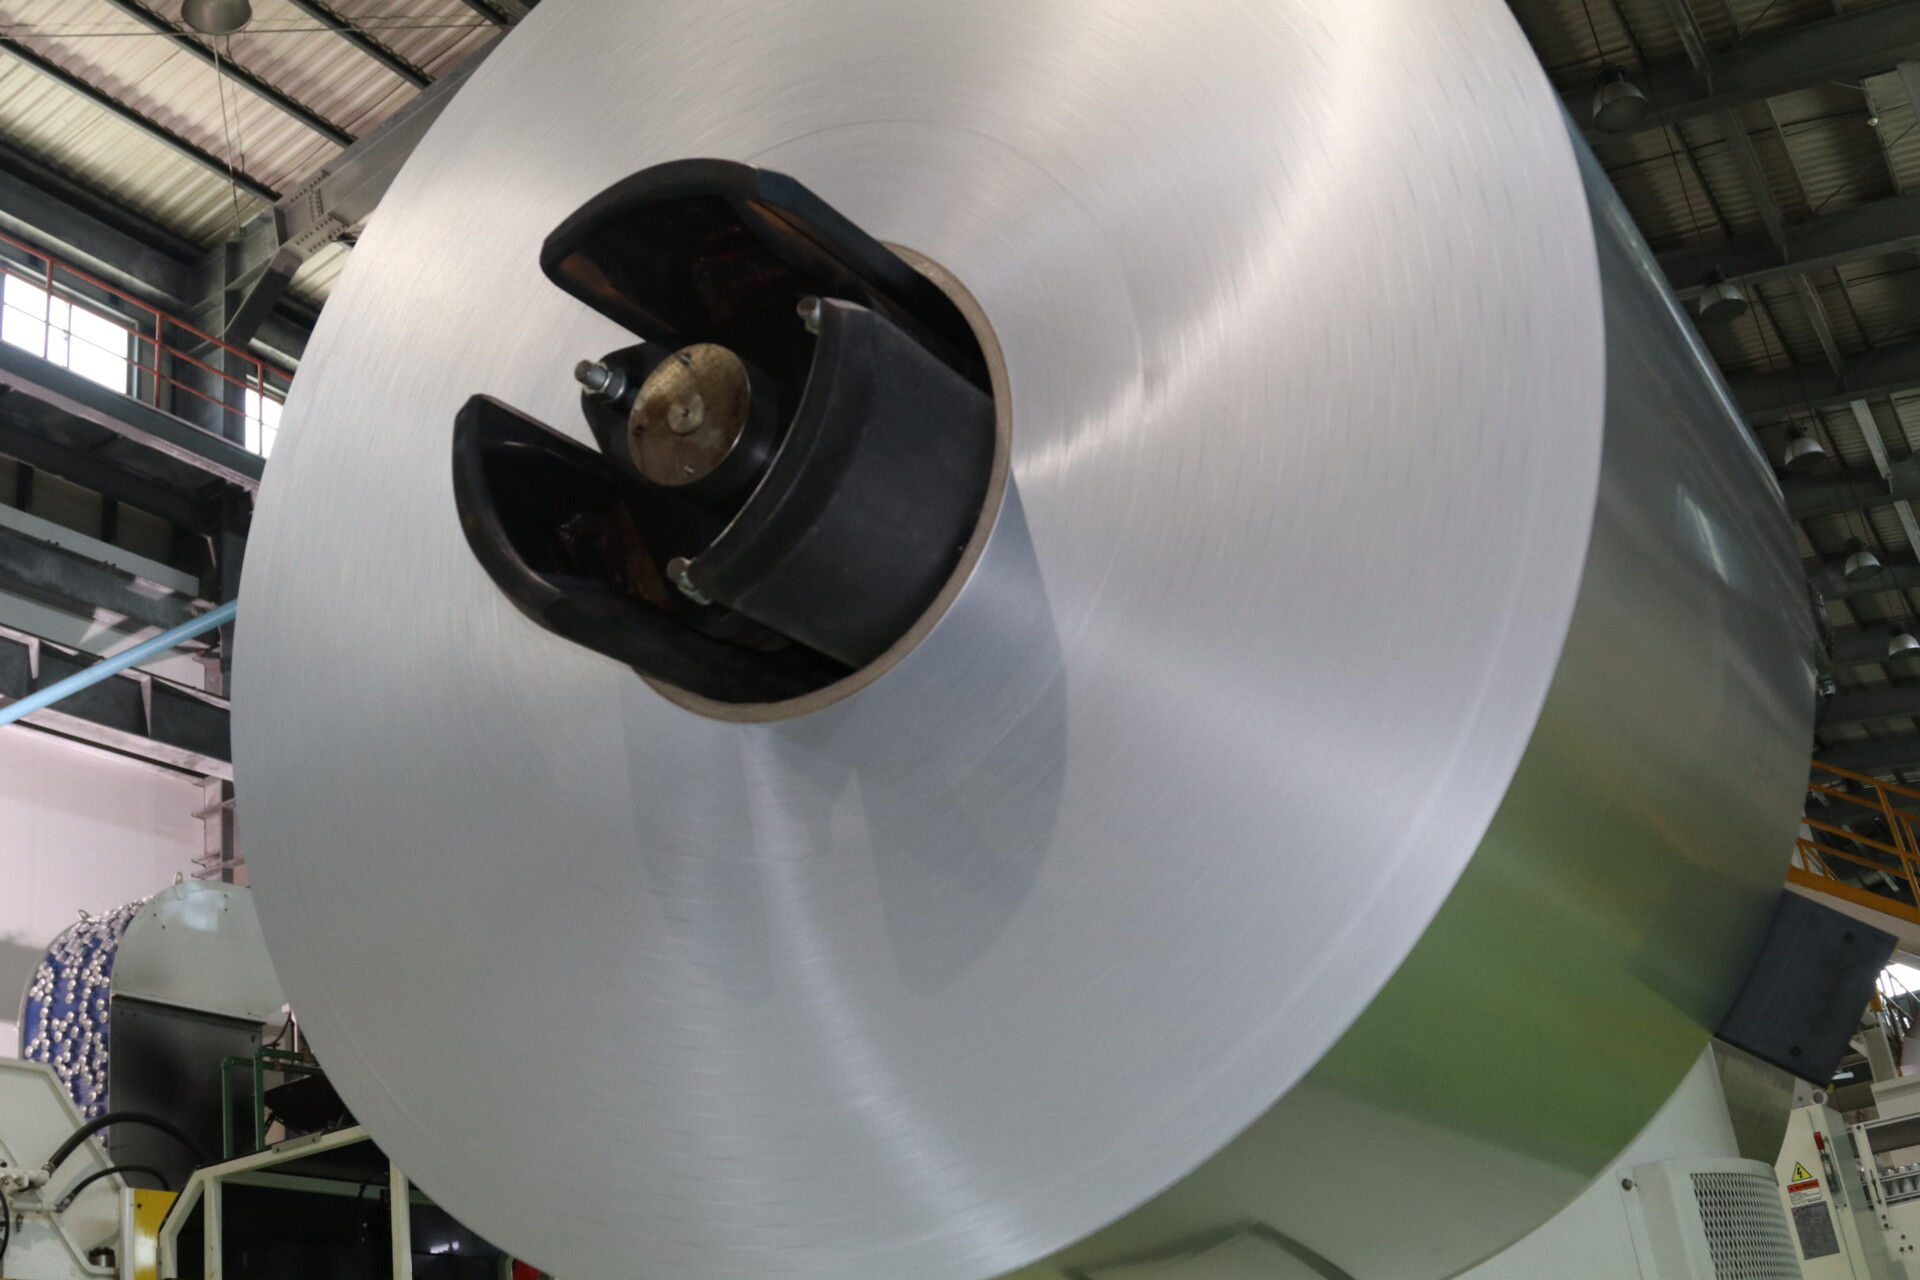
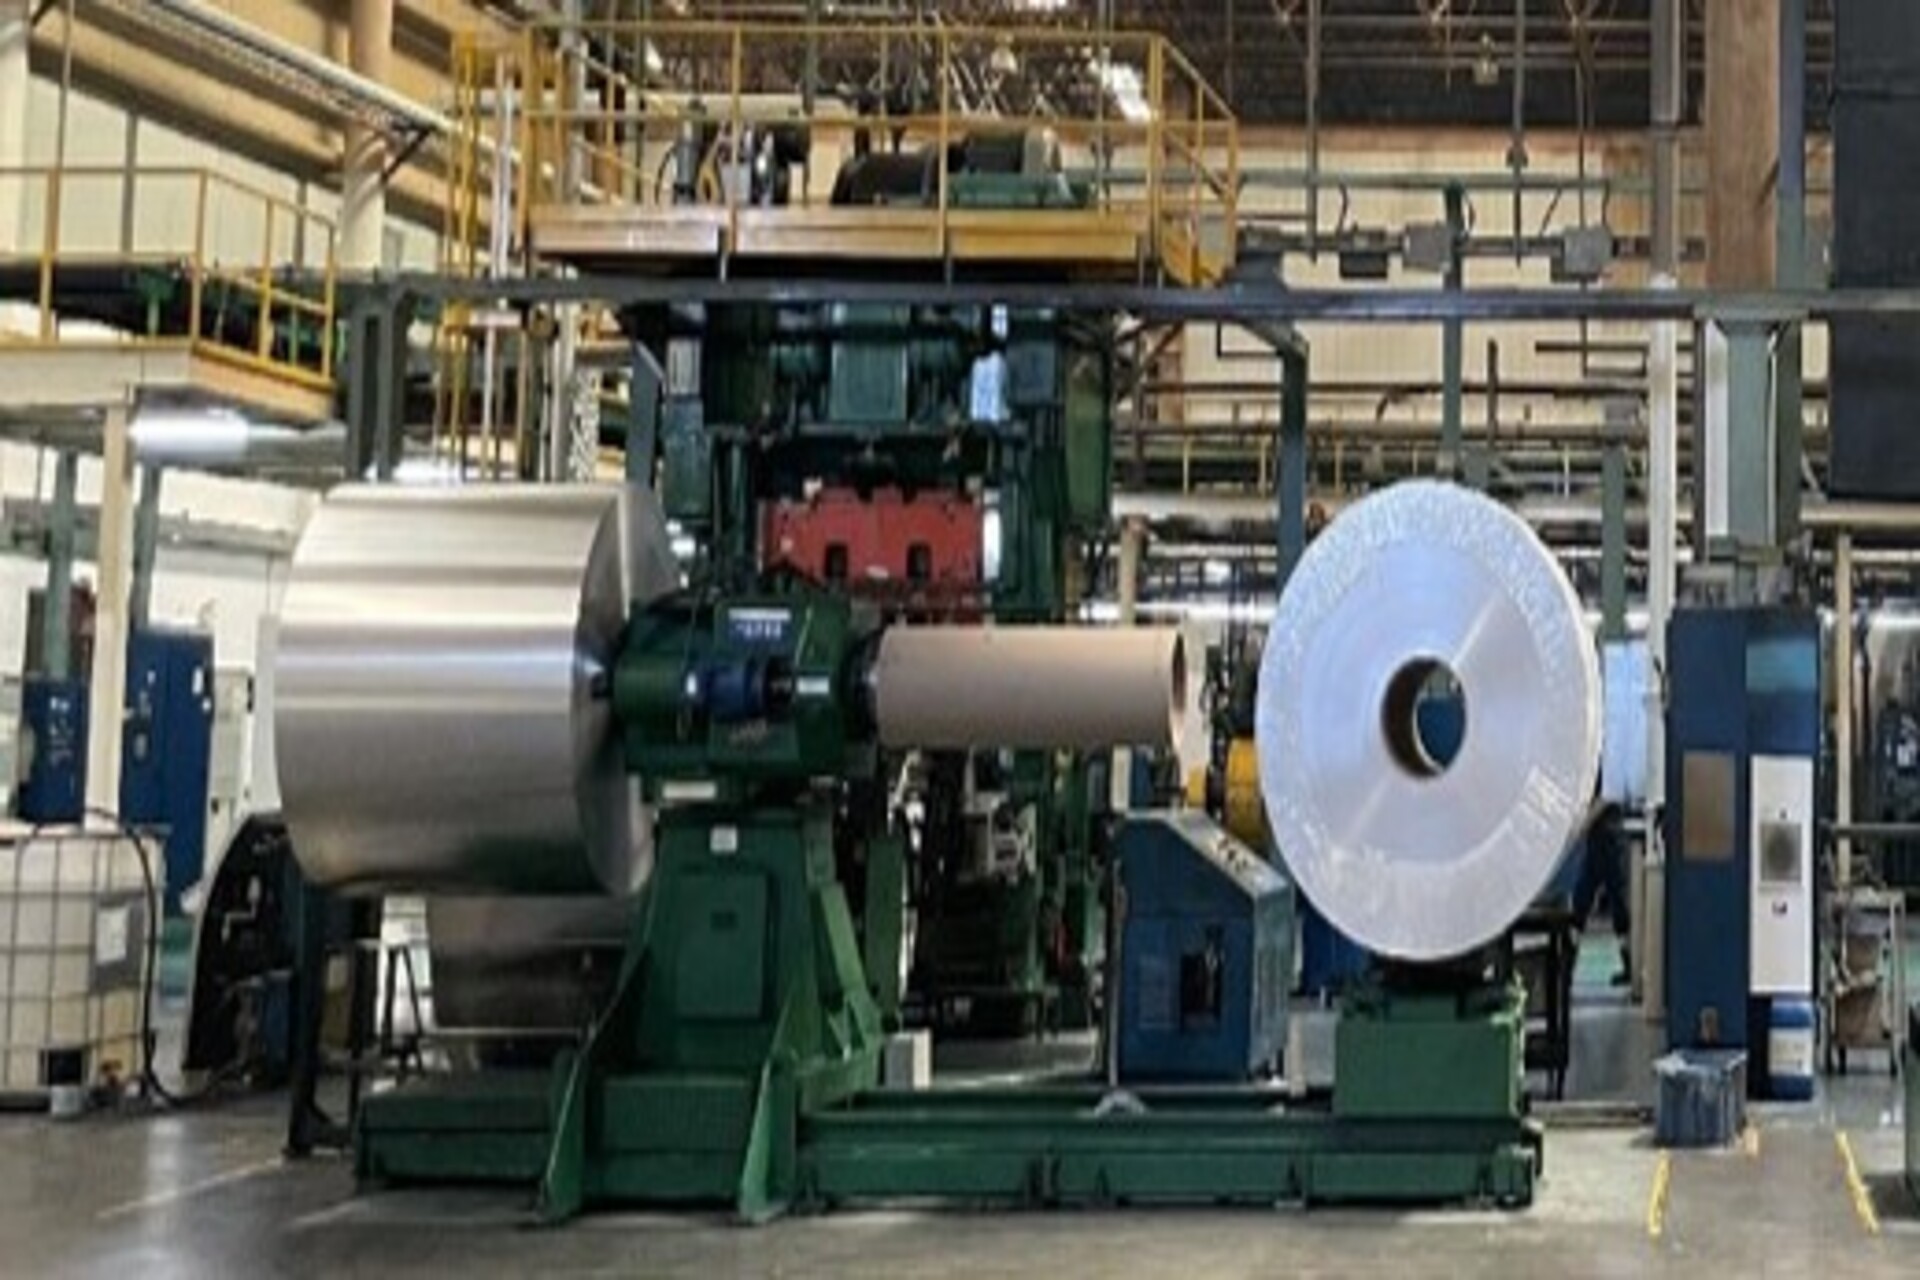
Aluminum Coil
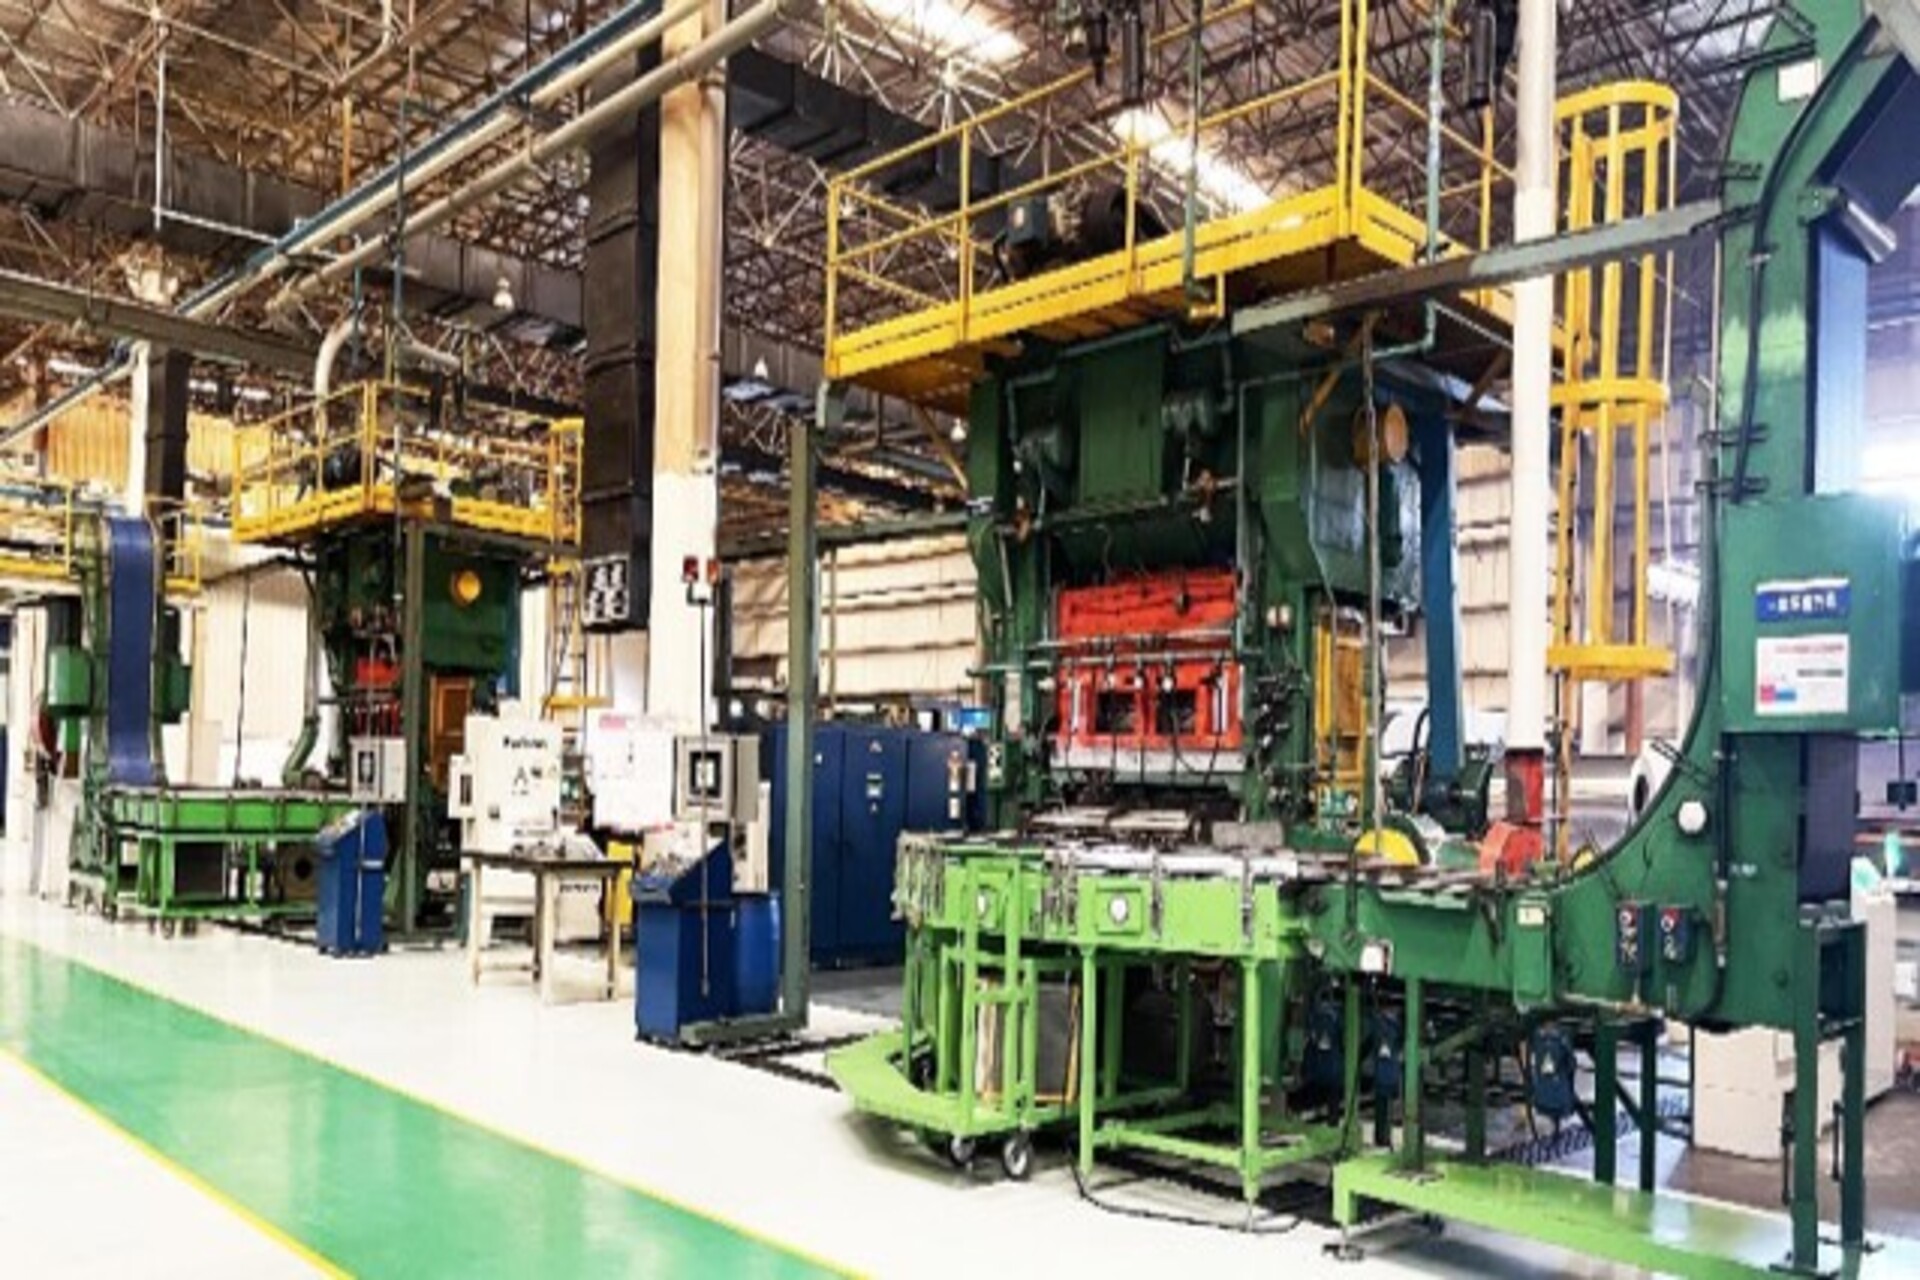
Cup Drawing
First, raw aluminum ingots are melted in a furnace and poured into molds to cool and form aluminum slabs. These slabs are then rolled through a hot rolling mill to gradually become aluminum coils.
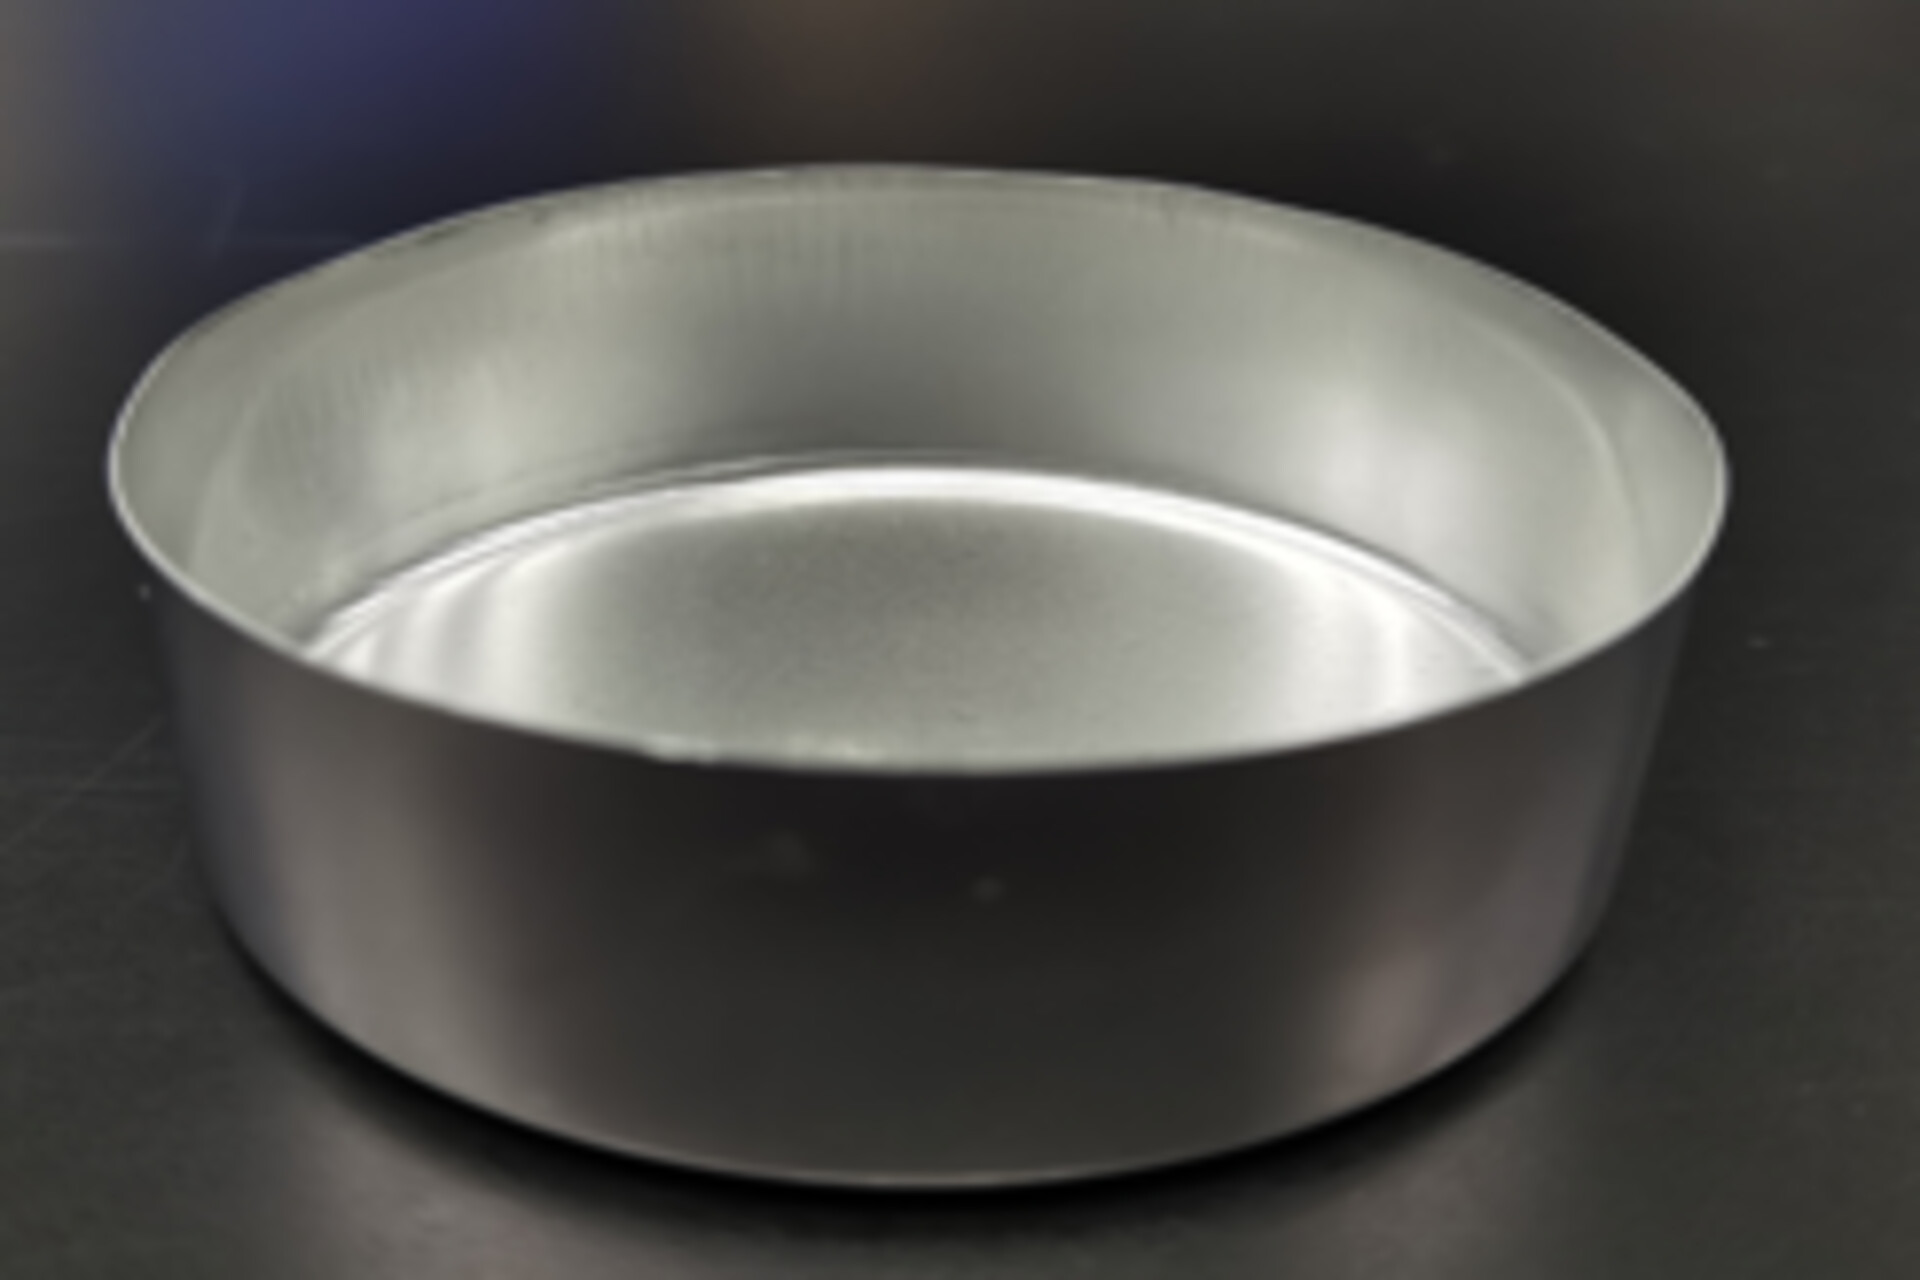
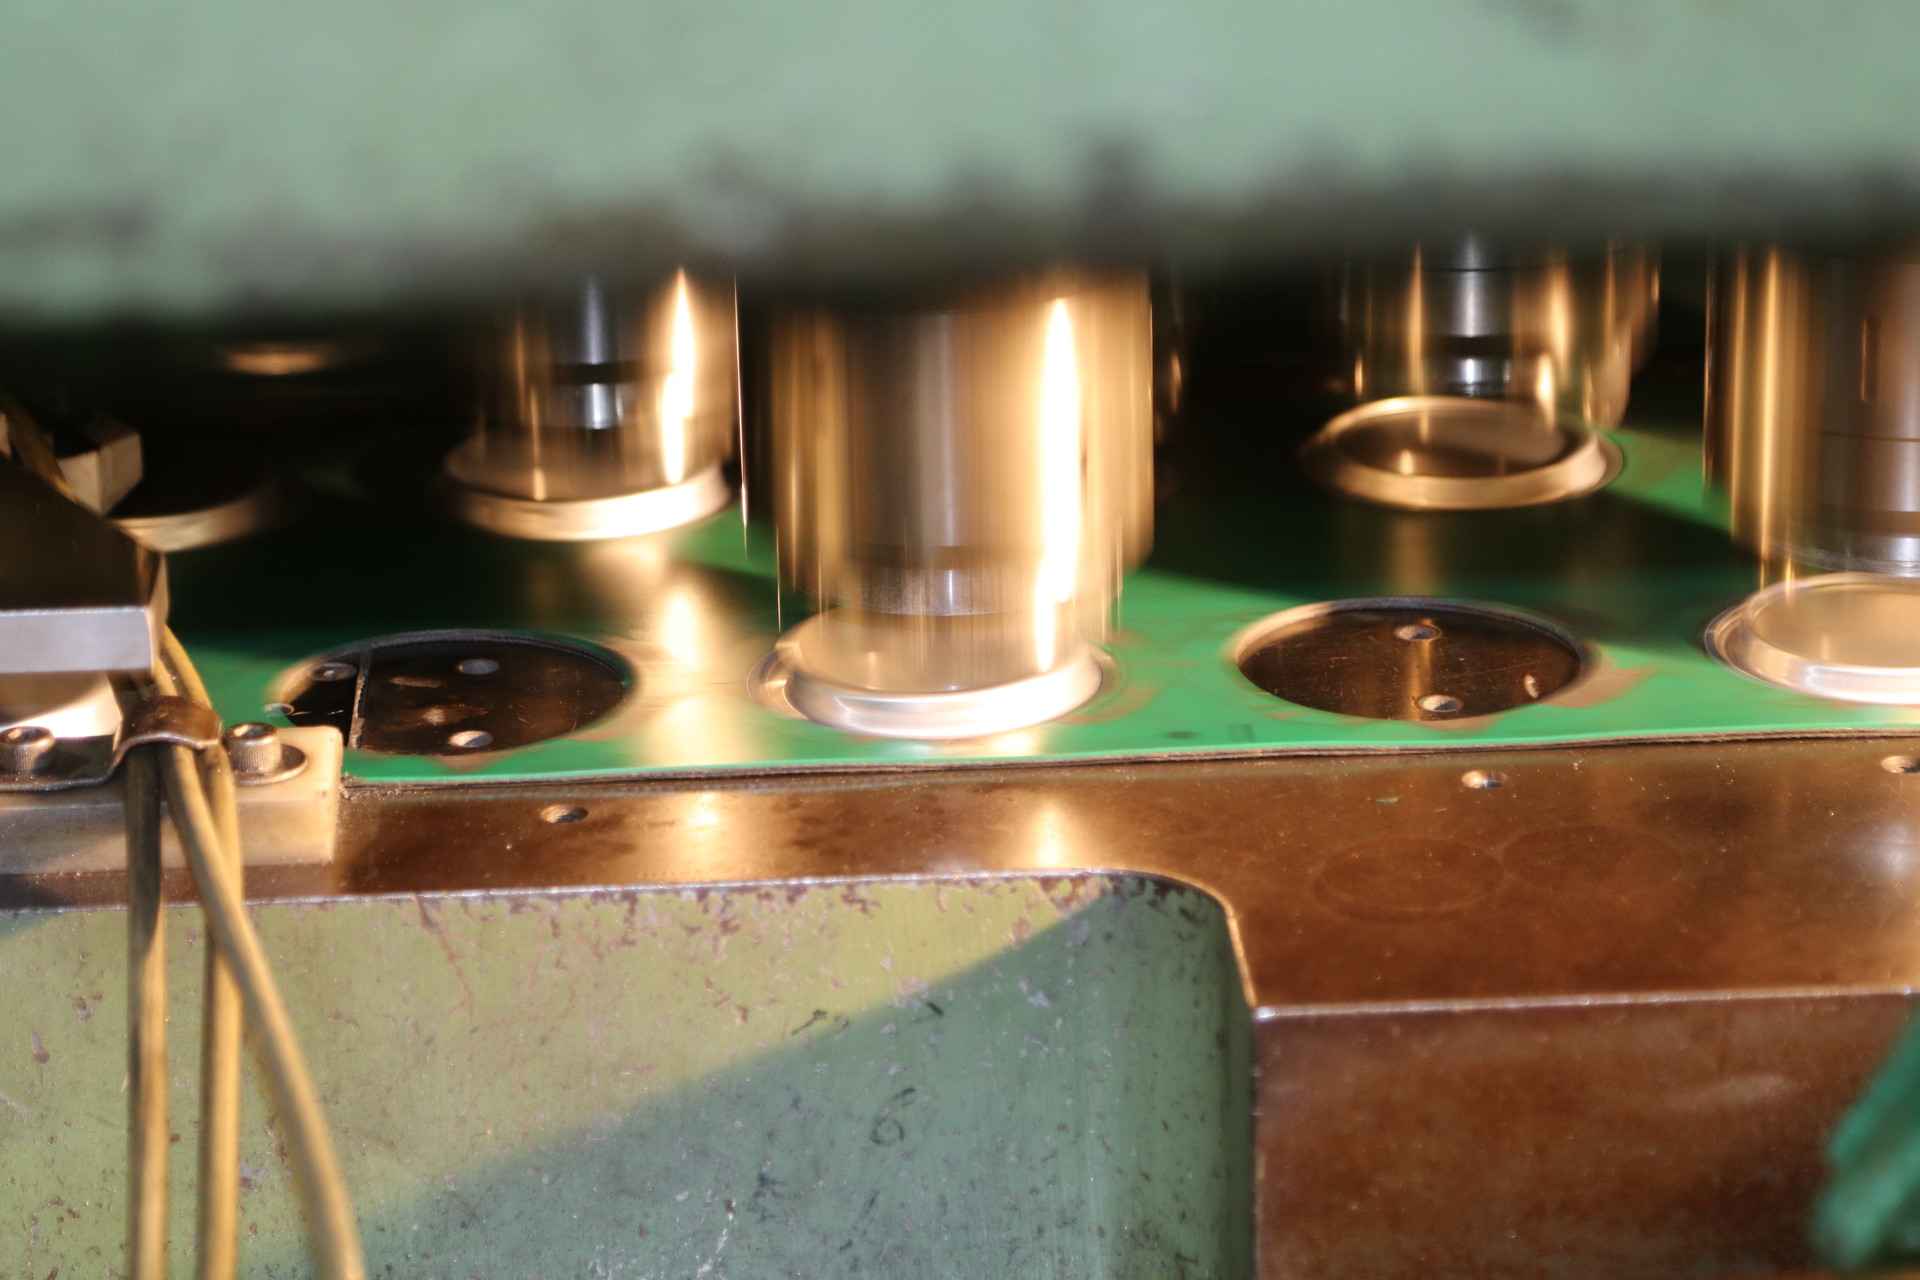
Each aluminum coil used for can production weighs between 6 to 9 tons. After being transferred by handling equipment to the press, the coil is stamped into circular blanks using a die. These blanks are then drawn through a forming die to create an initial cup-shaped structure — a process commonly known as cup drawing.
Traditional Aluminum Can Process
Aluminum Coil
Lubrication
Cup Drawing
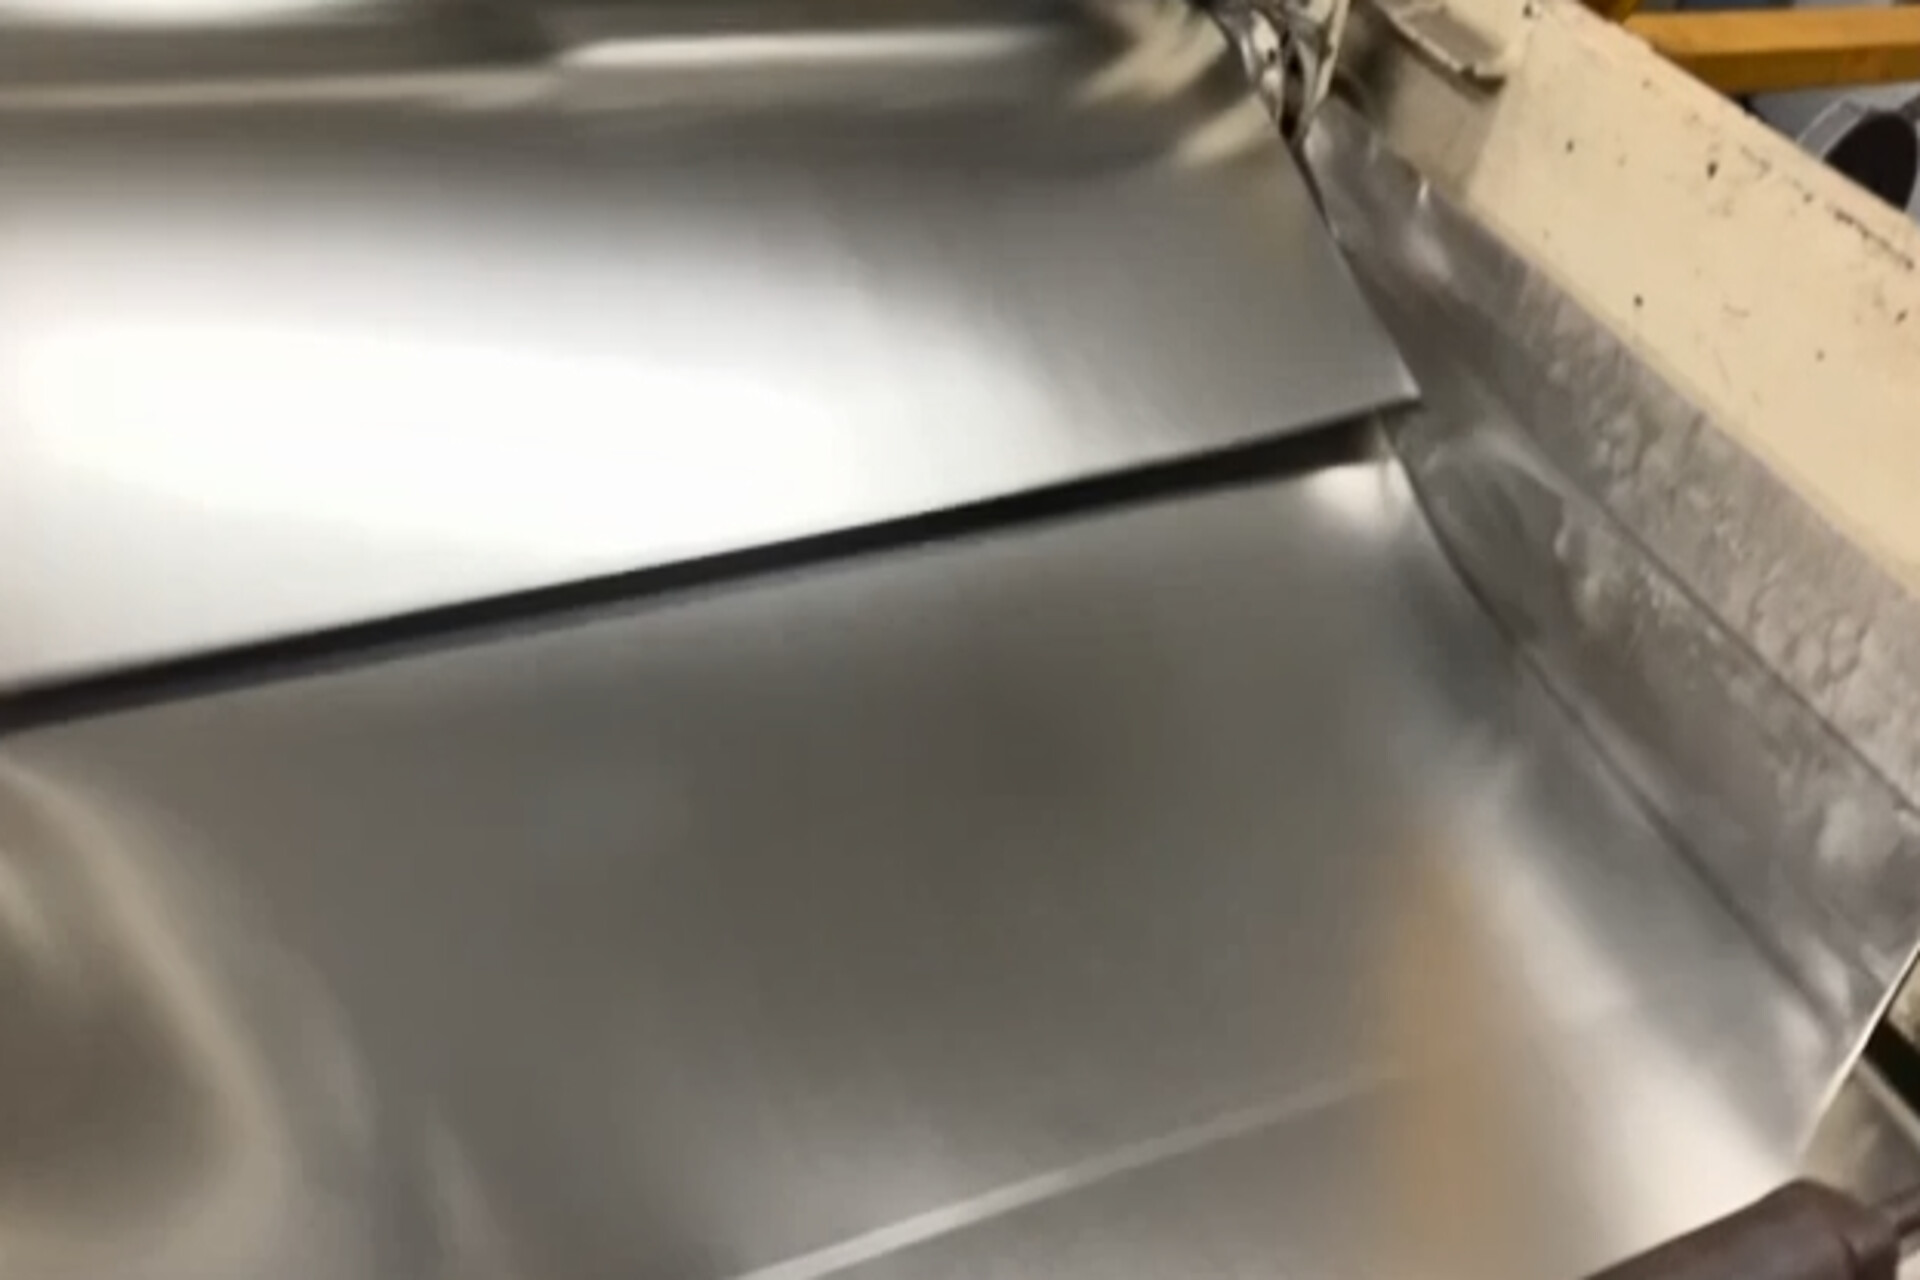
Before feeding, the aluminum coils undergo a series of inspections to ensure their dimensions, thickness, and surface quality meet production standards. Once approved, they are transferred to the production line using specialized equipment.
To reduce friction between the aluminum and the dies, minimize wear during production, and improve workability, a layer of lubricant is first applied to the surface of the aluminum material.
The cup drawing process then forms flat aluminum sheets into cup shapes. Using high-speed stamping, the cupper presses the aluminum sheet into the die to form the cup wall and bottom.
01
Can Body Forming
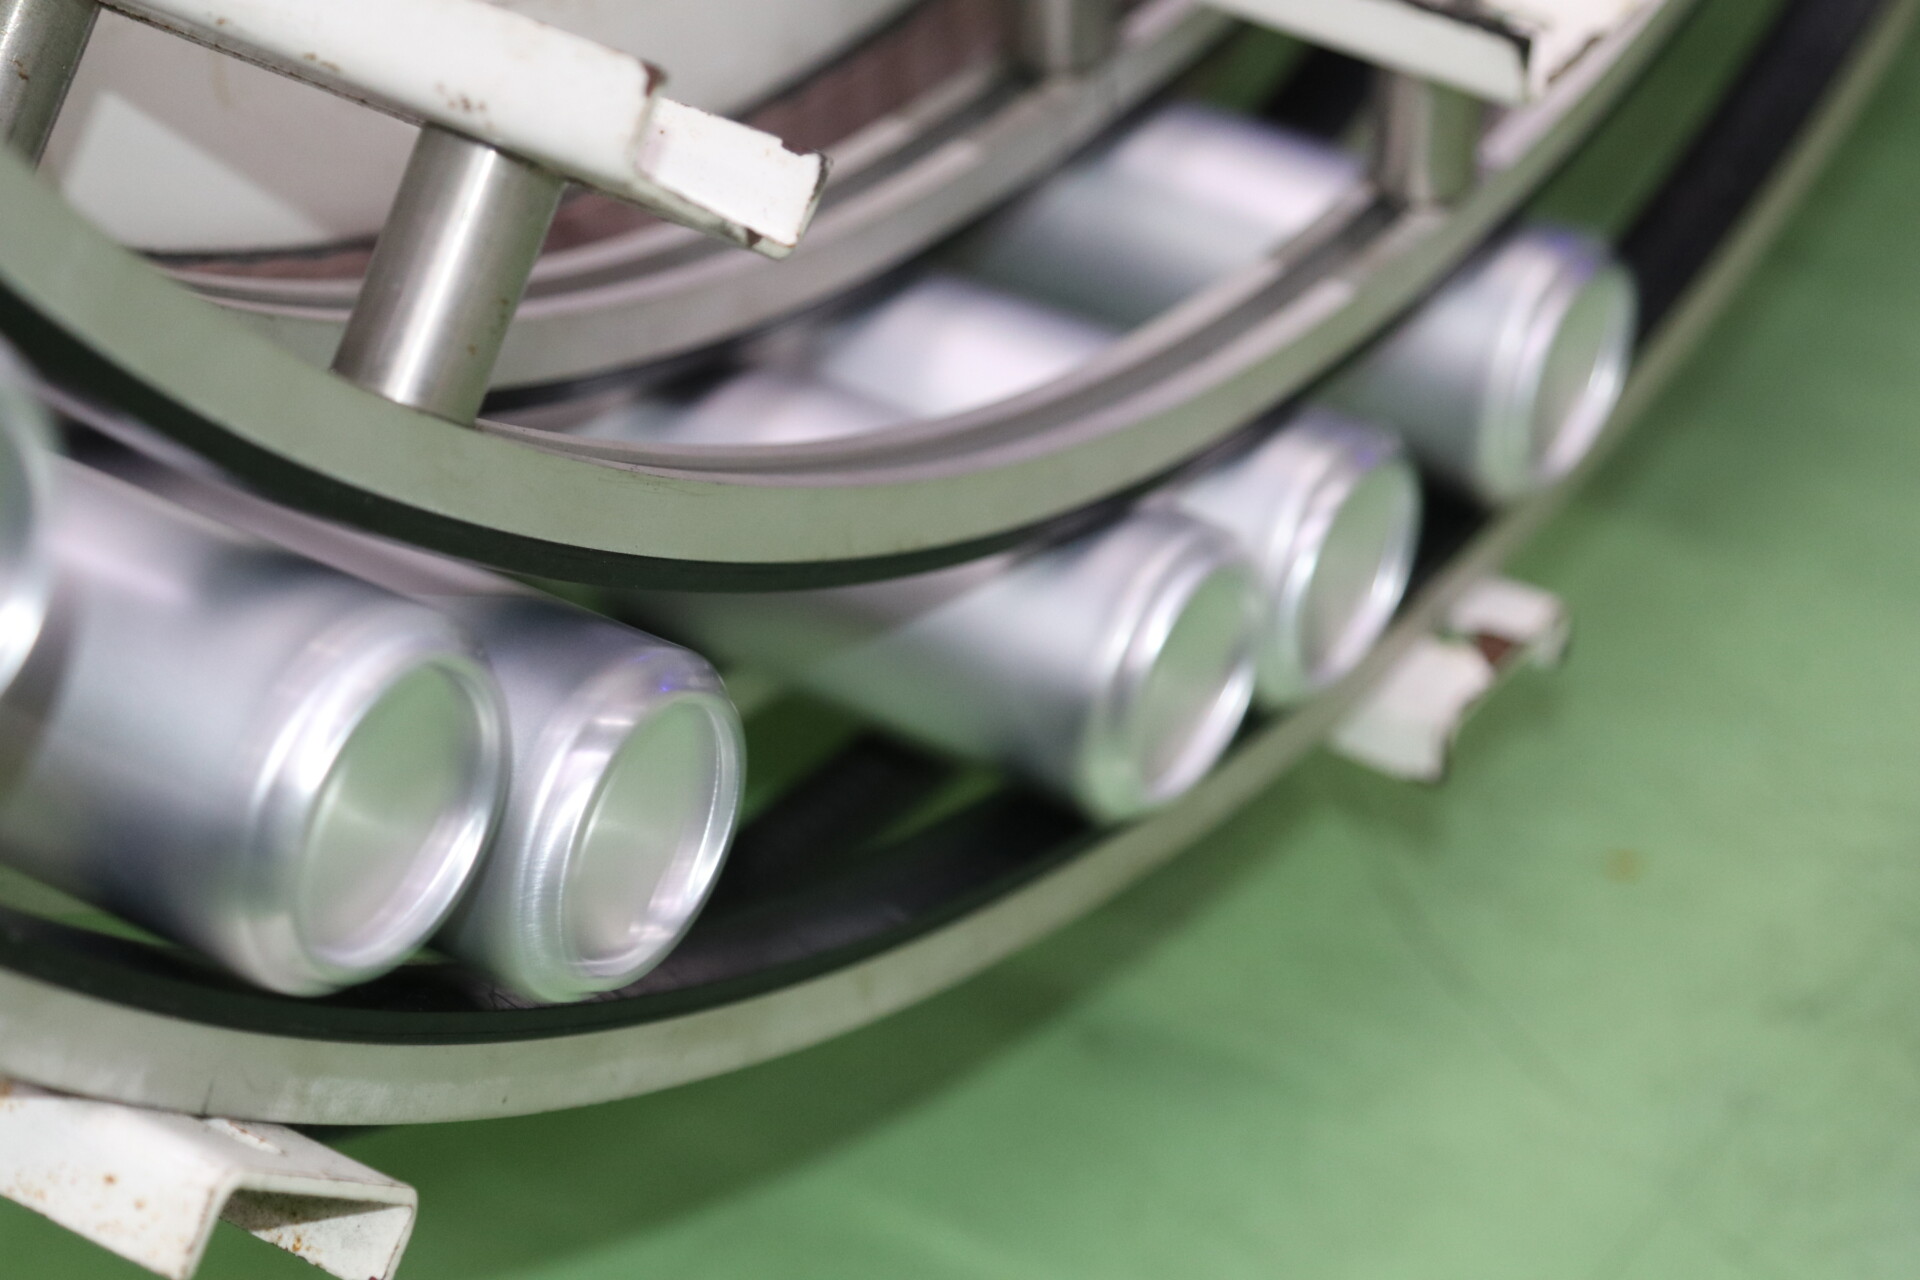
The initially formed cups undergo multiple drawing and ironing stages to gradually reach the required height and diameter. Throughout this process, precise control is essential to prevent material thinning or rupture.
Drawing and Trimming
The aluminum can drawing process is a complex procedure that transforms aluminum sheets or discs into can bodies. It combines techniques such as stamping, drawing, and ironing. Through multiple stages of drawing and thinning, a shallow cup is gradually formed into a can body with the desired height and wall thickness.

02

Trimming
Curing and Forming
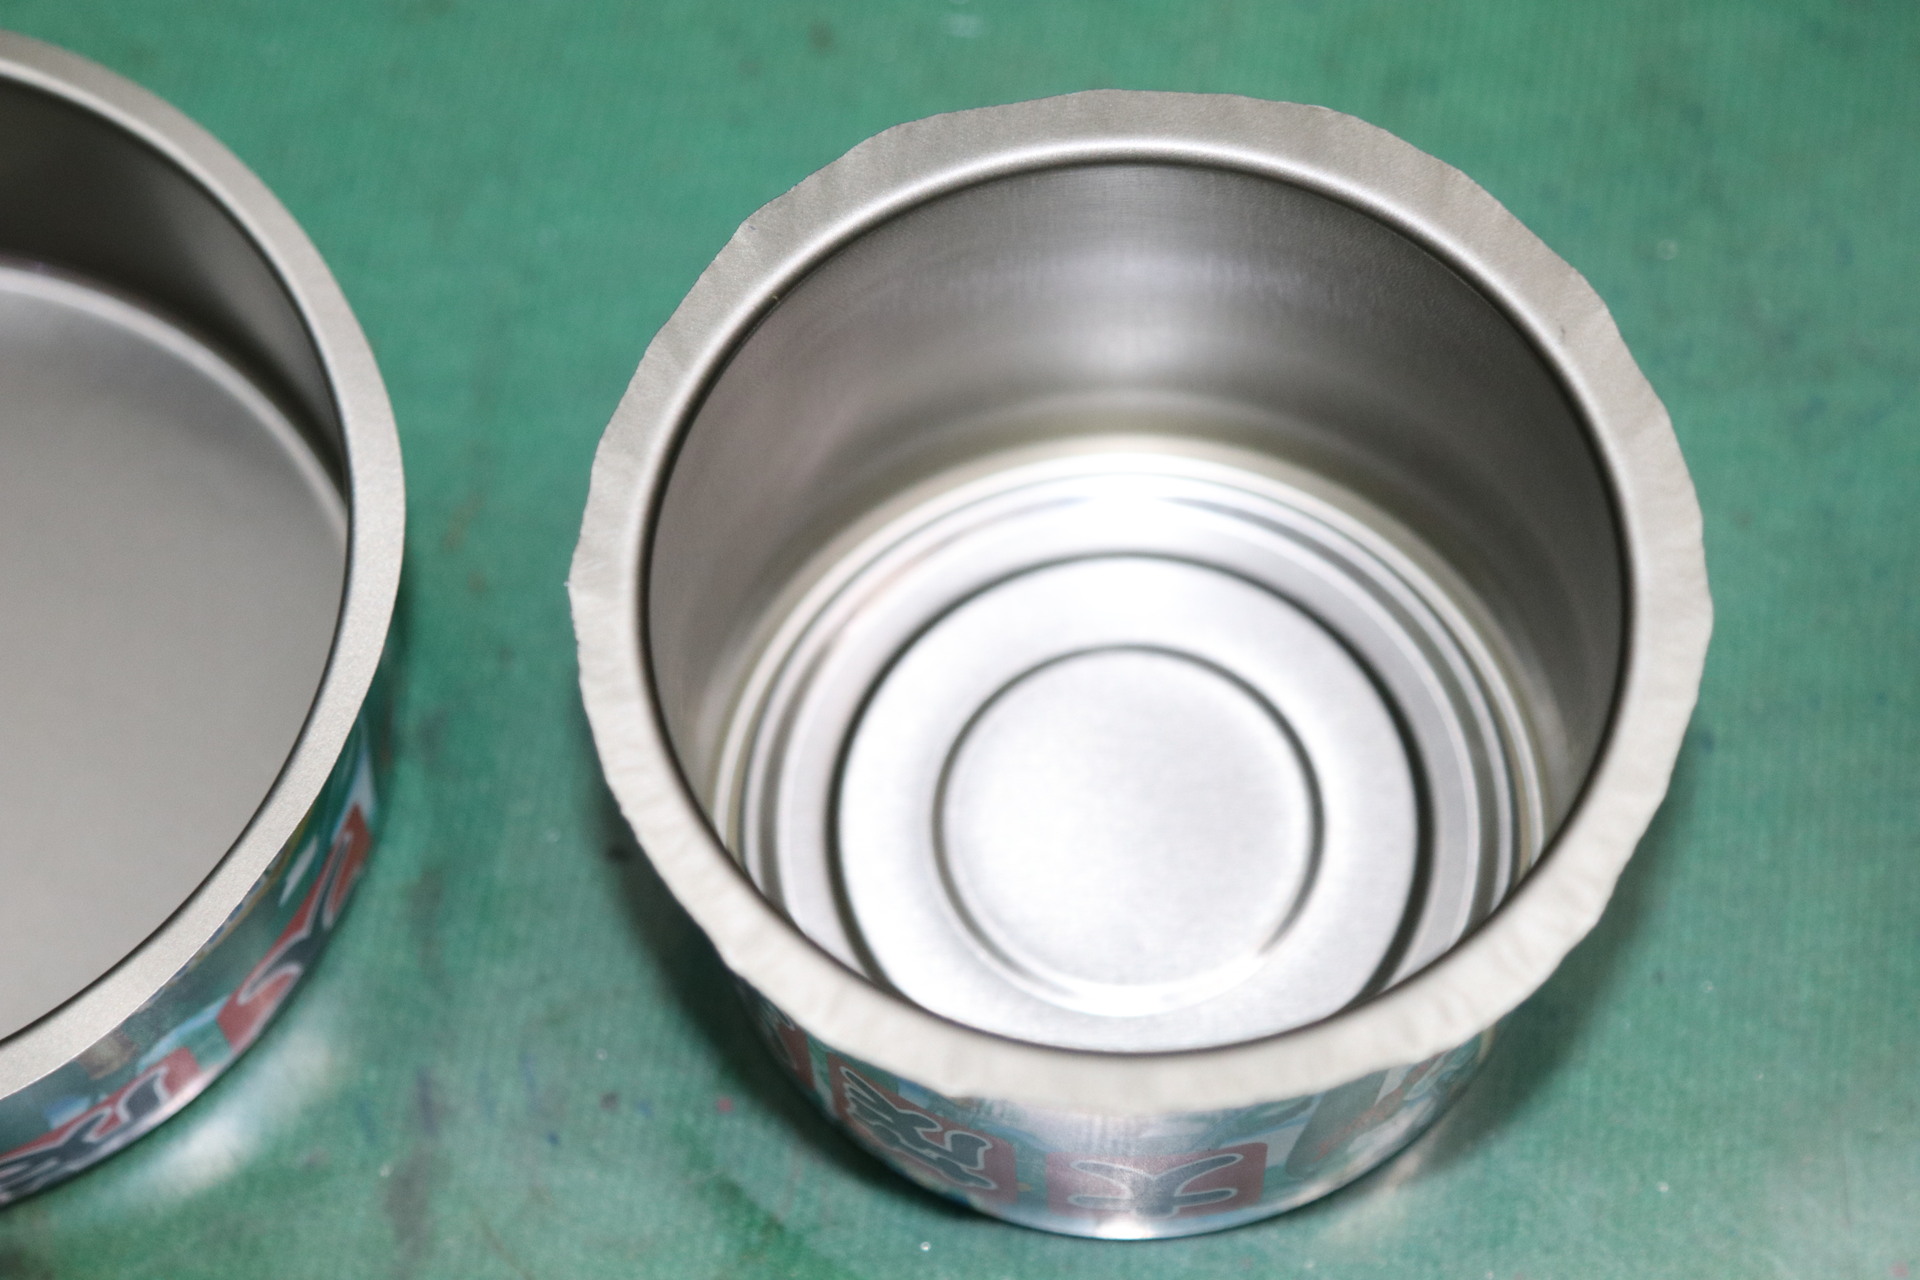
The formed aluminum cup then undergoes trimming to remove excess edge material and ensure precise dimensions. If needed, annealing is performed to relieve processing stress and improve material properties.
Traditional Aluminum Can Process
Trimming
Cleaning
Drying
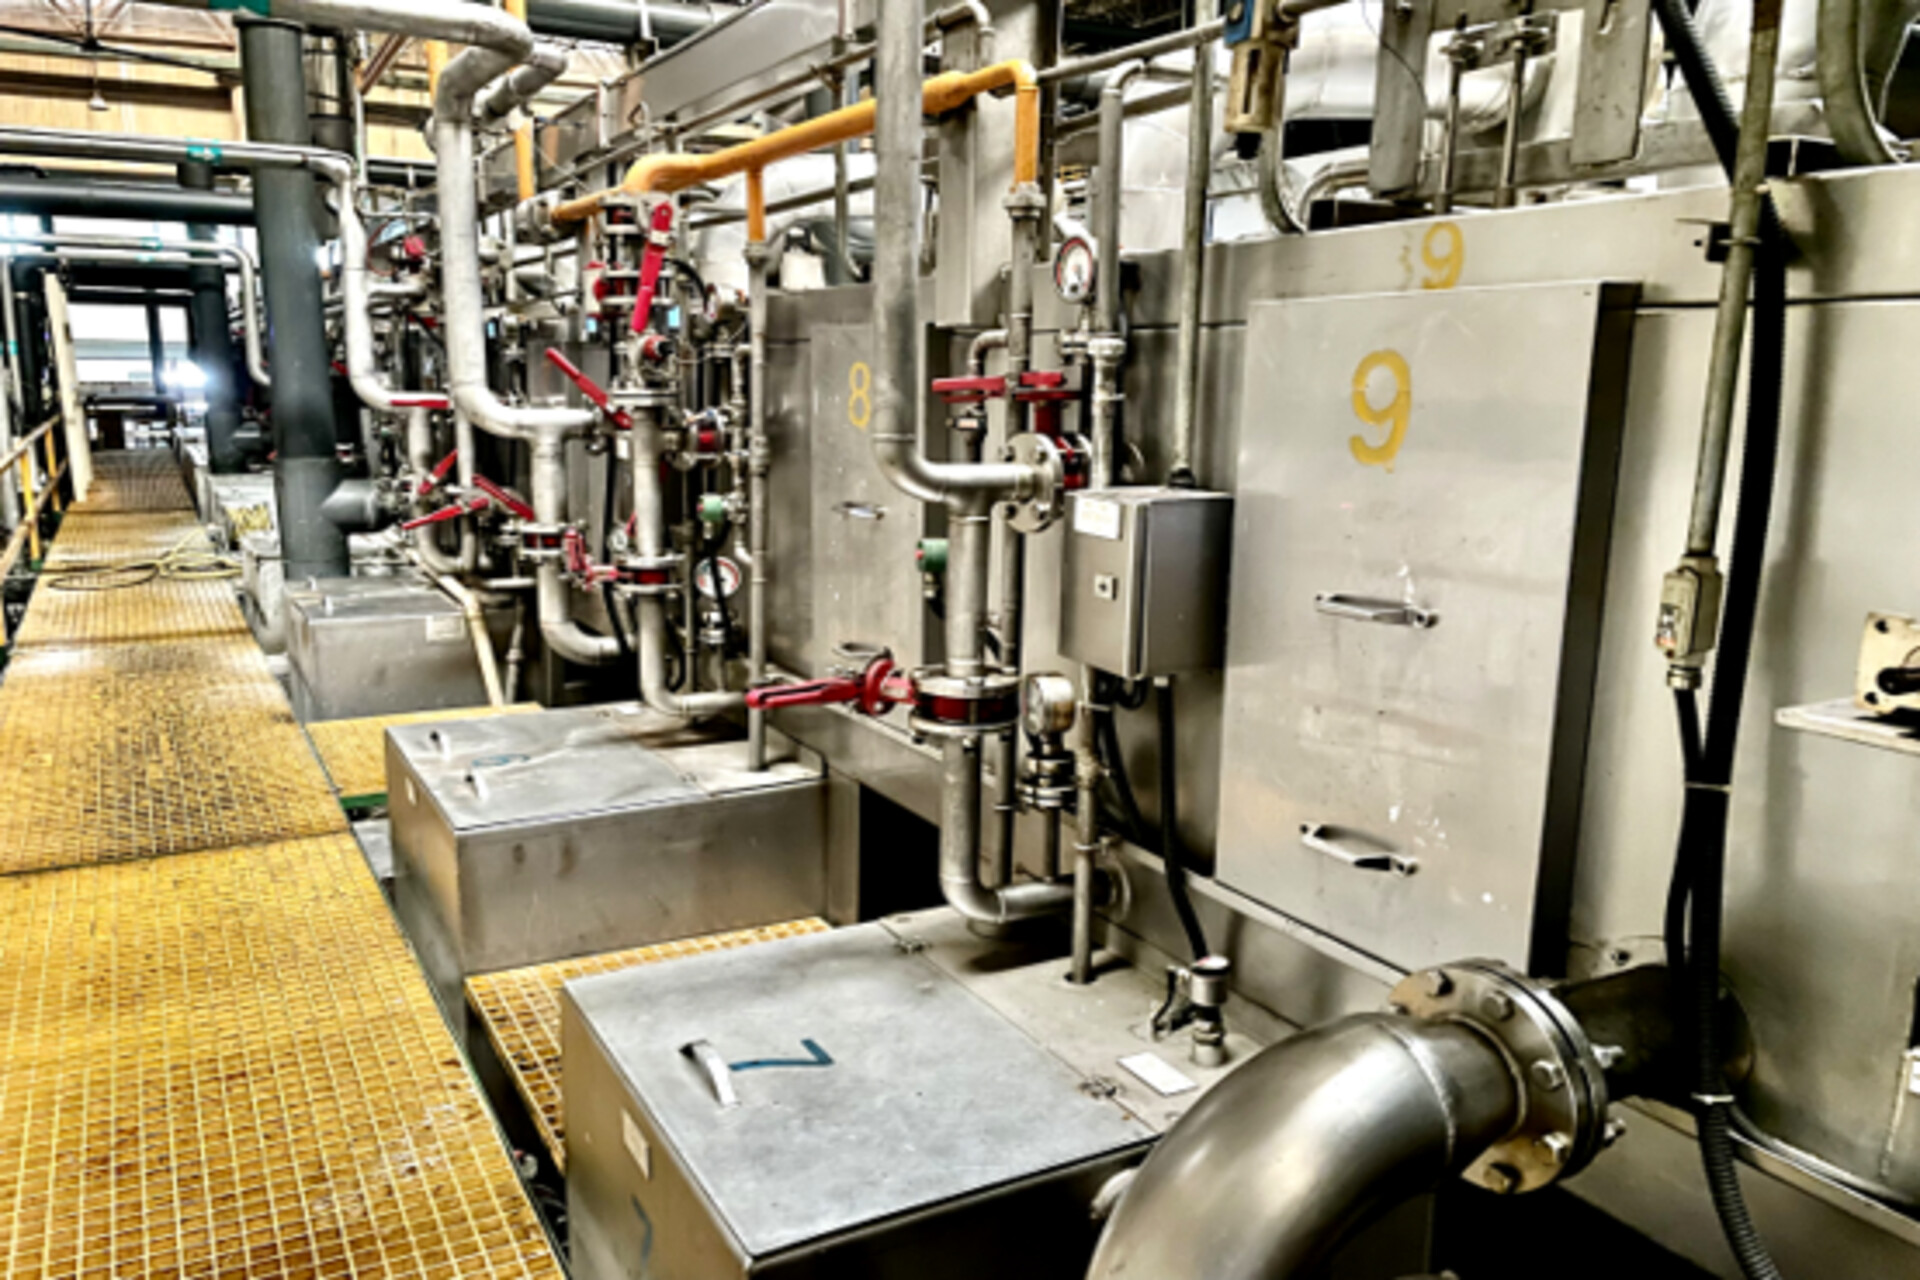
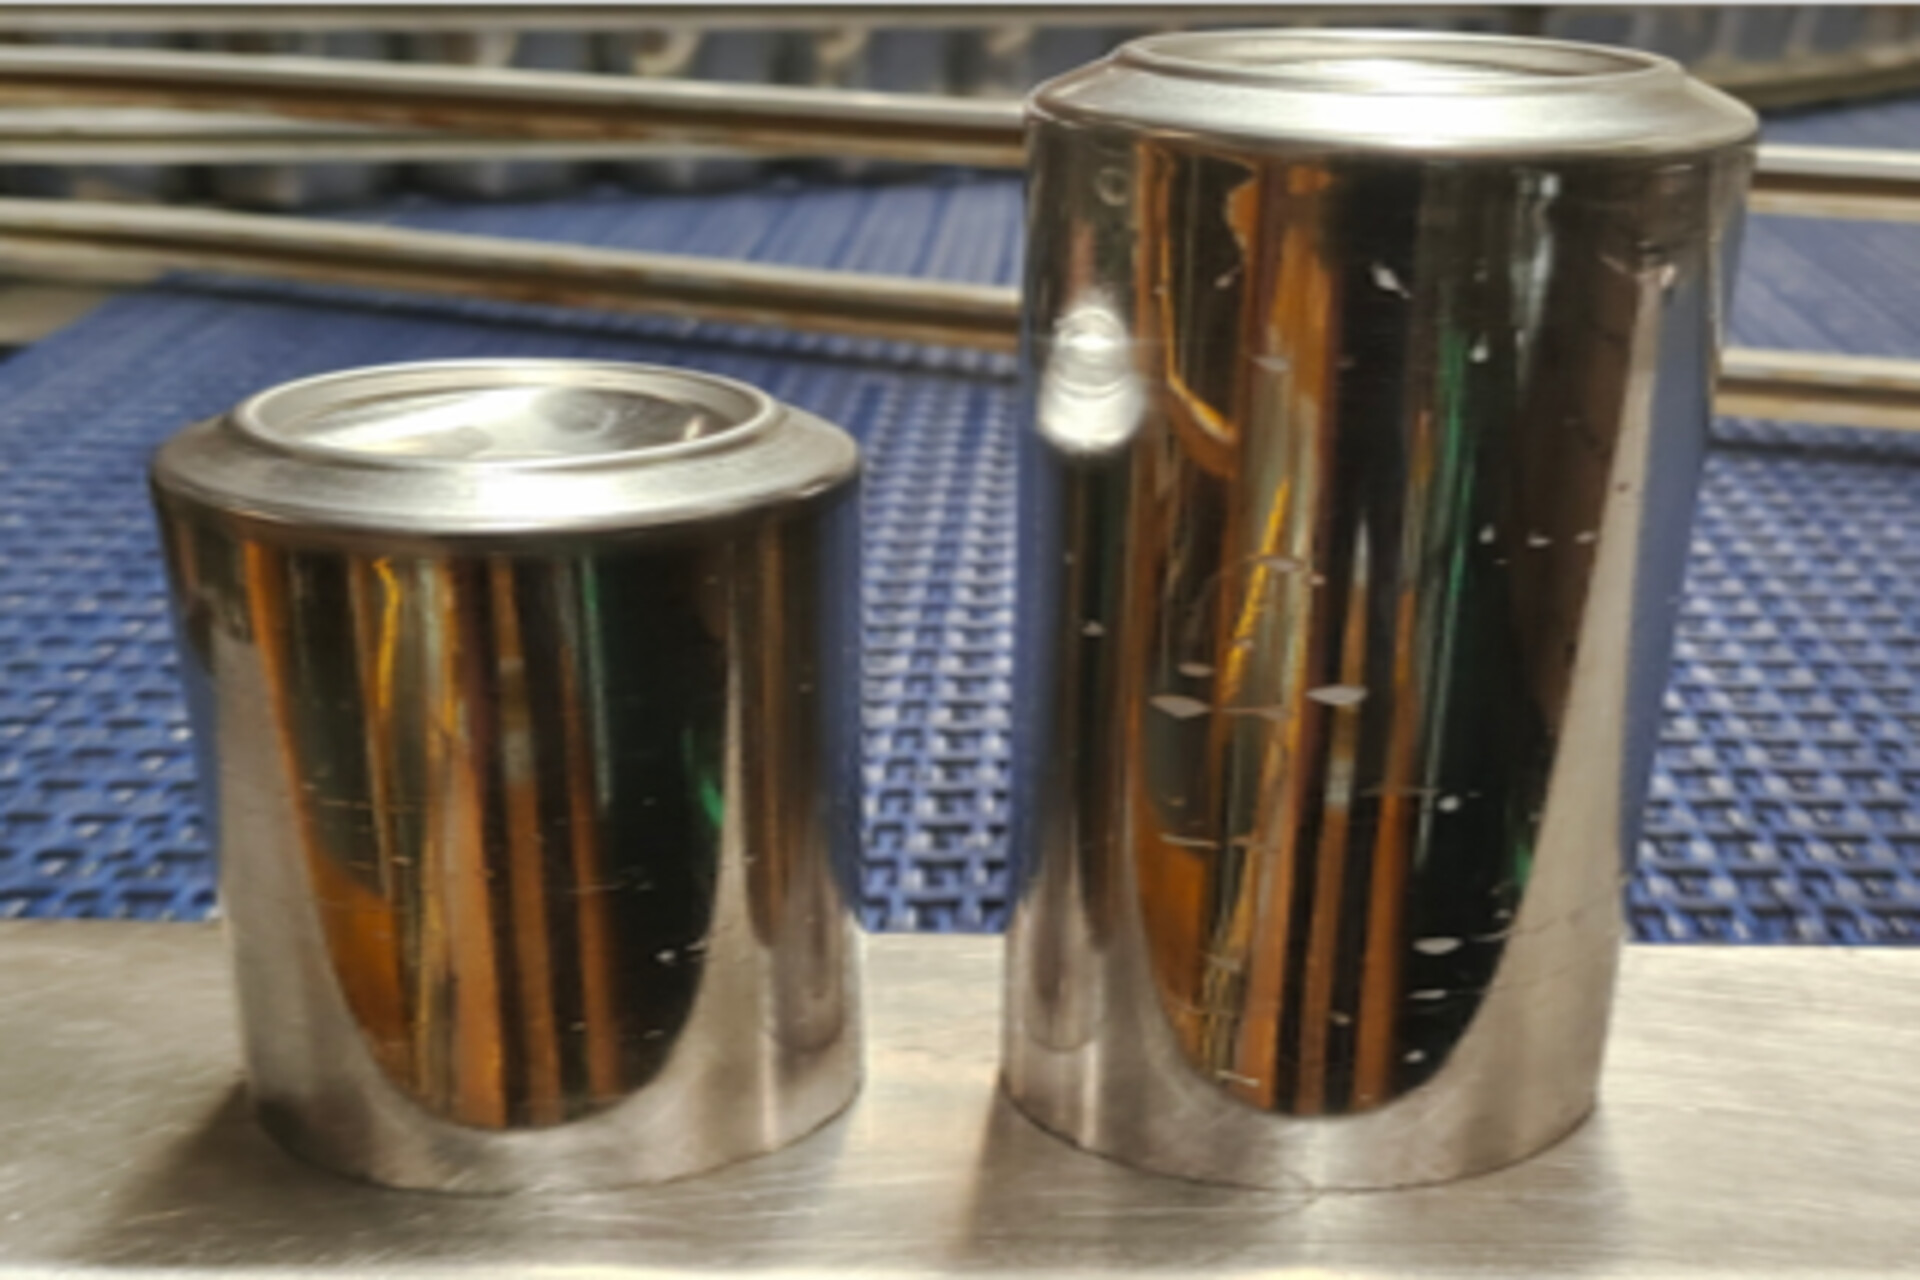
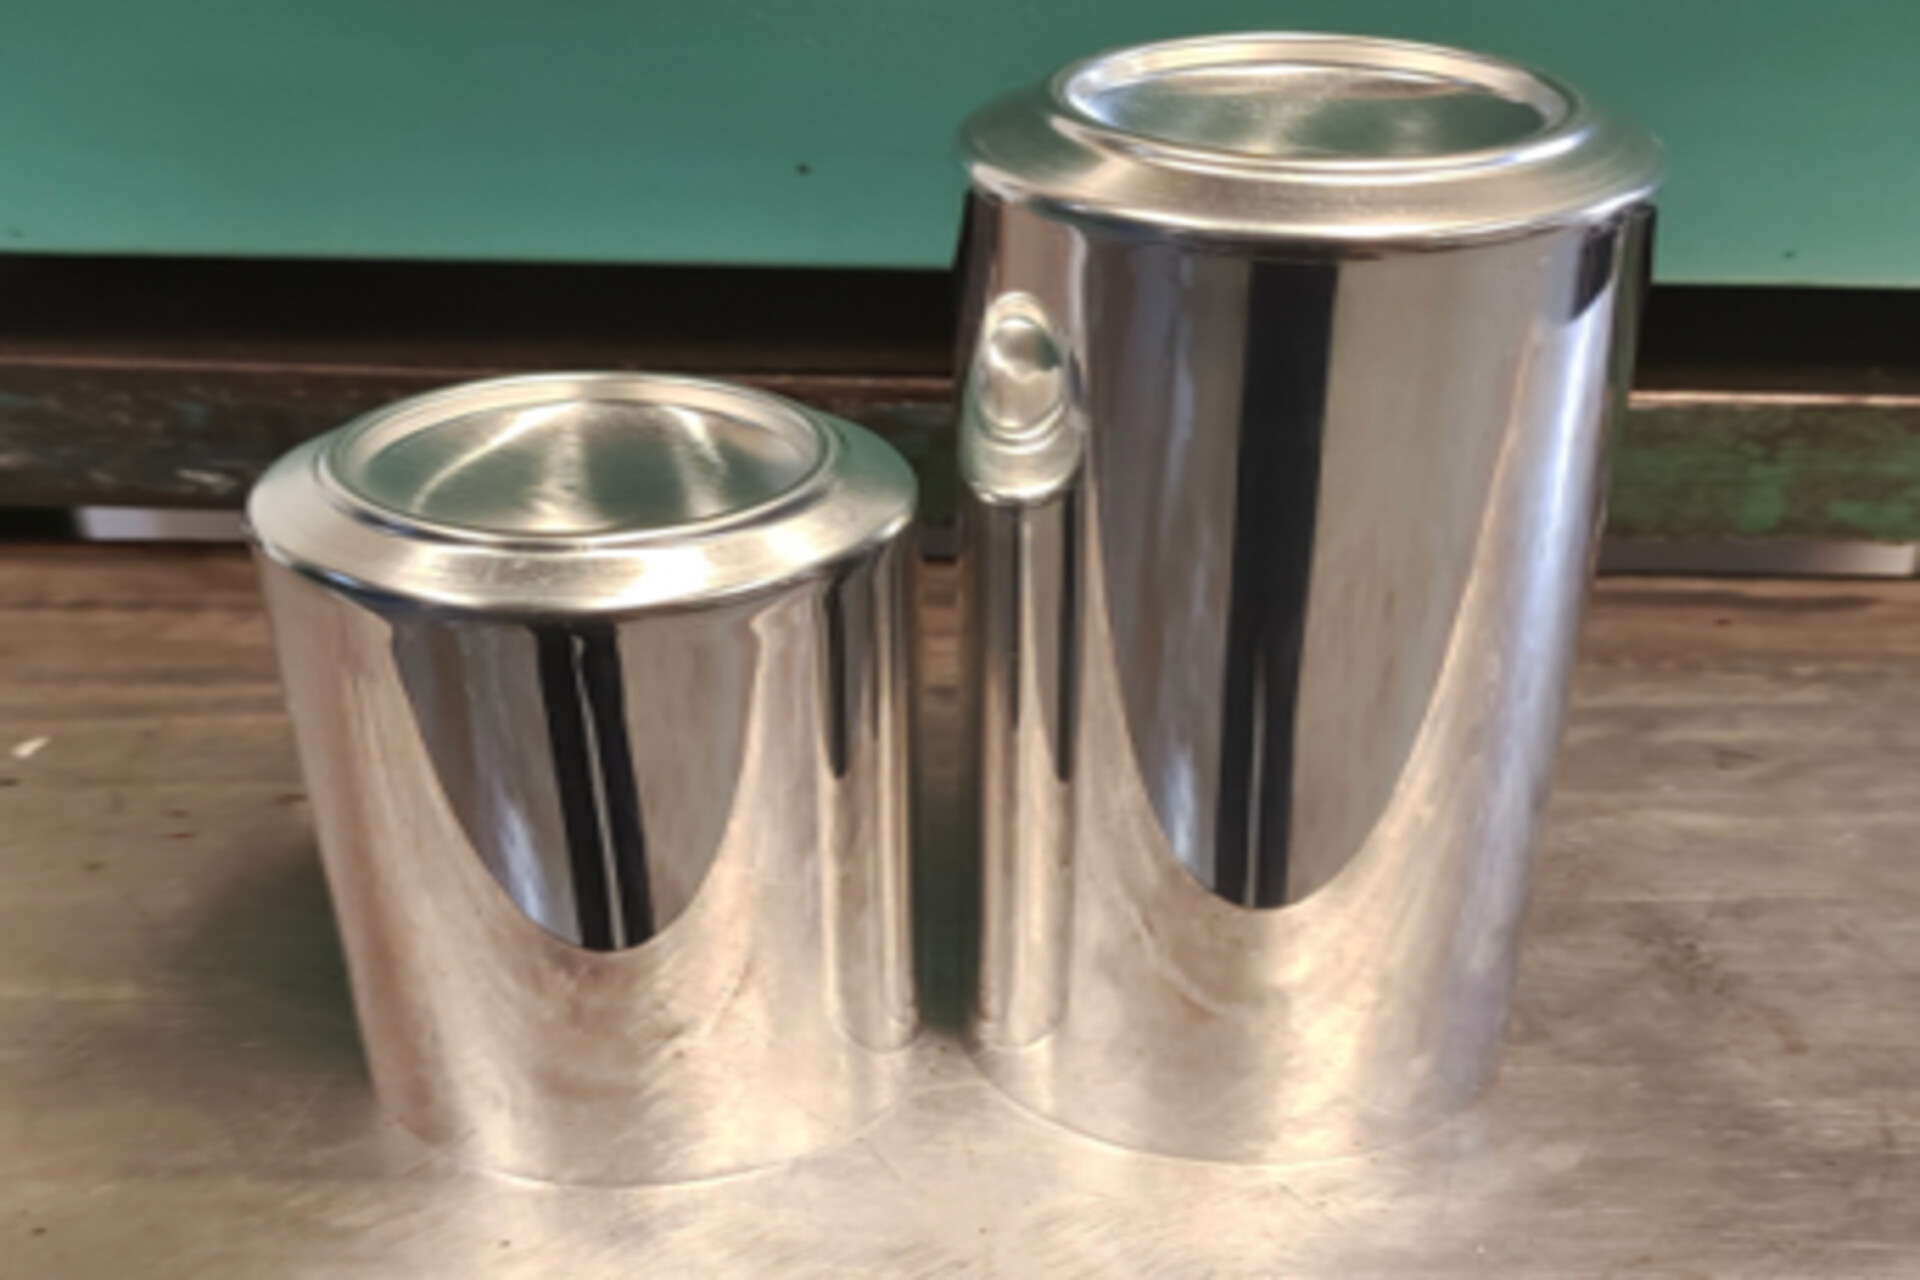
In the conventional aluminum can manufacturing process, after excess can body material is trimmed, proper cleaning is required to remove cutting and lubricating oils used during production. In contrast, the eco-friendly aluminum can process does not use lubricants, eliminating the need for additional cleaning.
Before vs. After Cleaning
The key difference before and after cleaning lies in the cleanliness of the can body surface. Cleaning not only removes impurities generated during production but also prepares the surface for subsequent processes such as coating, printing, and internal spraying, ensuring product quality and safety.
Effective cleaning enhances the aluminum can’s corrosion resistance, appearance, and hygiene, ultimately extending the product’s lifespan.
Green Process vs. Traditional Process
In the manufacturing process of conventional aluminum cans, lubricating oil is required during the Drawing & Ironing stage to reduce friction and wear between the die and the aluminum material. These lubricants often remain on the can surface, making cleaning an essential step.
In contrast, eco-friendly aluminum can production adopts specialized forming technologies that significantly reduce or even eliminate the need for lubricants. As a result, there is a clear difference in the cleaning requirements between eco-friendly and conventional can manufacturing processes.
03
Can Printing
Drying
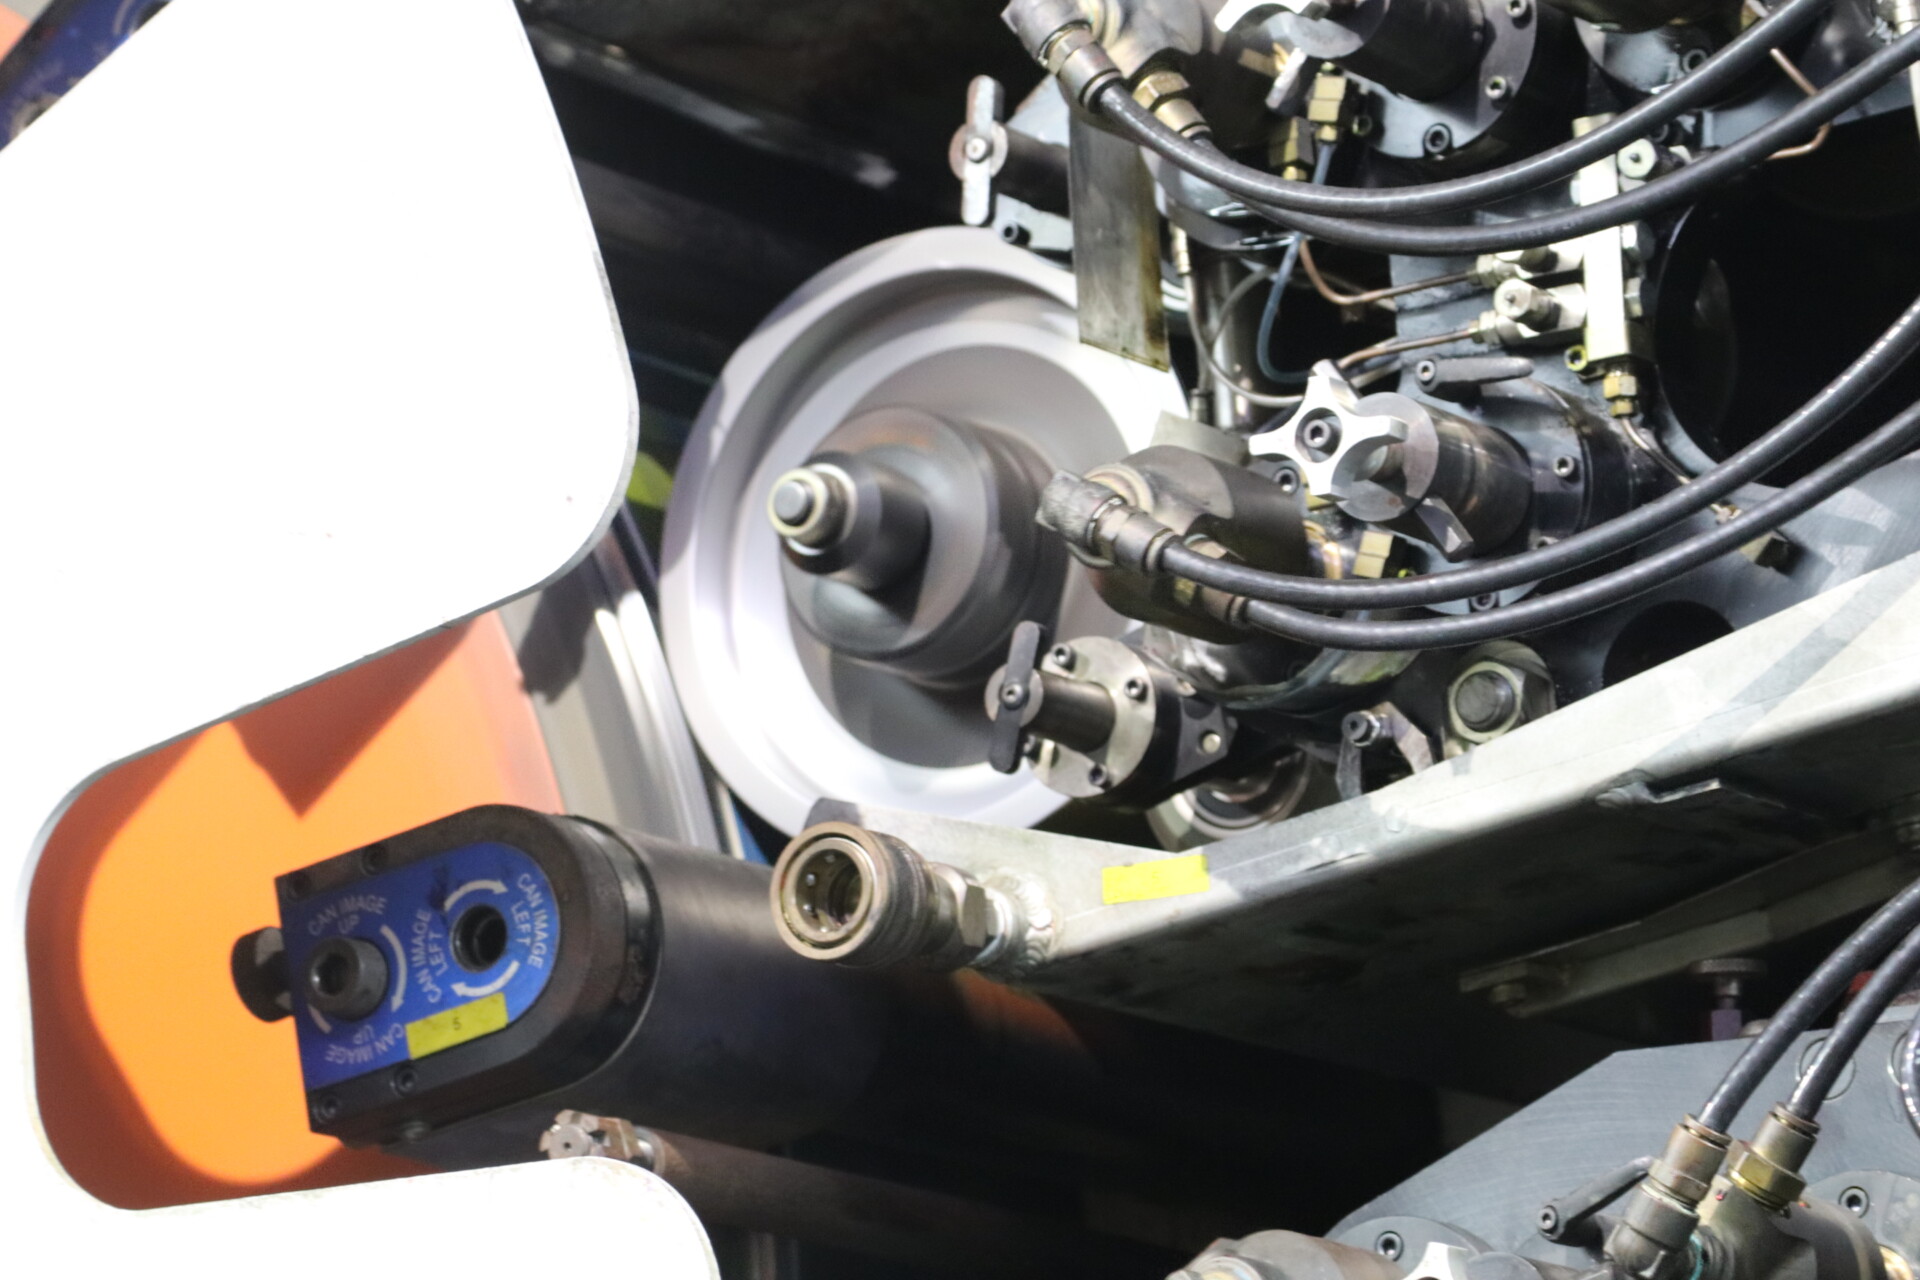
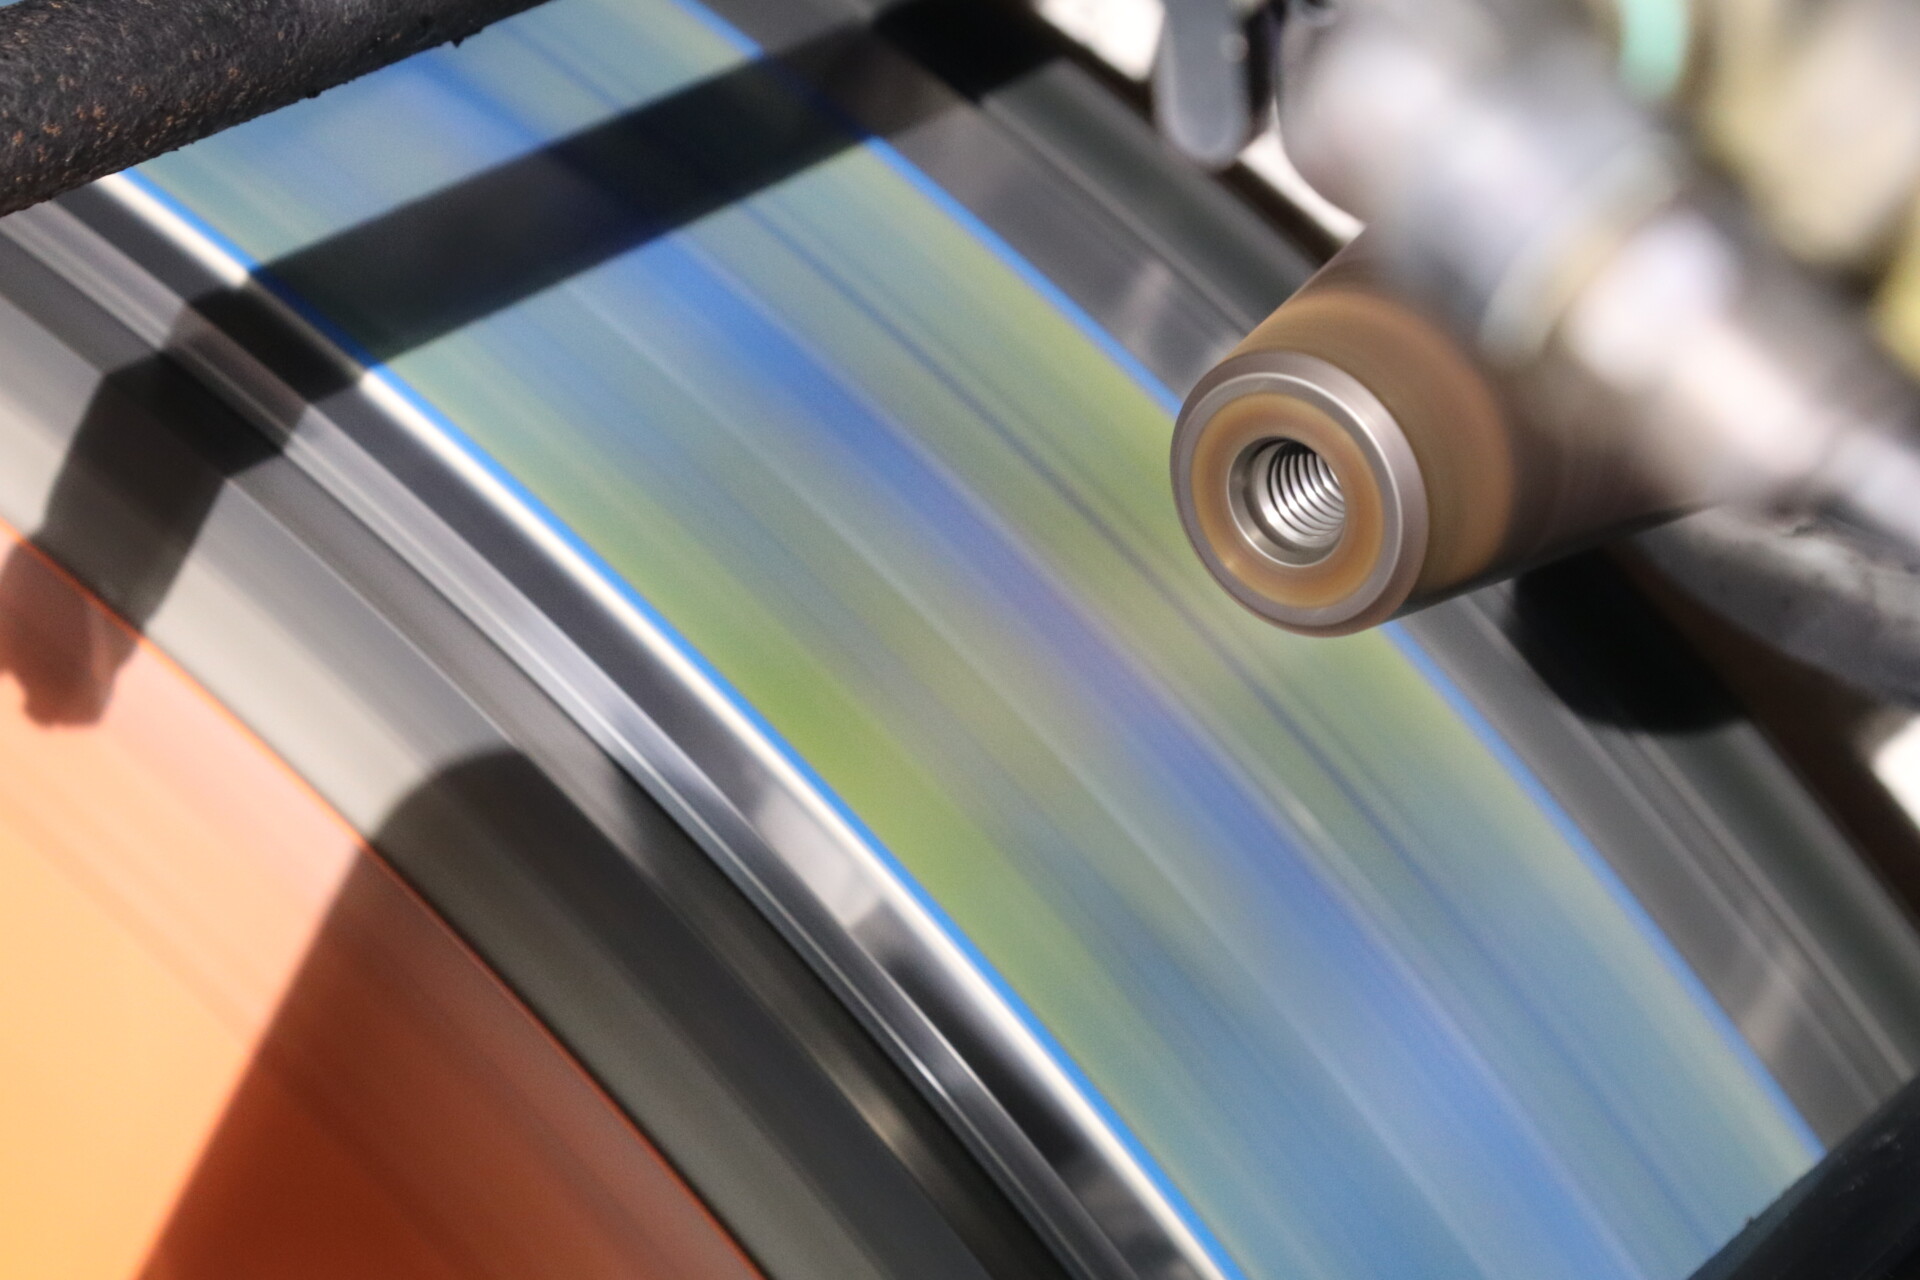
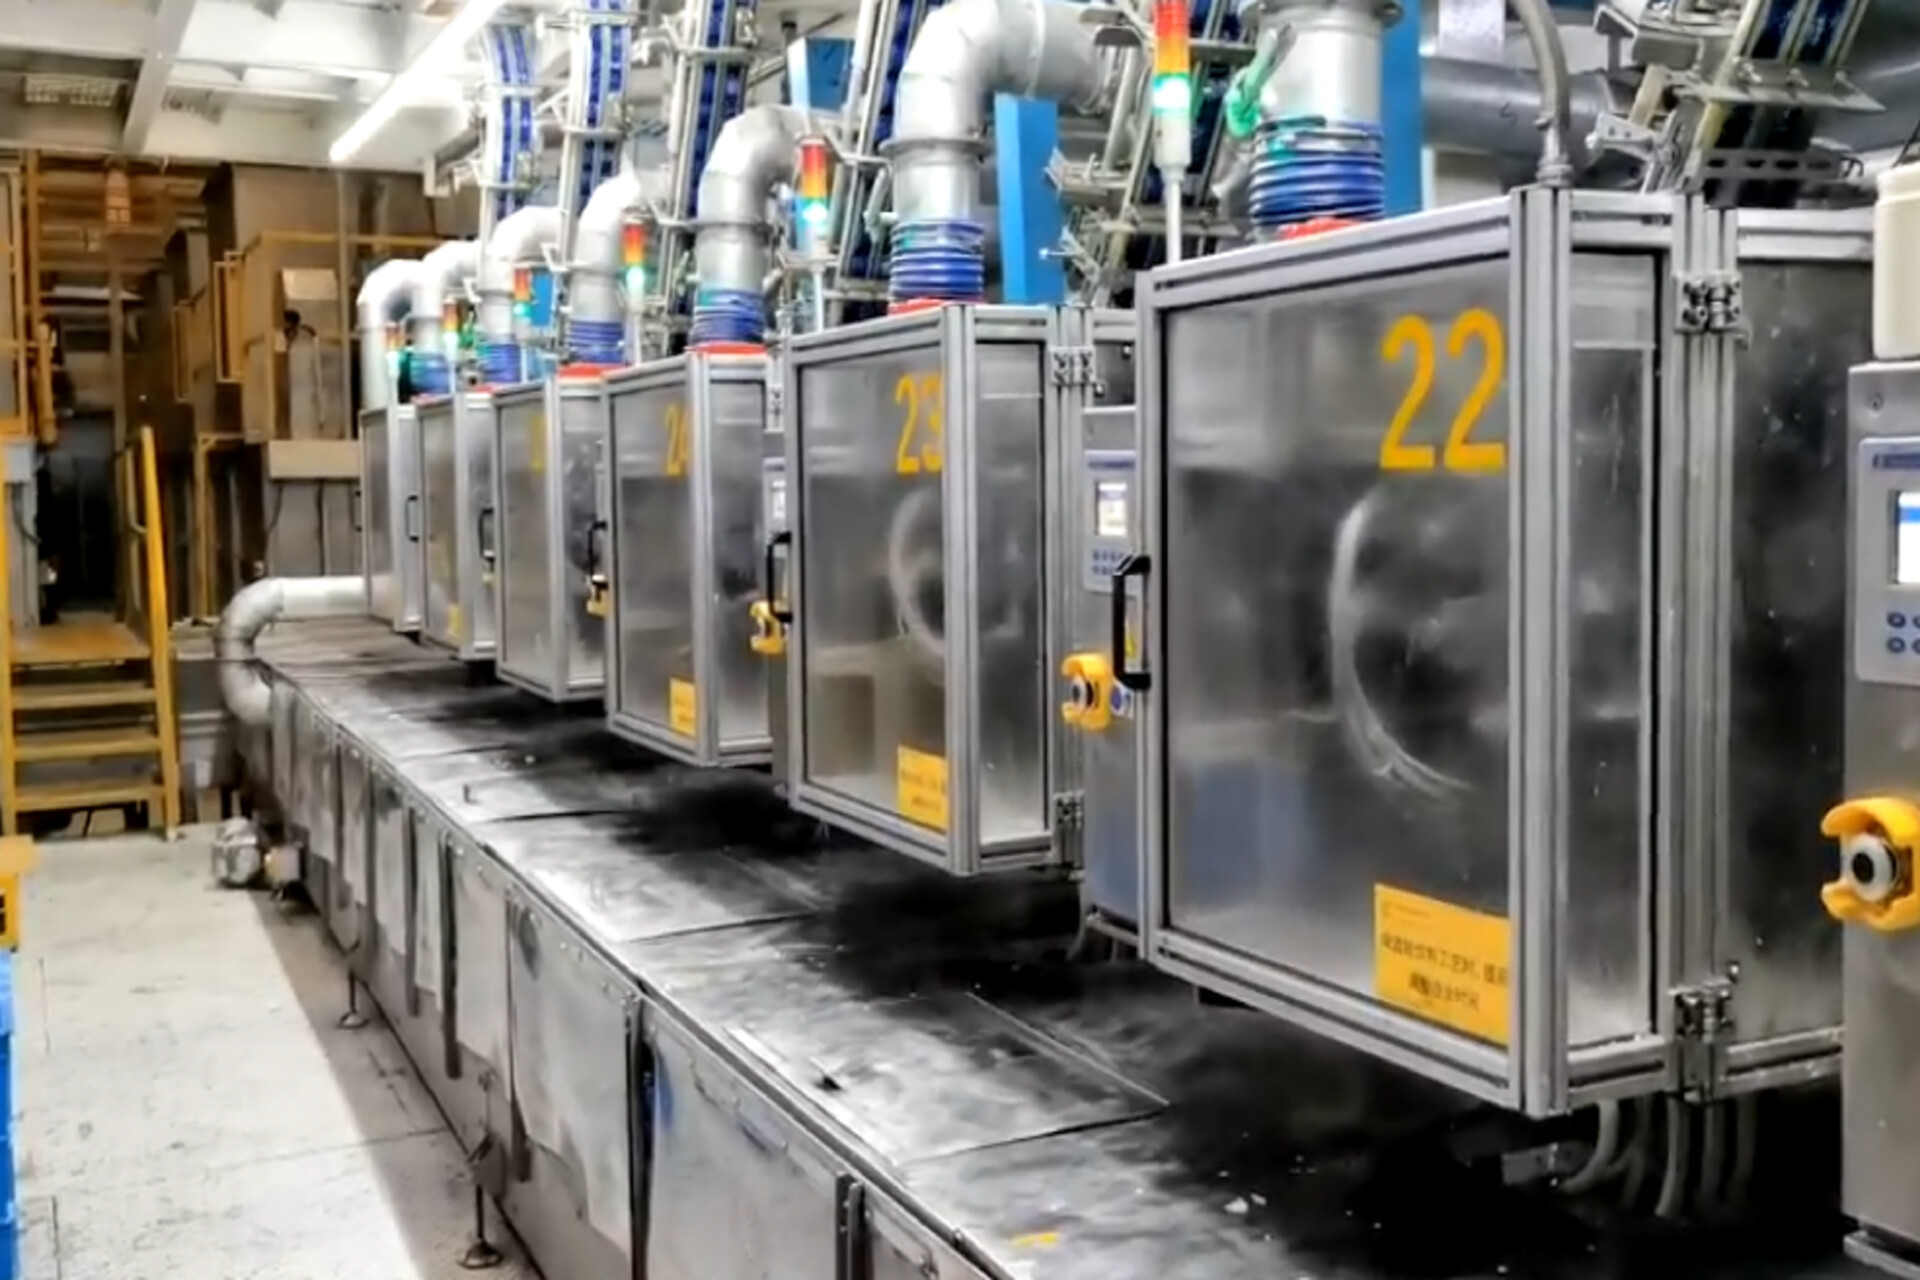
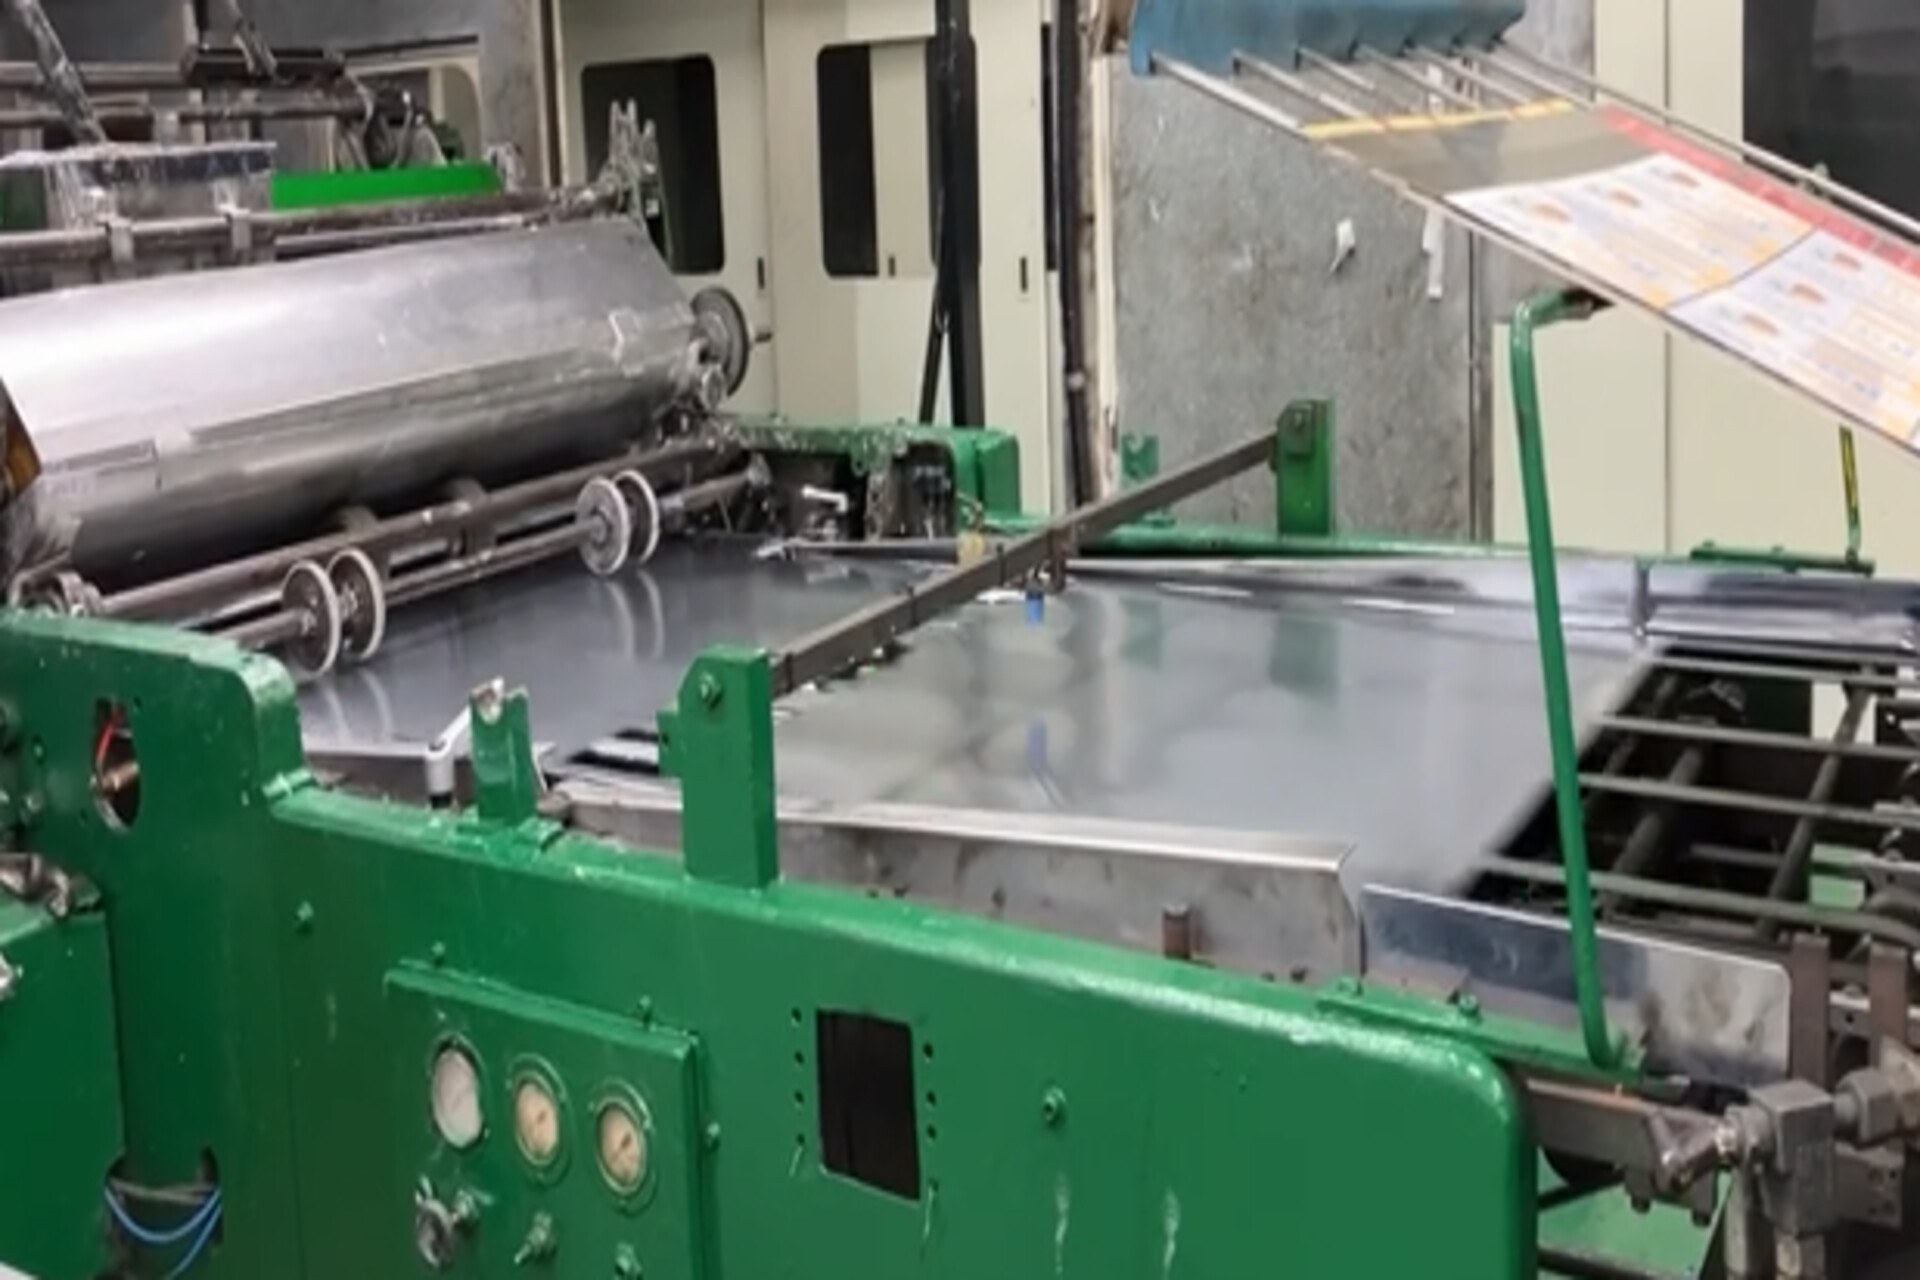
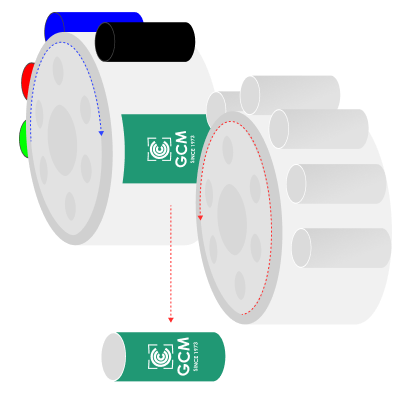
The aluminum can printing process is a crucial step to ensure an attractive appearance and effectively convey brand messaging. During this stage, the design is transferred onto printing plates, with a separate plate created for each color used in the design. Once the plates are prepared, they are mounted onto the printing machine.
Before printing begins, the aluminum cans must be thoroughly cleaned to remove any grease or dust, ensuring that the ink adheres evenly. As the cans pass through the printing machine, the design is applied layer by layer onto the surface. Skilled technicians carefully monitor color accuracy and plate alignment to ensure sharp, vibrant, and precisely registered graphics.
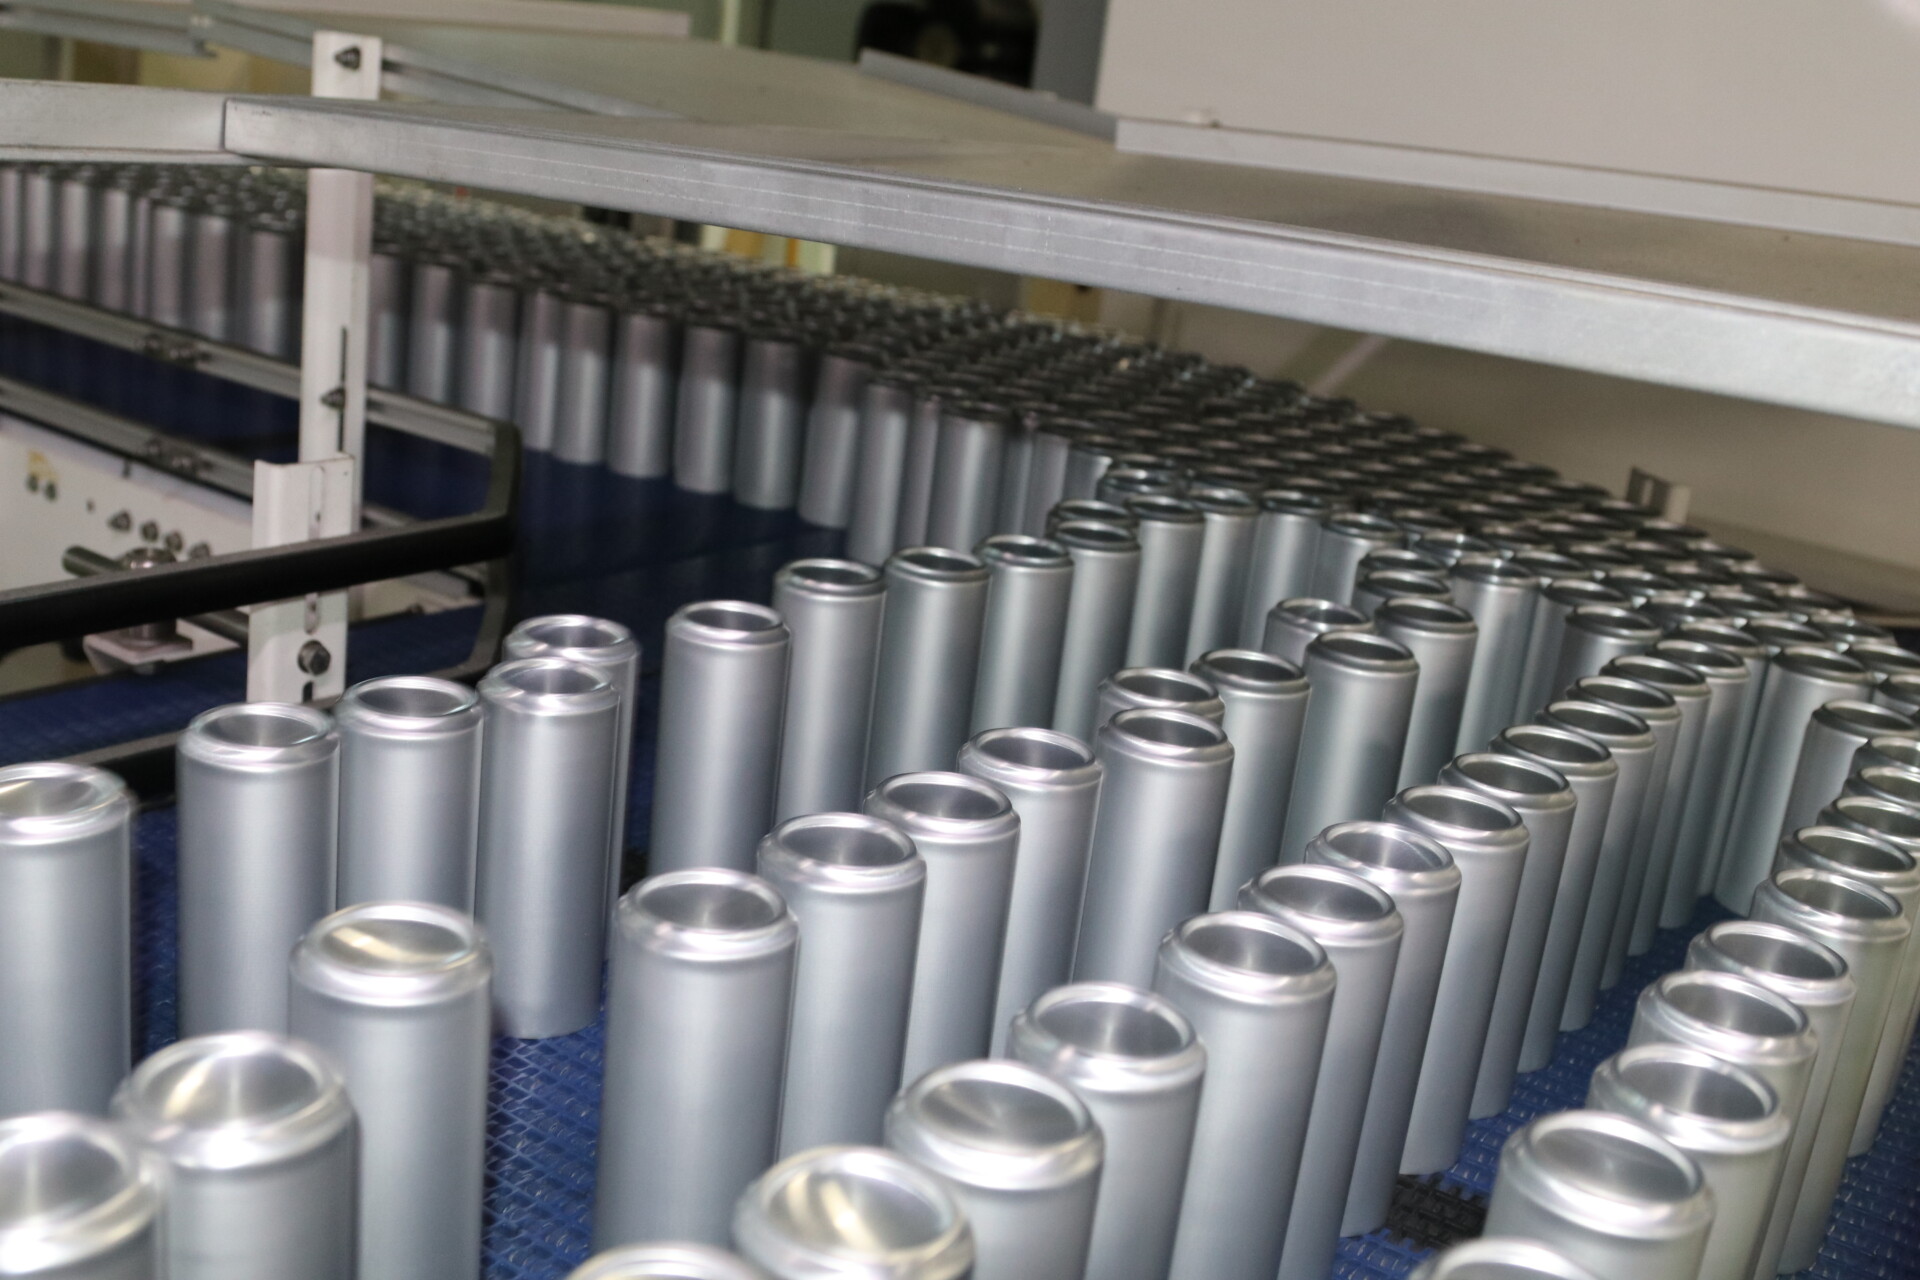
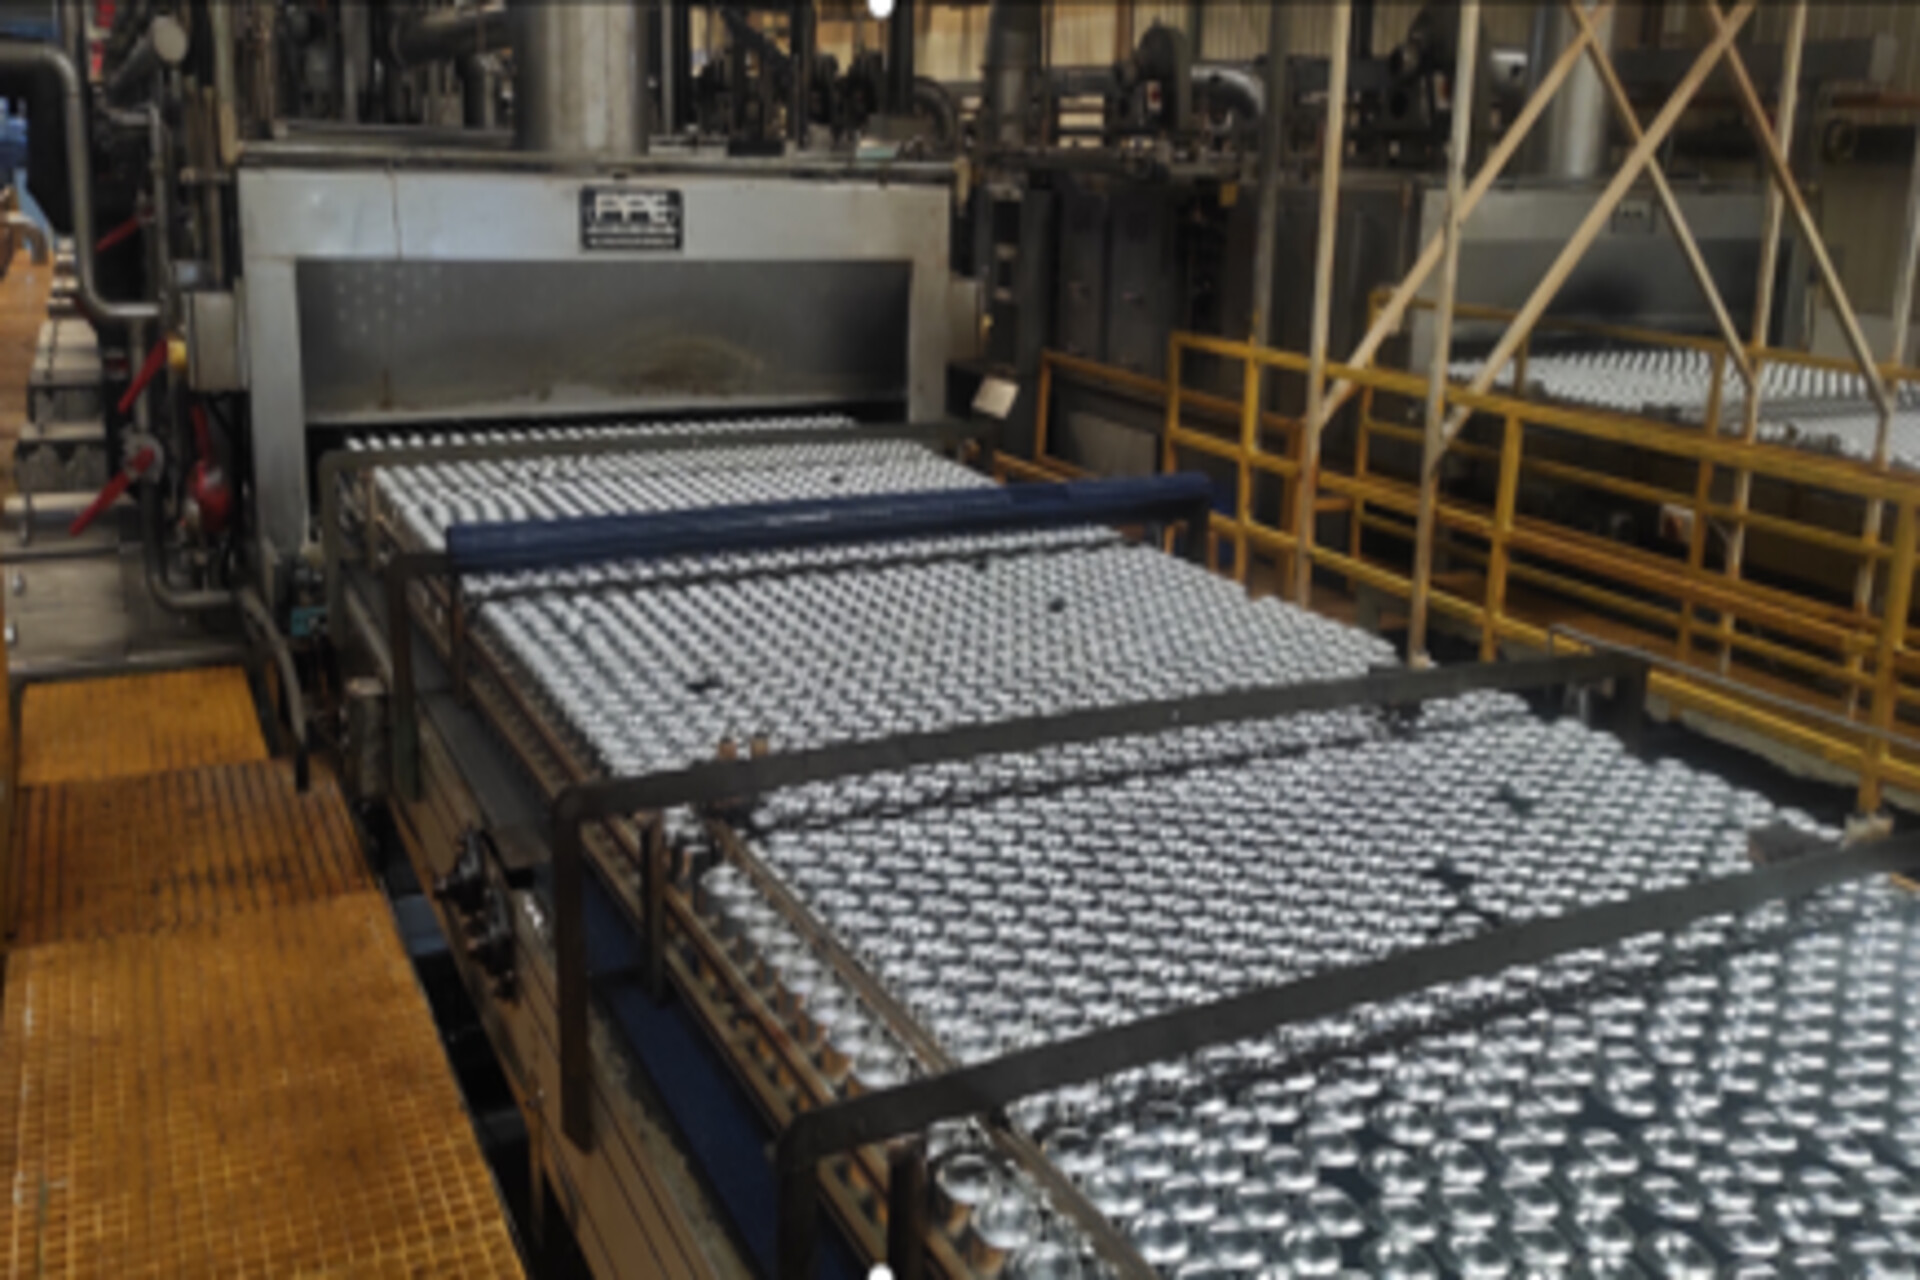
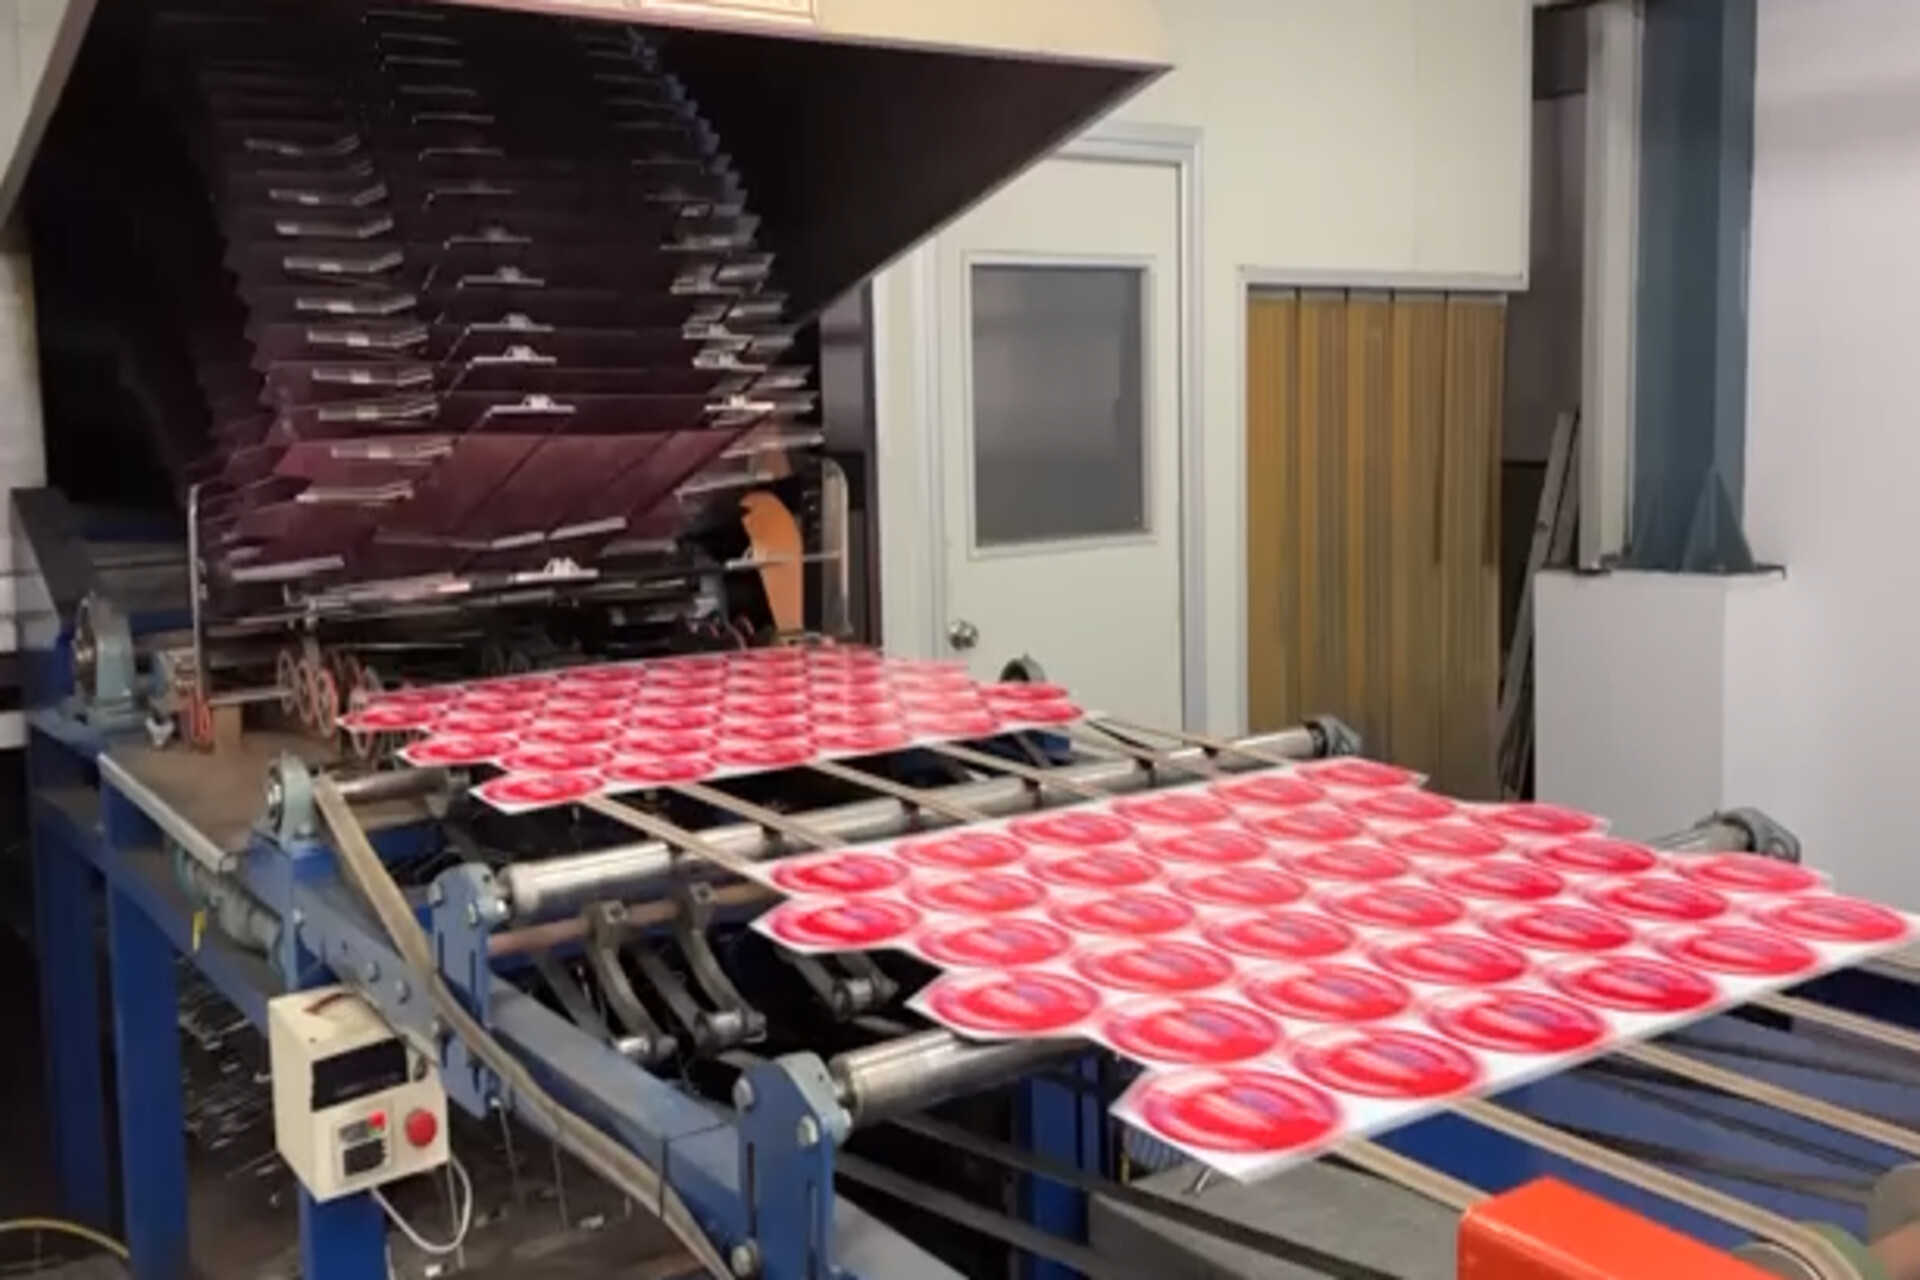
After printing, the cans are sent into a drying oven to set the ink and prevent smudging or fading. In this stage, the cans are briefly exposed to high temperatures, allowing the ink to cure and bond firmly to the can surface.
Traditional Aluminum Can Process
Printing
drying
Interior Coating
drying
In both conventional and eco-friendly aluminum can production, the can body surface is printed with custom designs according to customer requirements. To accelerate ink drying and enhance adhesion, an additional drying process is required after printing.
In the conventional aluminum can process, a food-grade protective coating is also sprayed onto the inner wall of the can. This coating serves as a barrier between the can and its contents, preventing direct contact and potential chemical reactions. It also improves the can’s corrosion resistance.
04
Necking and Flanging
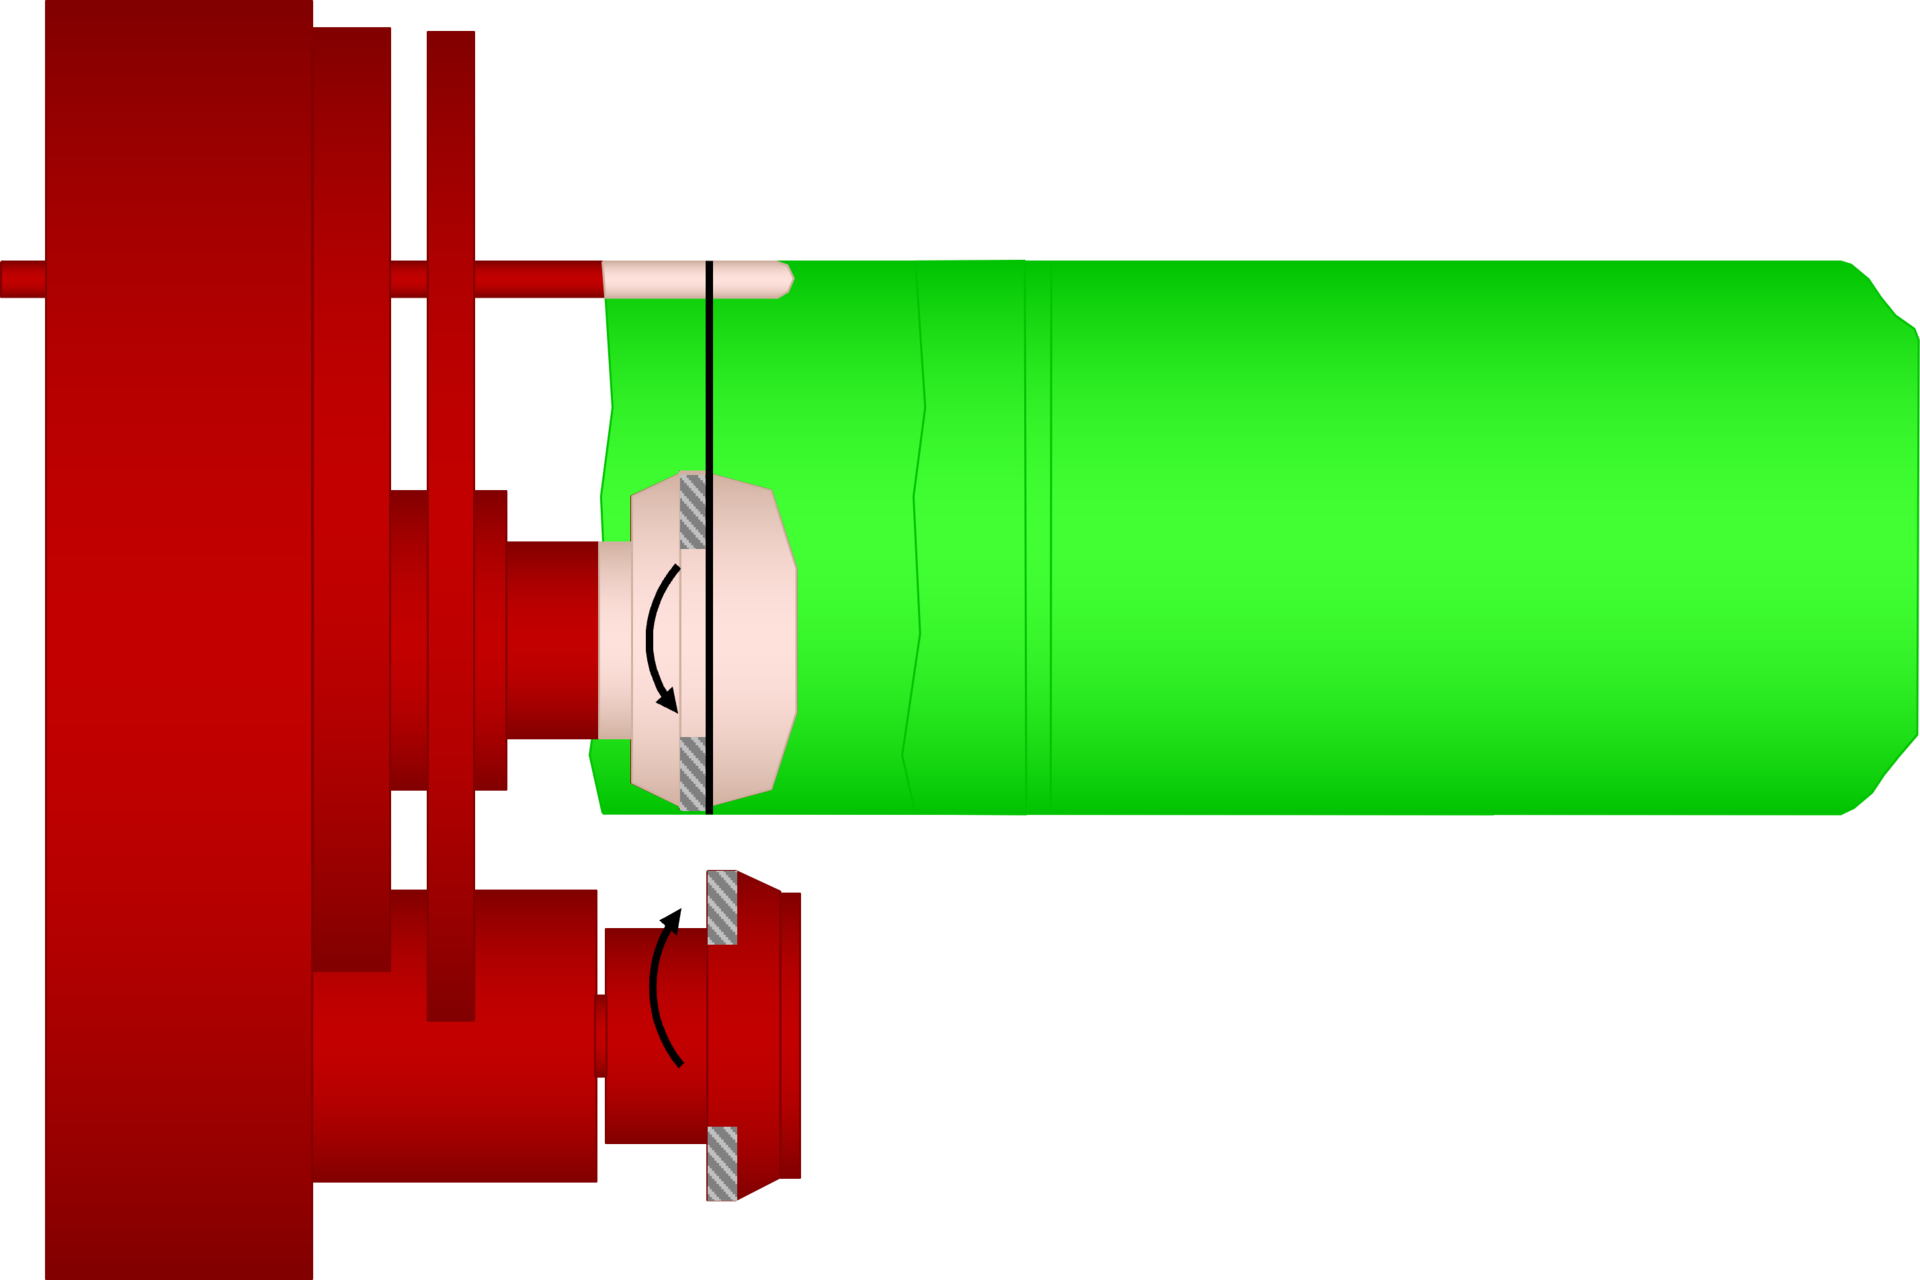
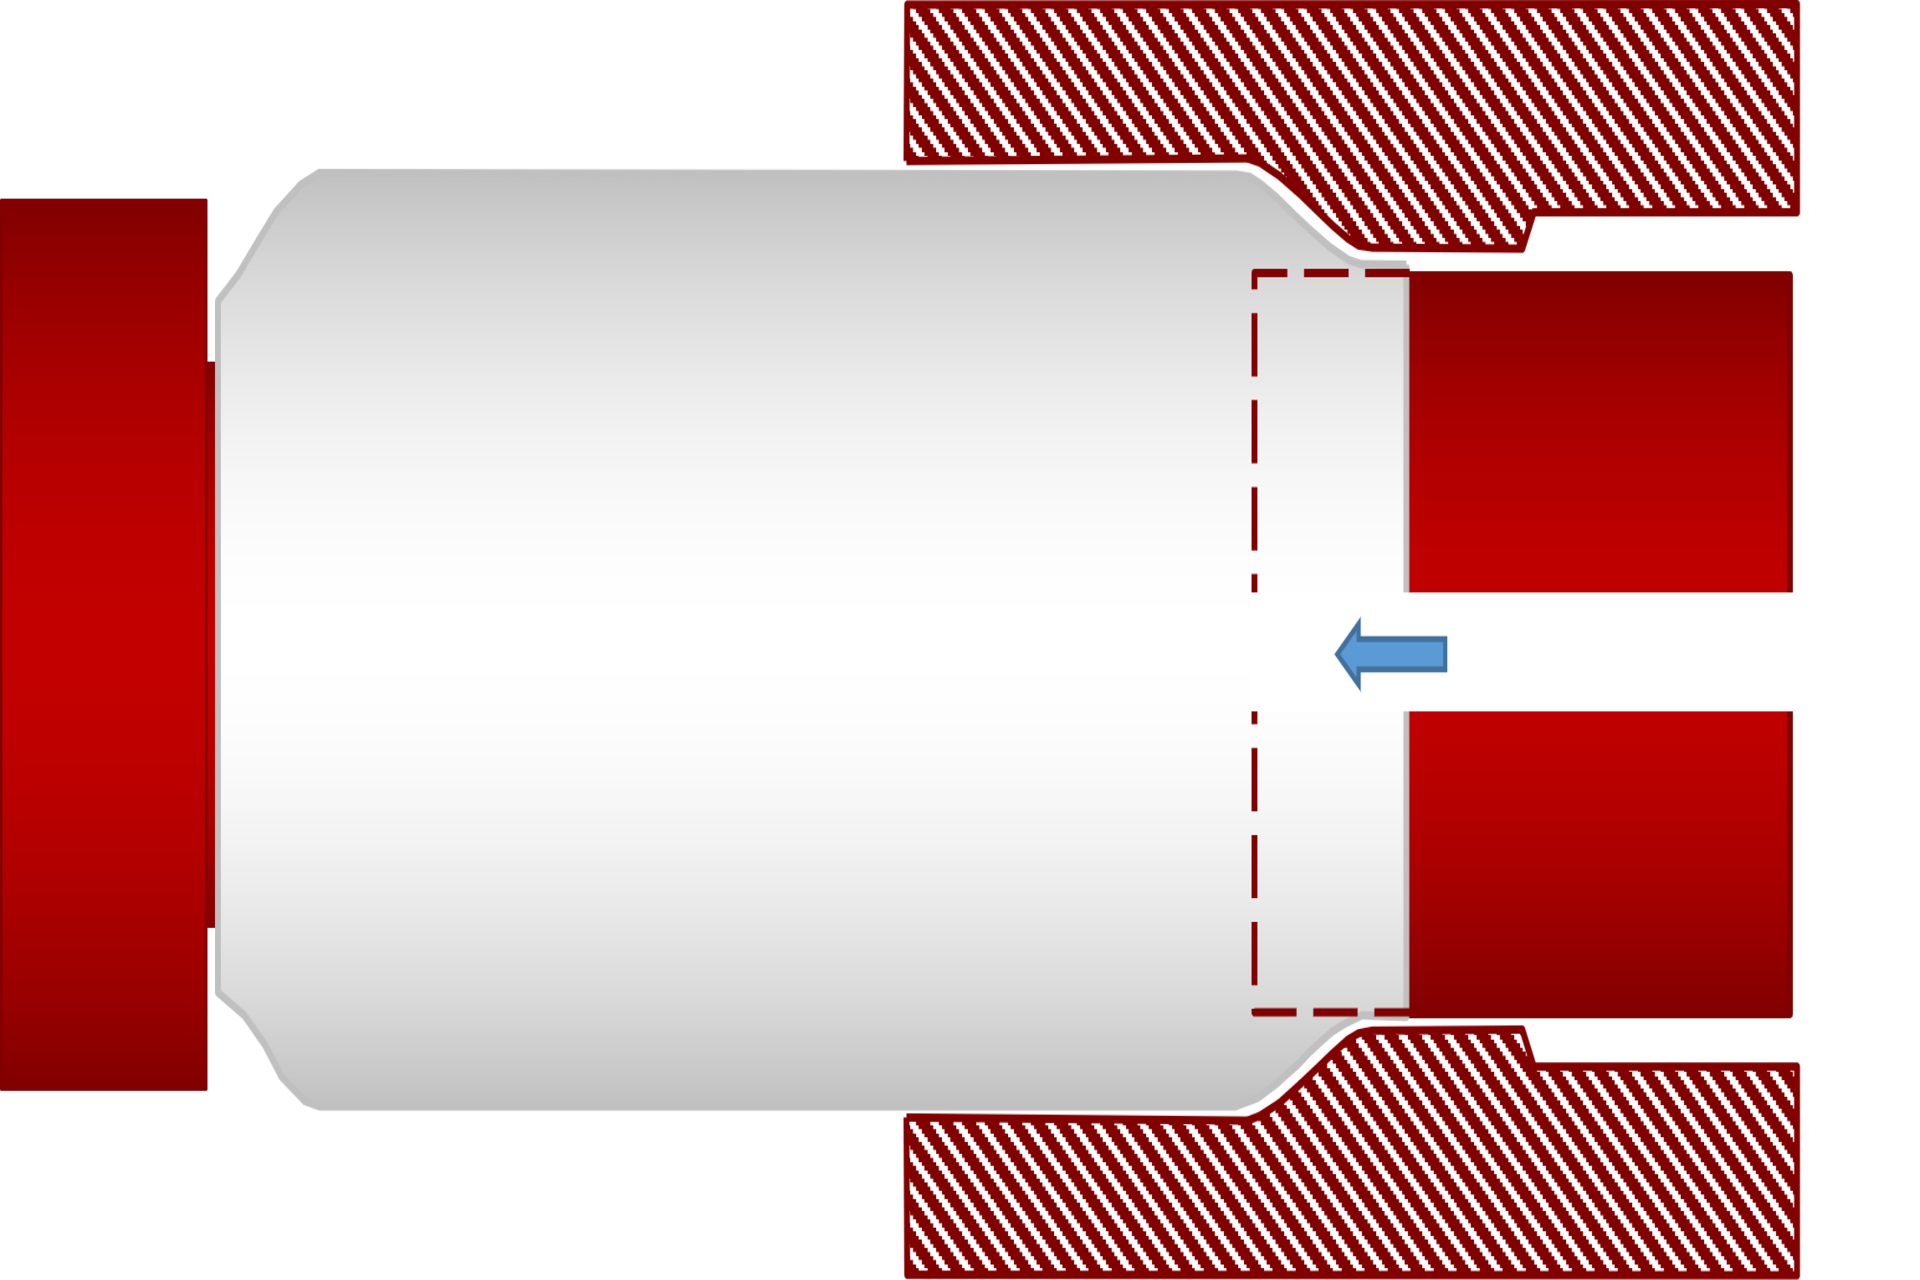
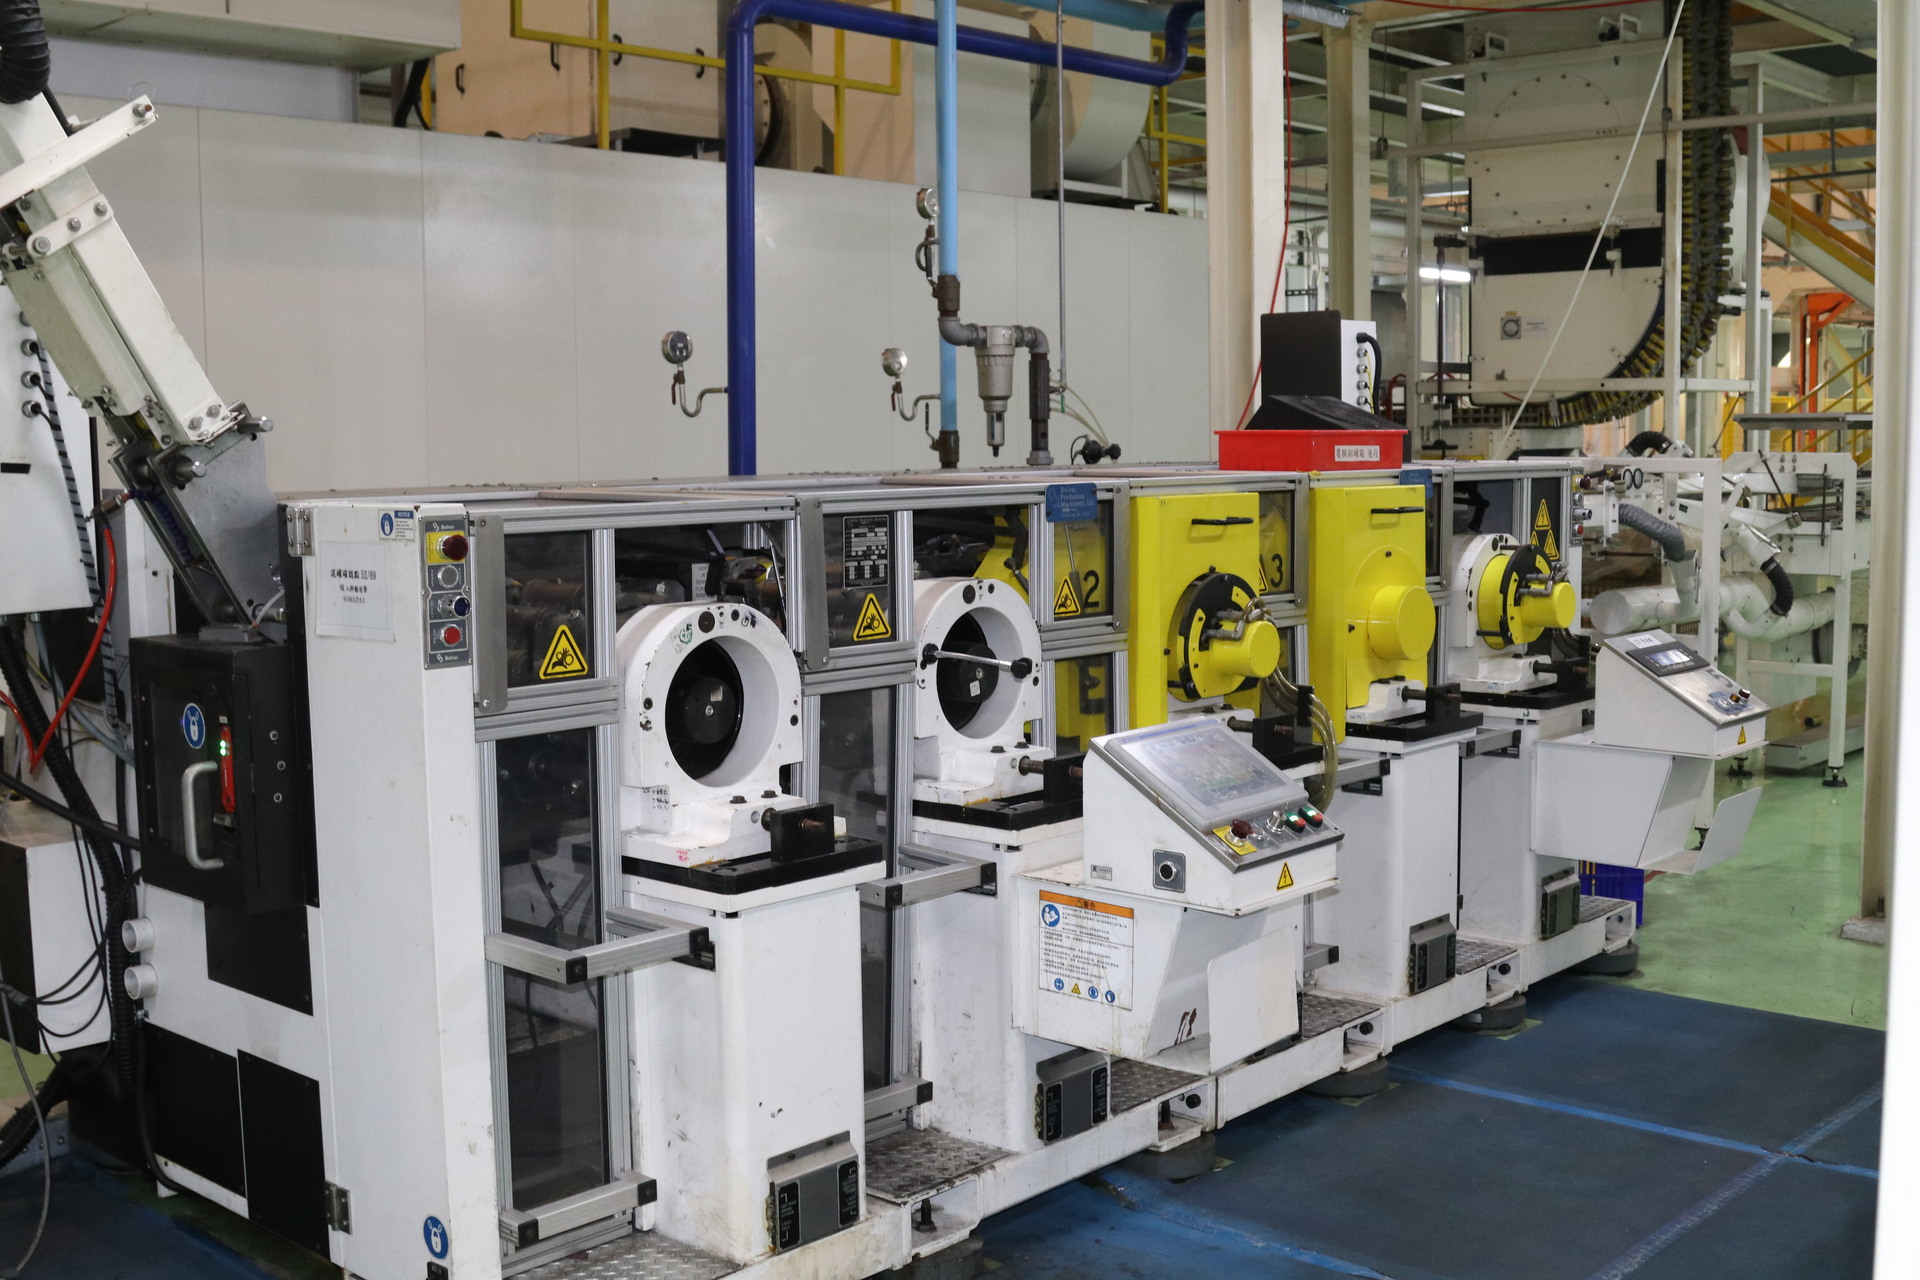
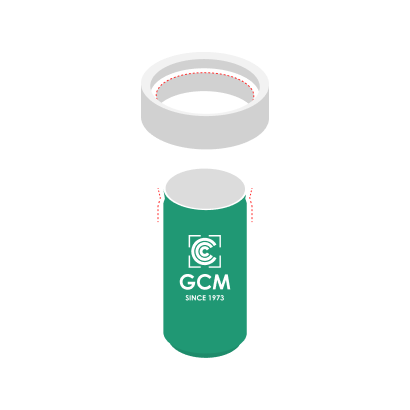
Necking and flanging are essential steps in the aluminum can manufacturing process. The purpose is to reduce the diameter of the can opening and form a flanged edge, allowing for secure sealing and ensuring the freshness and quality of the contents. Although the necking and flanging stages may appear simple, they involve precise control and advanced technical expertise.
05
Optical and Visual Inspection
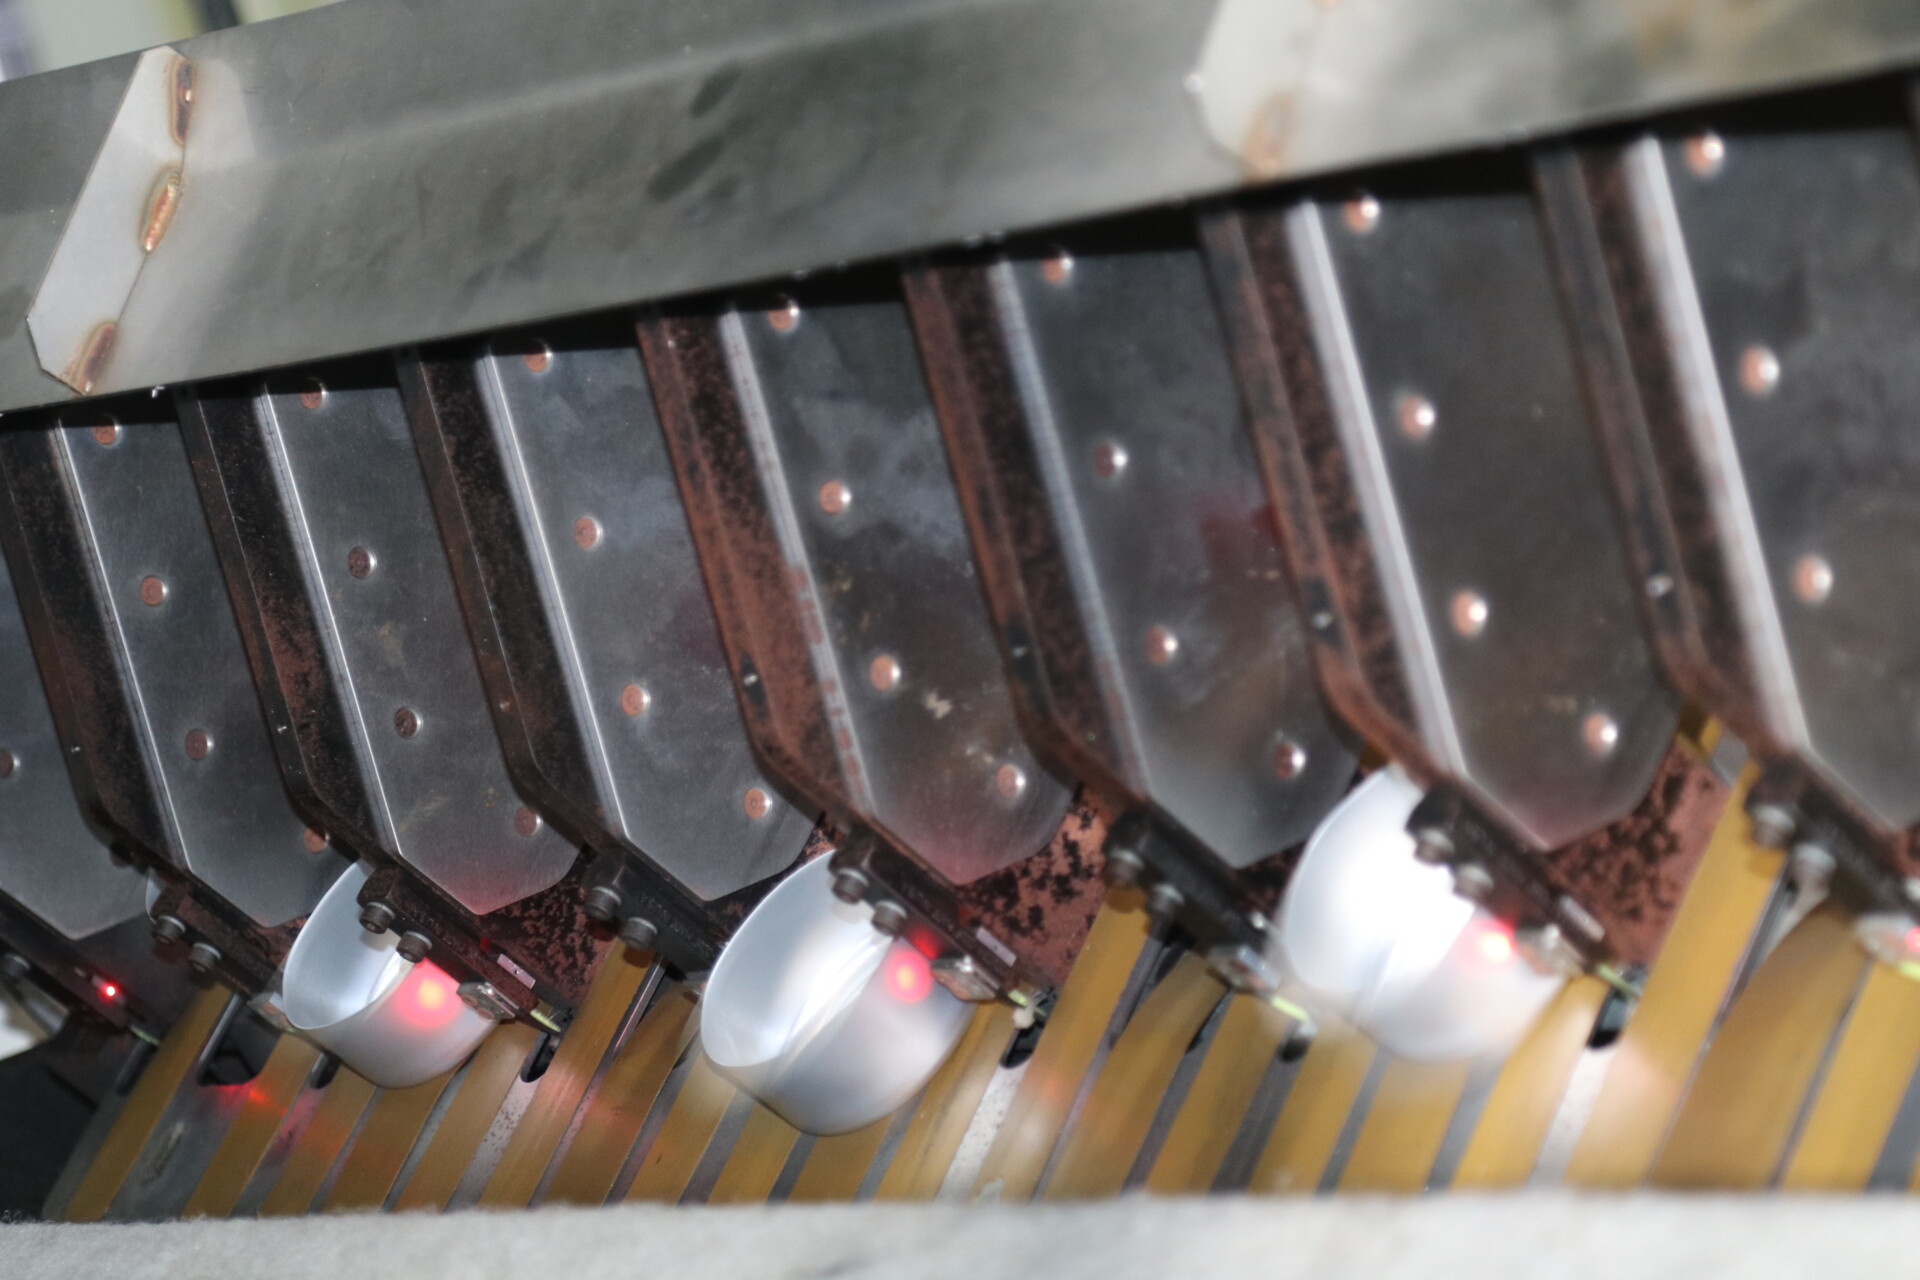
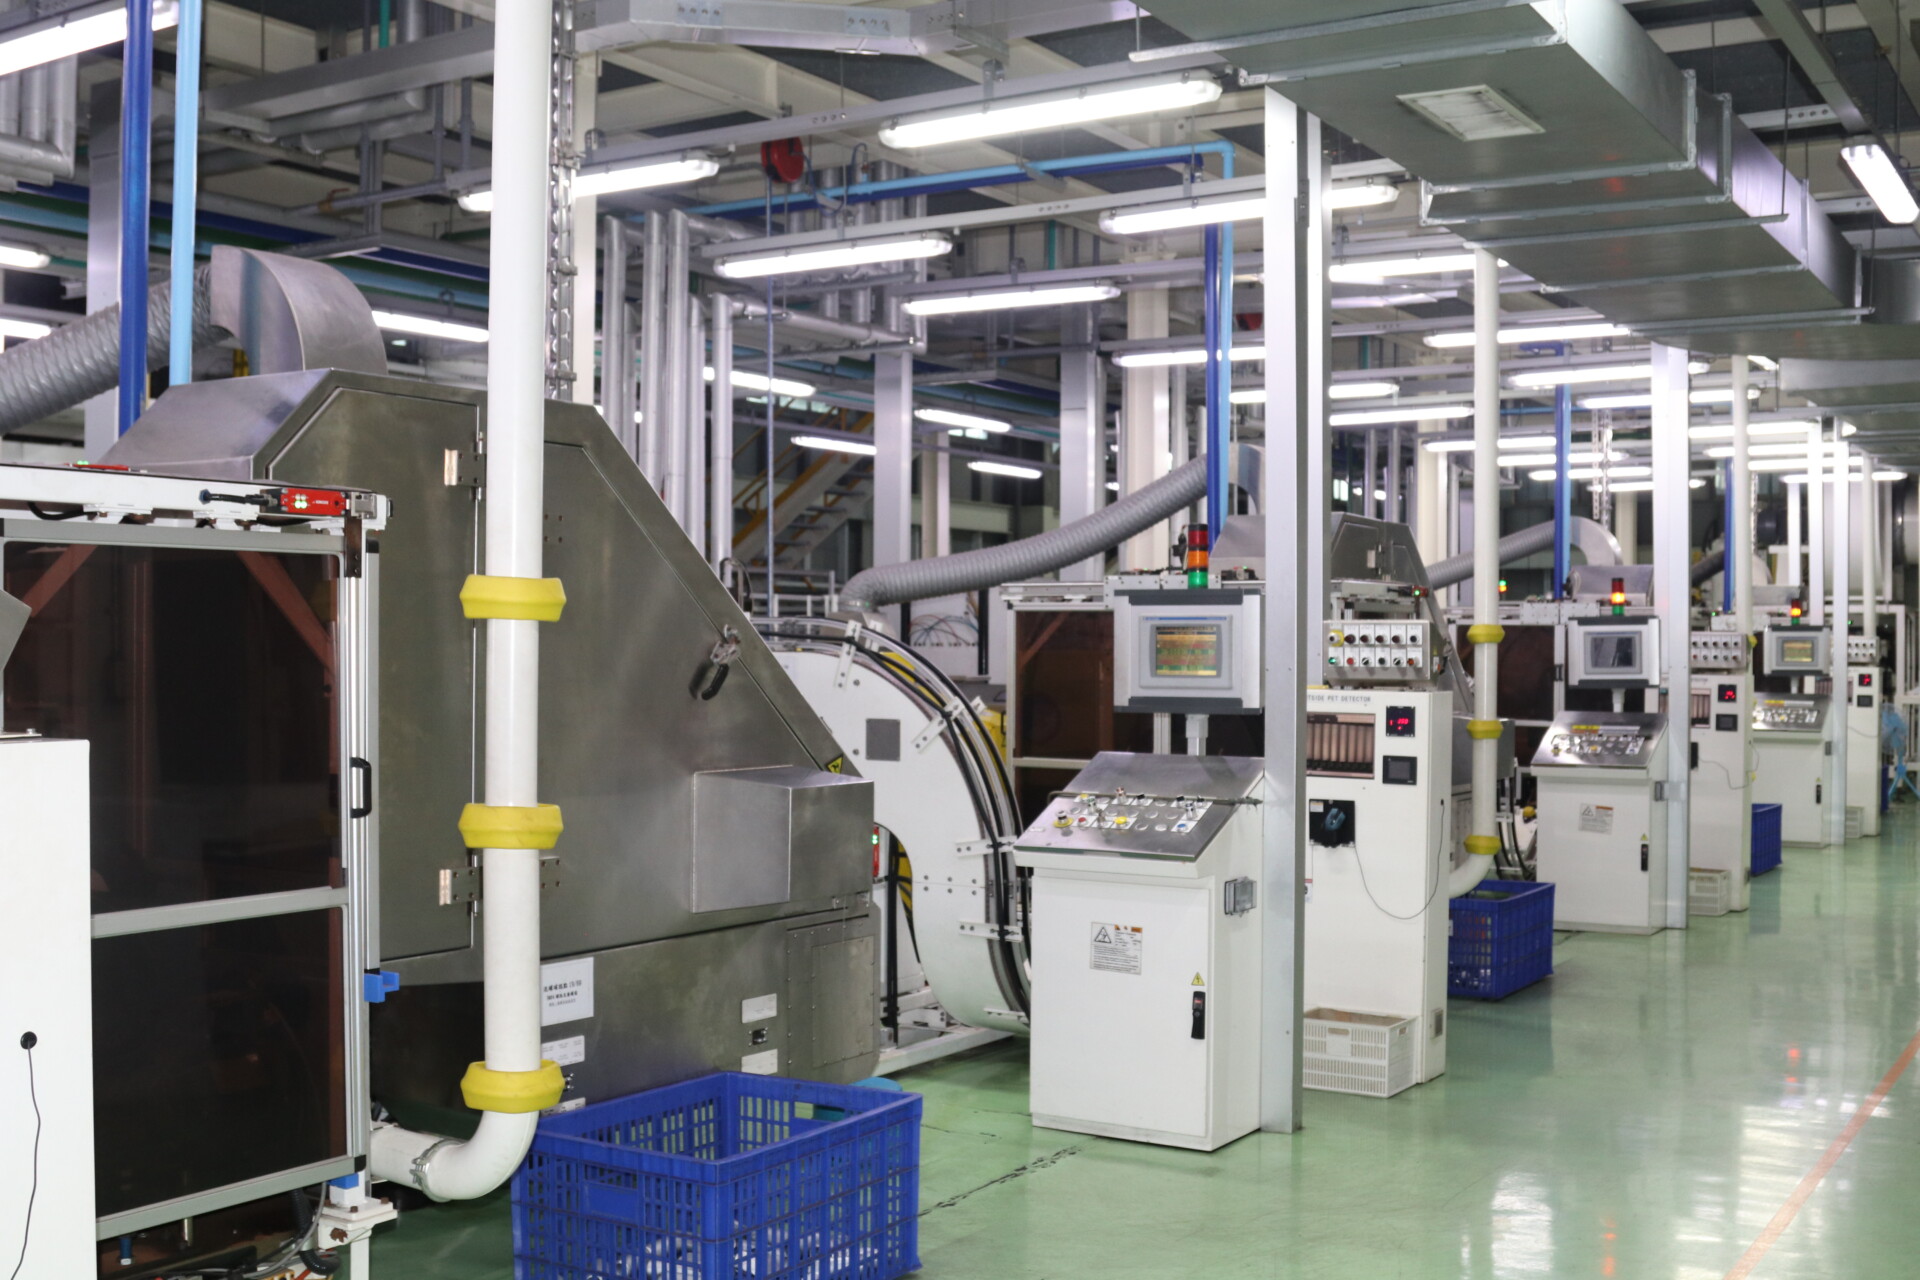
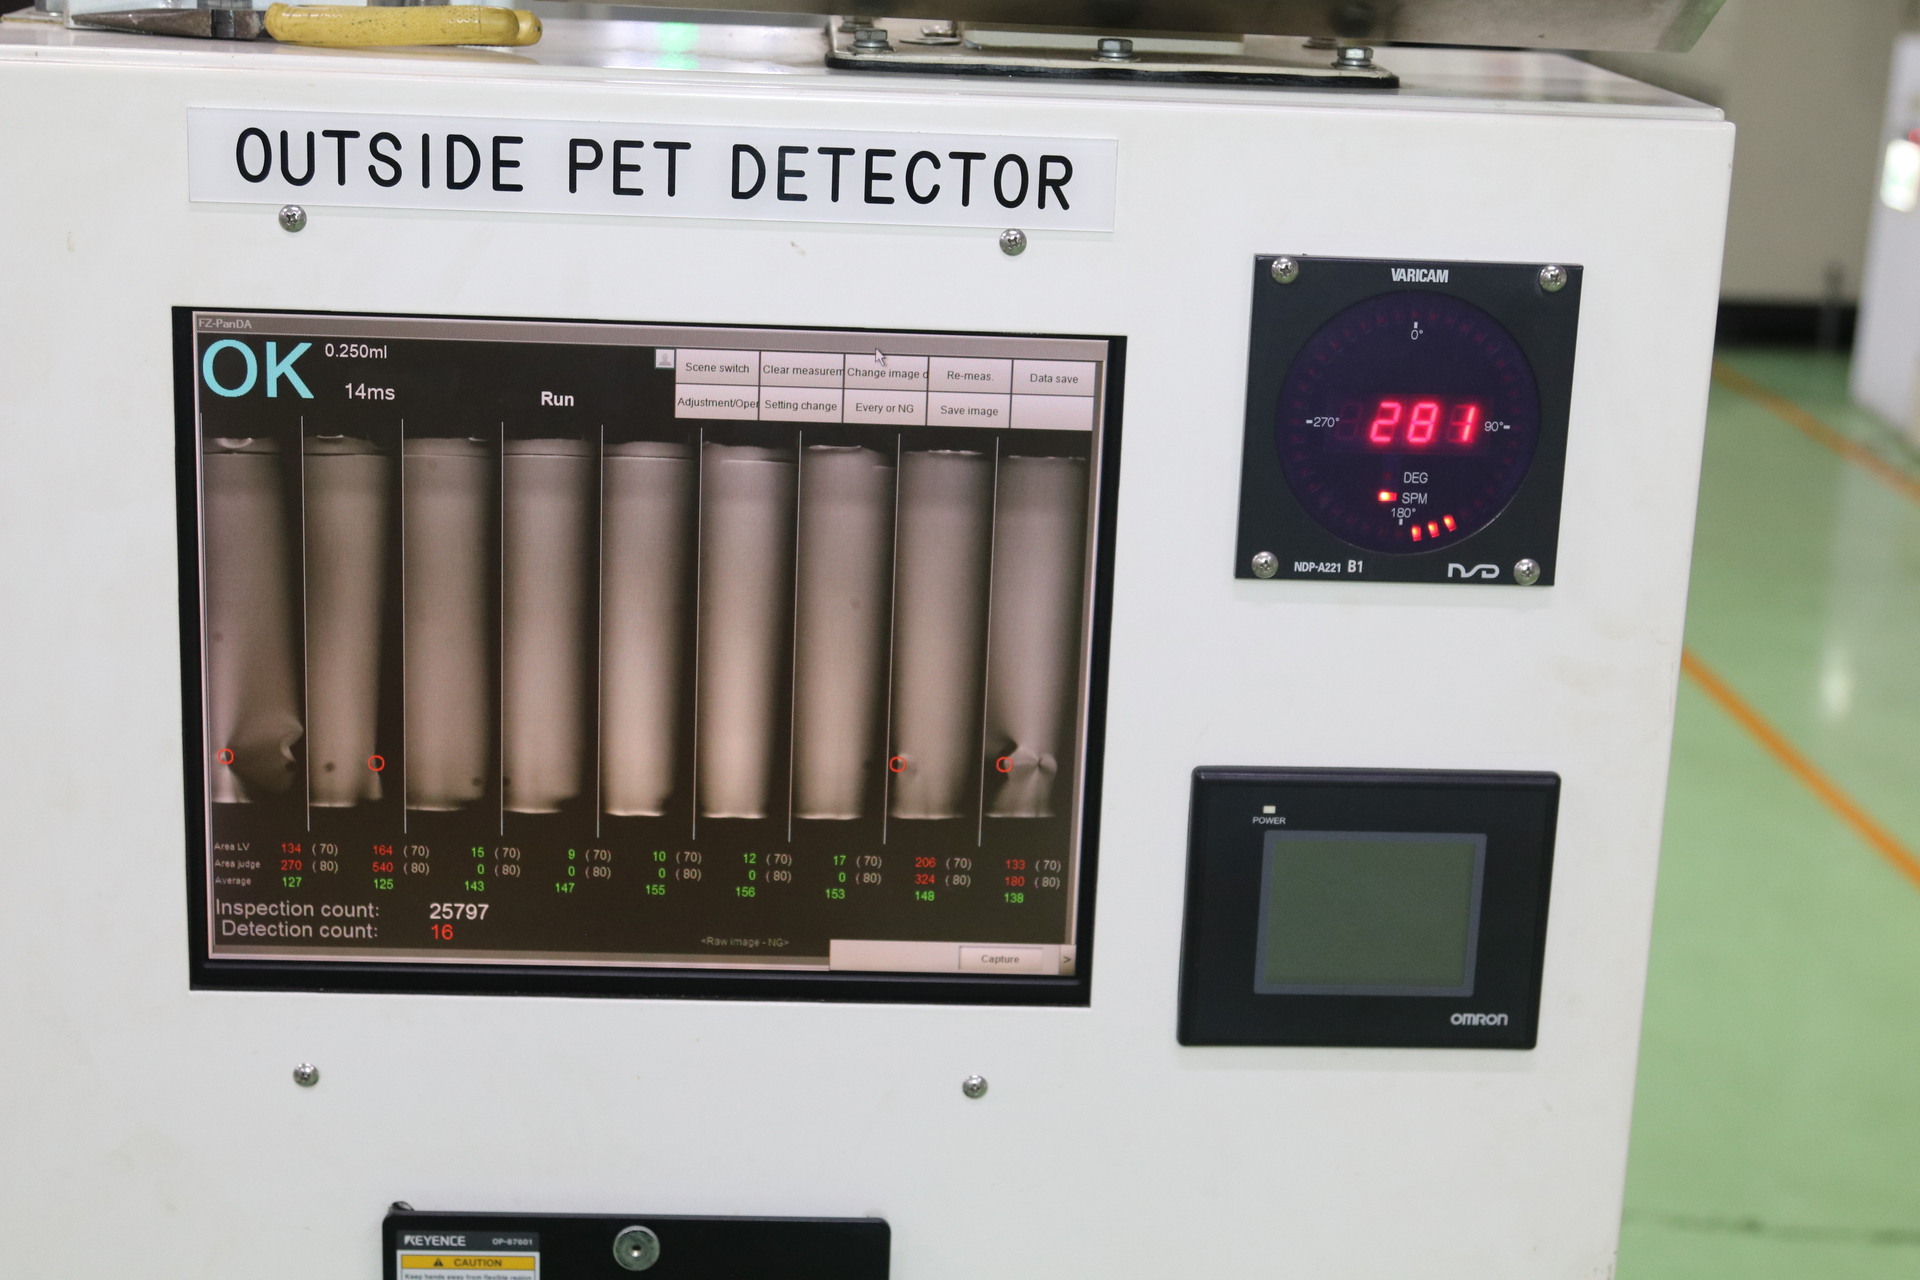
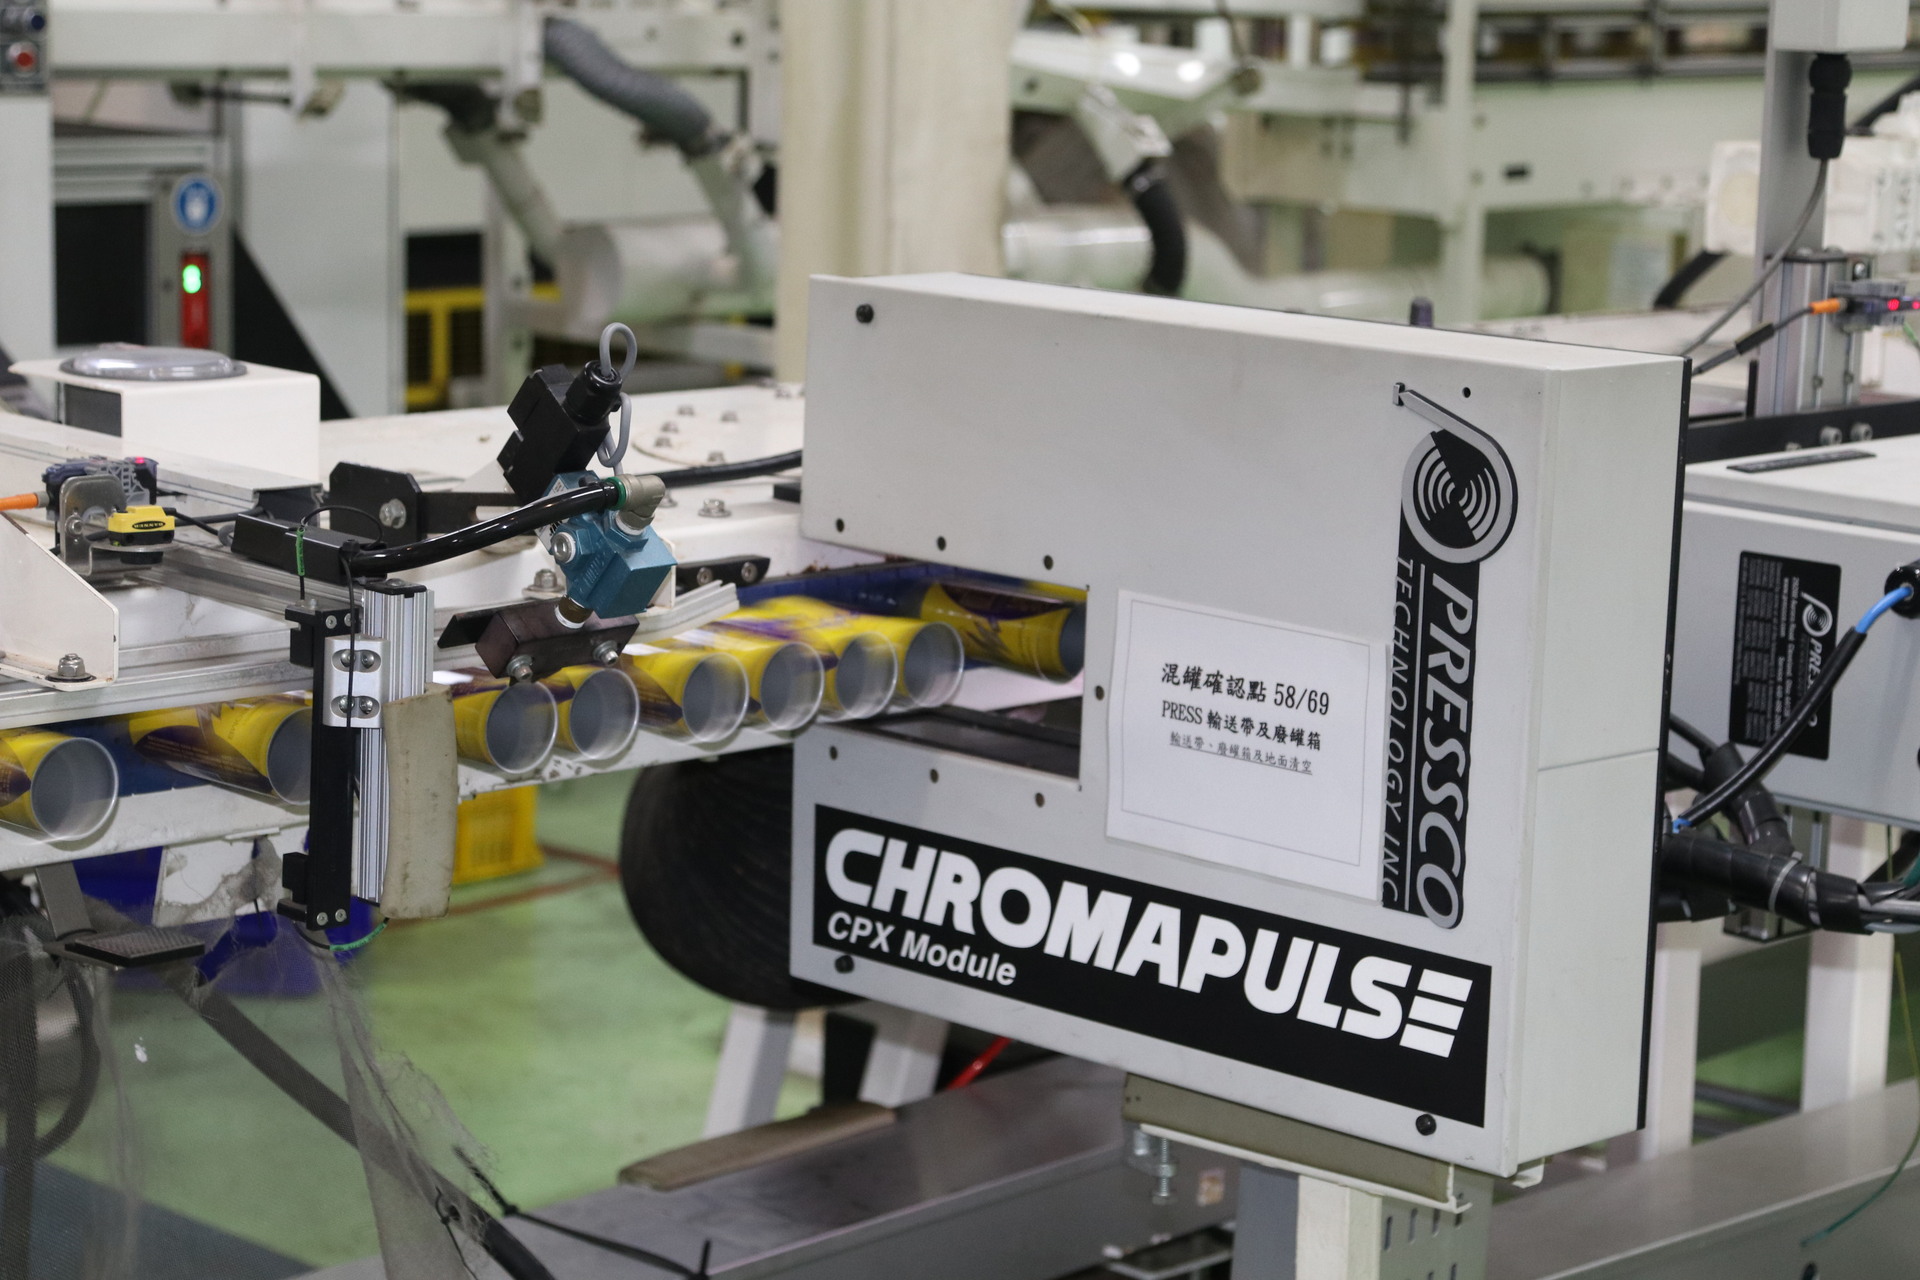
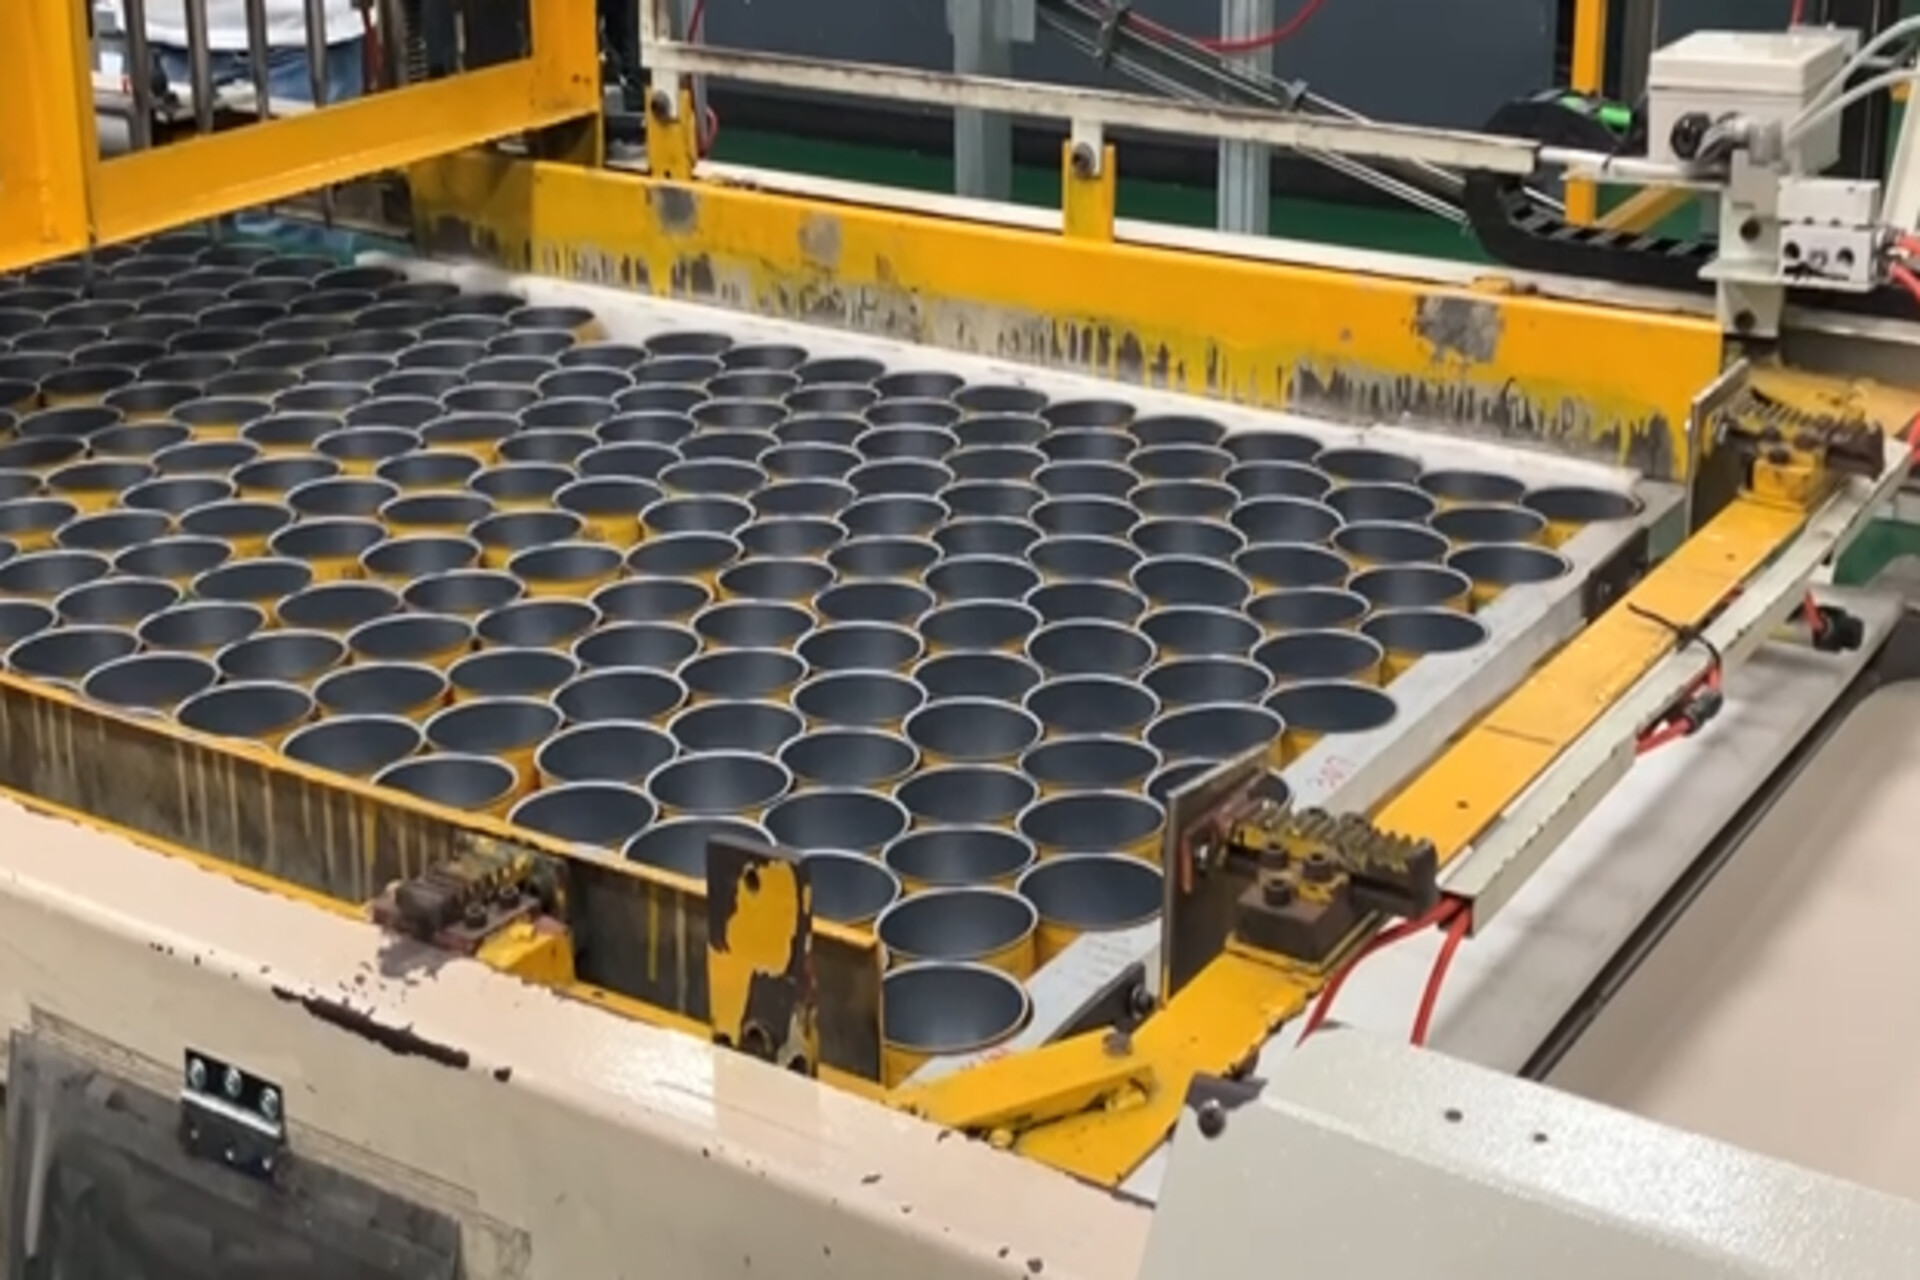
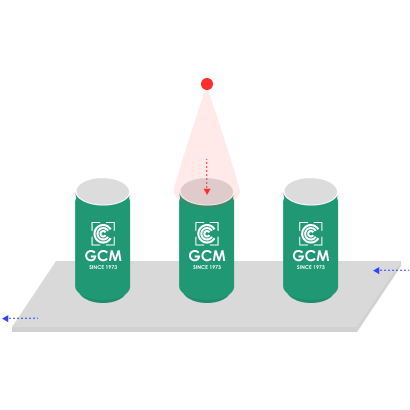
Aluminum cans pass through an optical scanning system equipped with high-resolution cameras and lighting to perform a full 360-degree surface inspection. The system captures detailed images of the can’s exterior to detect any surface defects, such as scratches, dents, contaminants, ink loss, or printing errors.
The scanned images are then processed and analyzed by a computer, which compares them against predefined quality standards. The system identifies defective cans, marks them, and automatically removes them from the production line to ensure that only qualified products proceed to the next stage.
Other Inspection Items
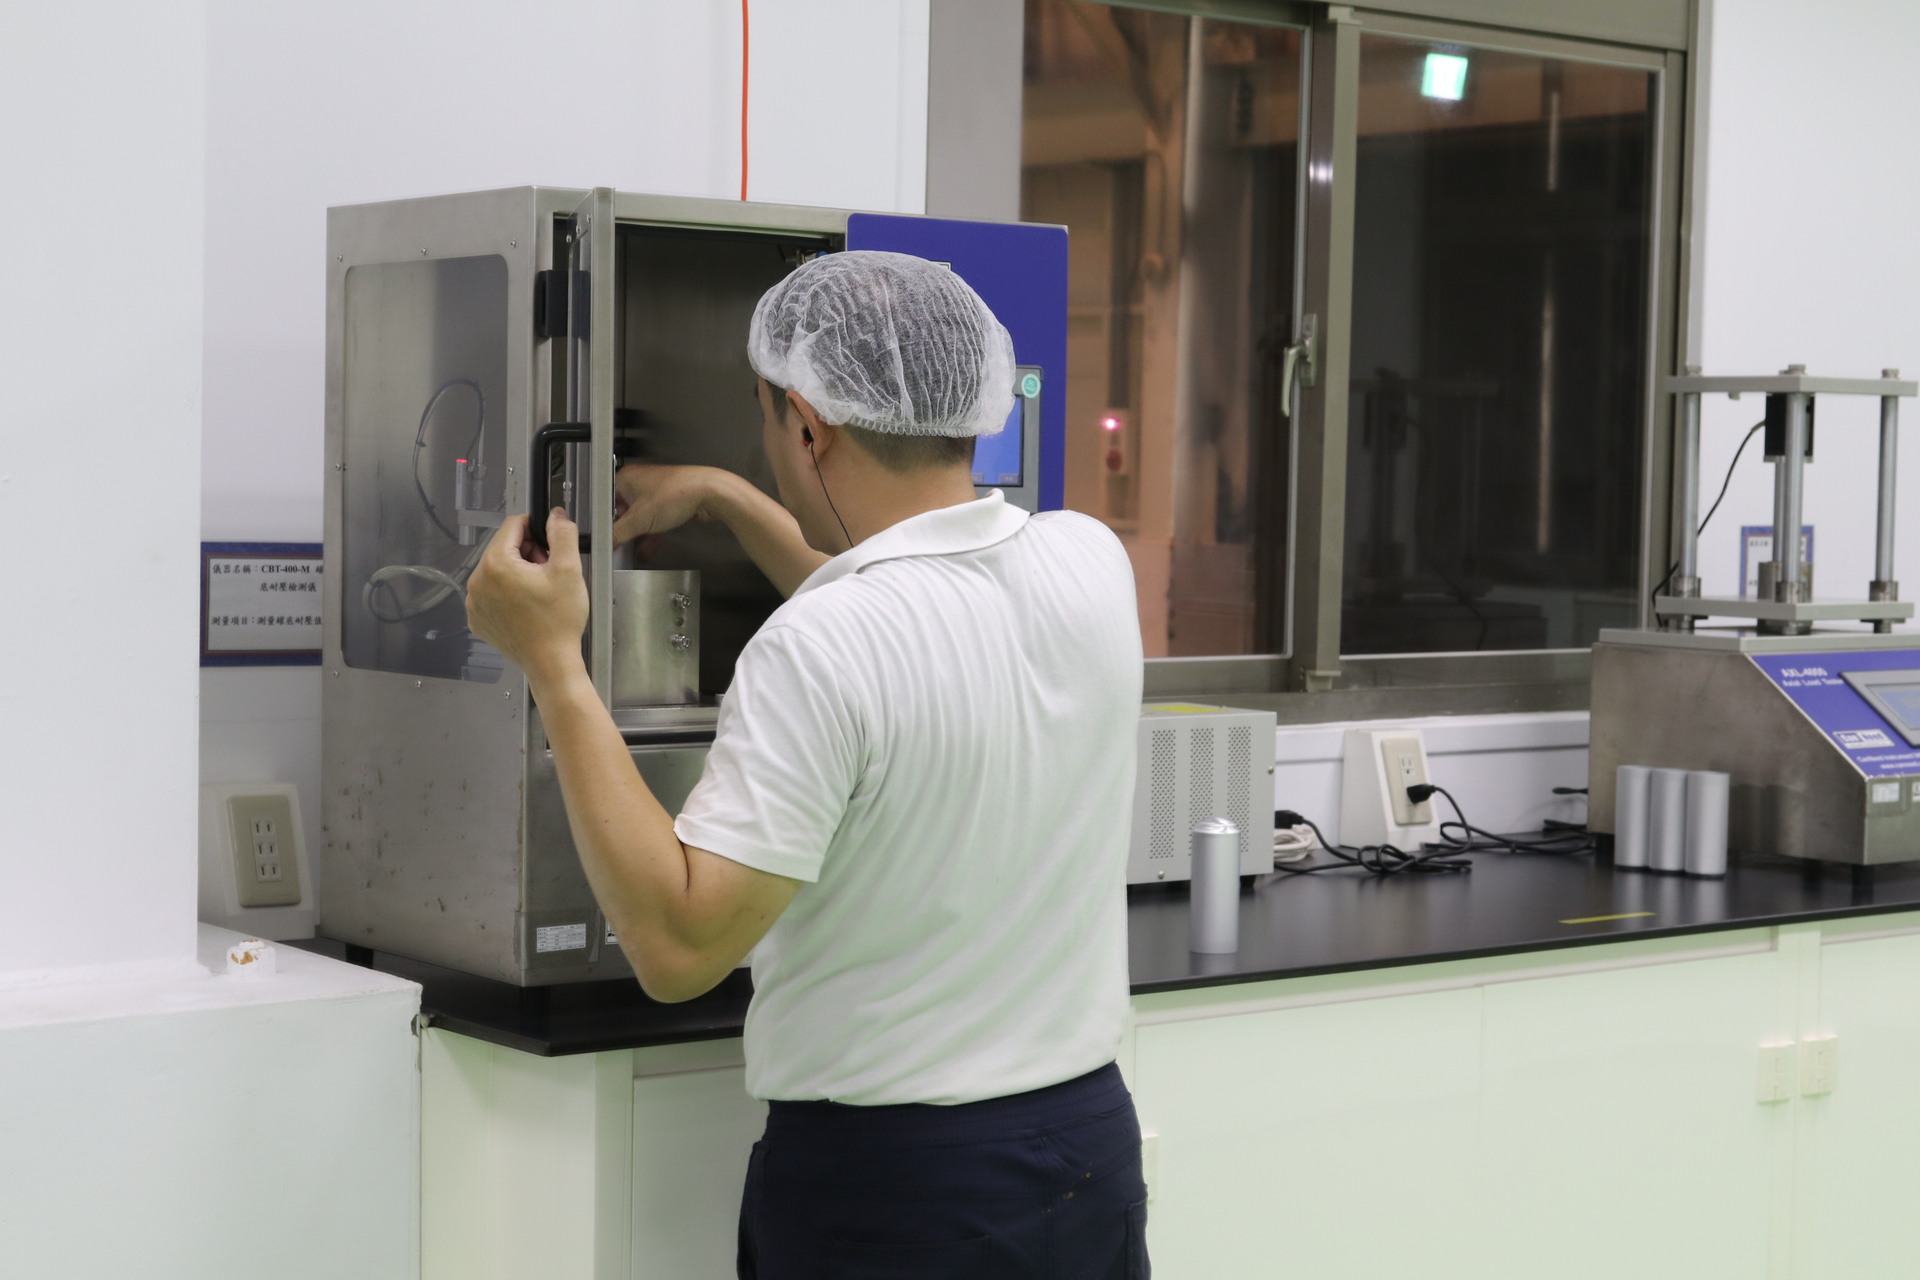
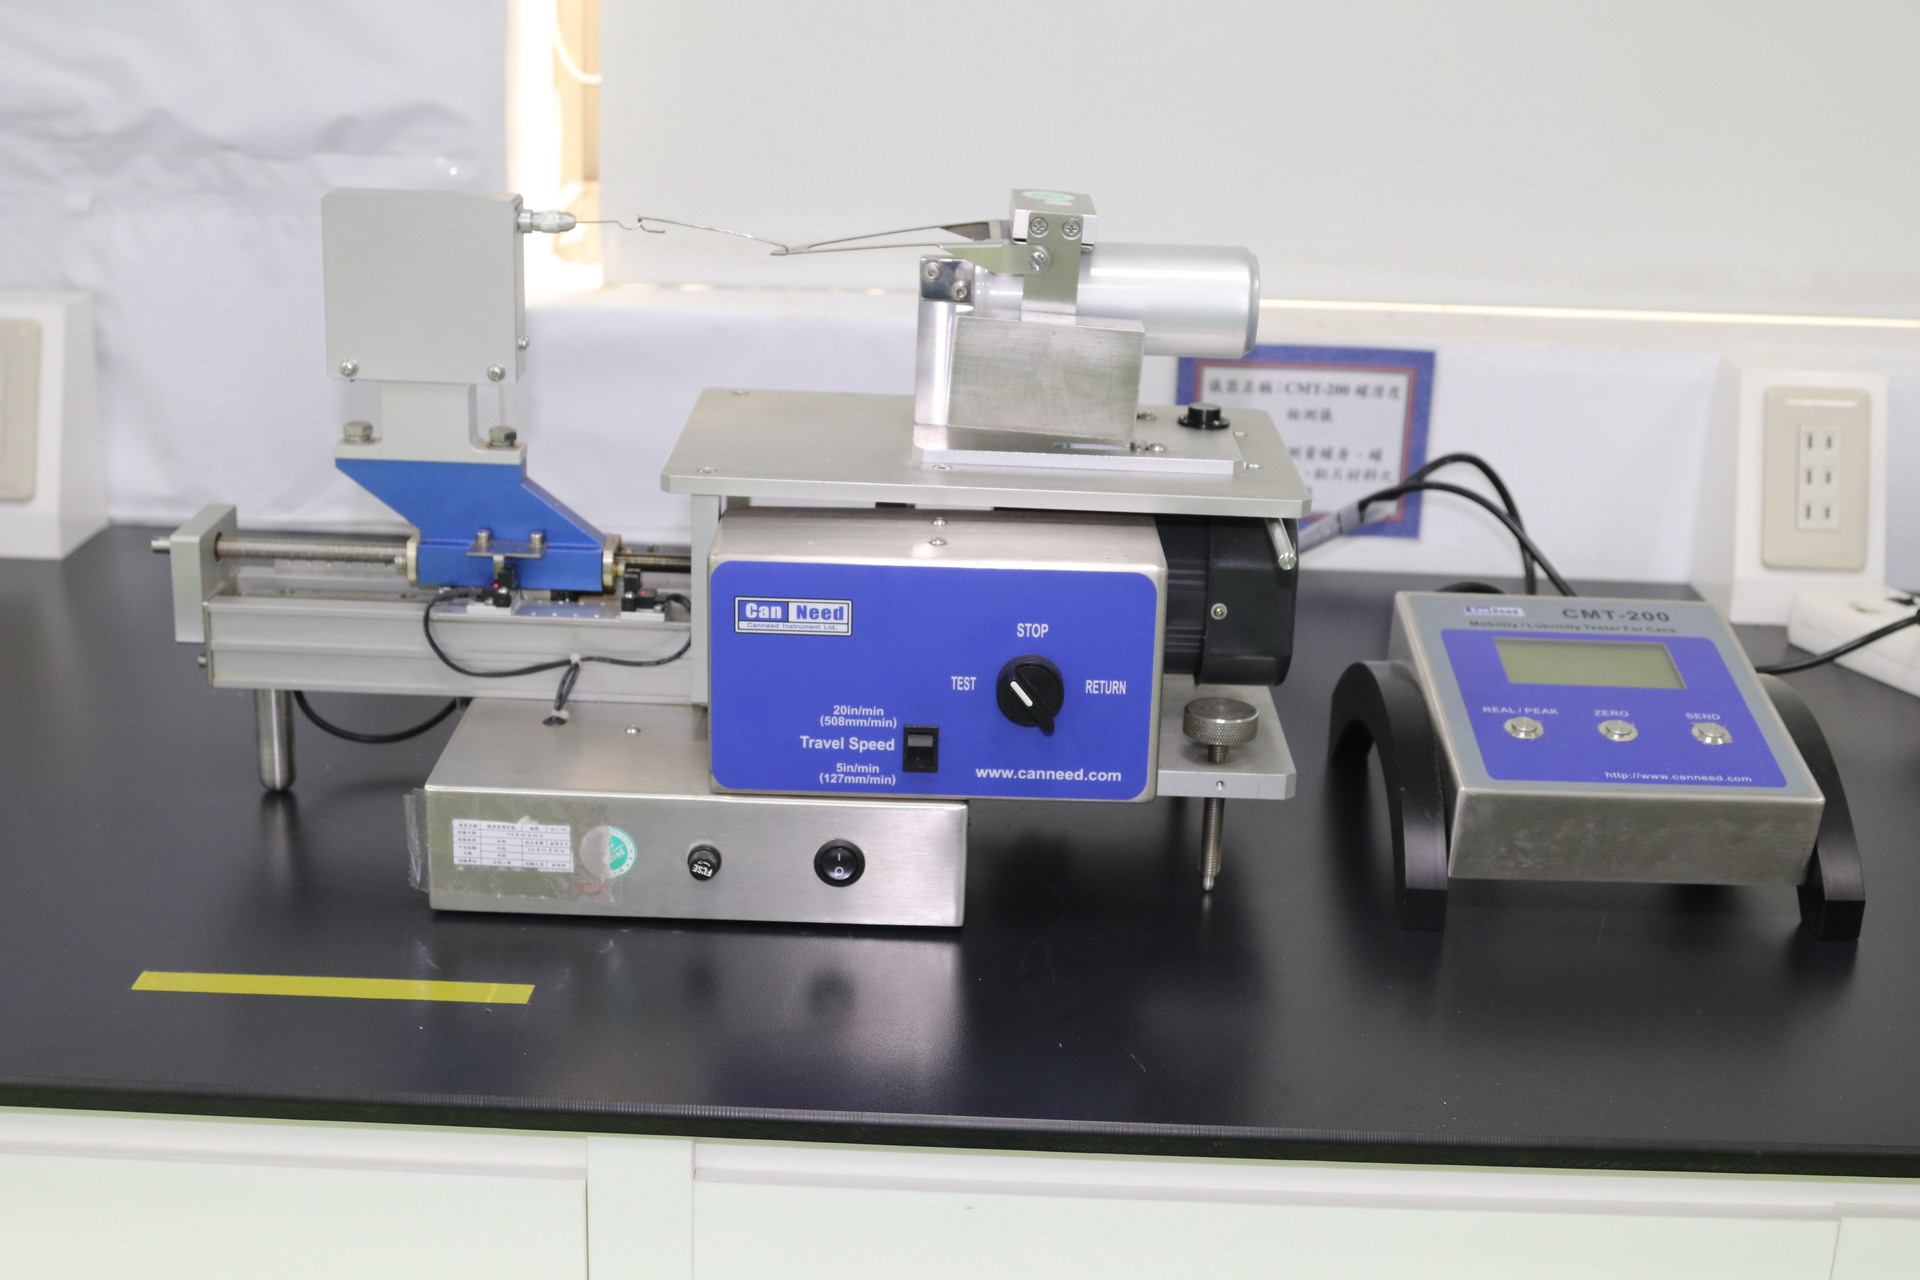
After necking and flanging, in addition to 100% optical inspection and both internal and external checks, a series of quality tests are conducted, including finished product dimension measurement, axial load (axial pressure) testing, and bottom pressure resistance testing, to ensure product quality.
06
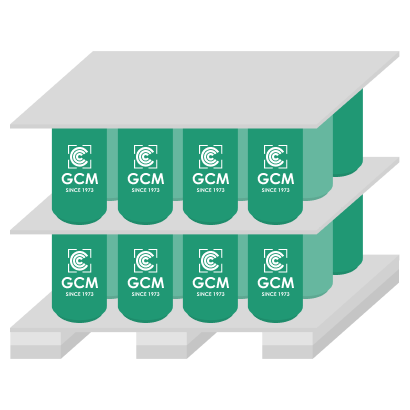
Pallet Packaging
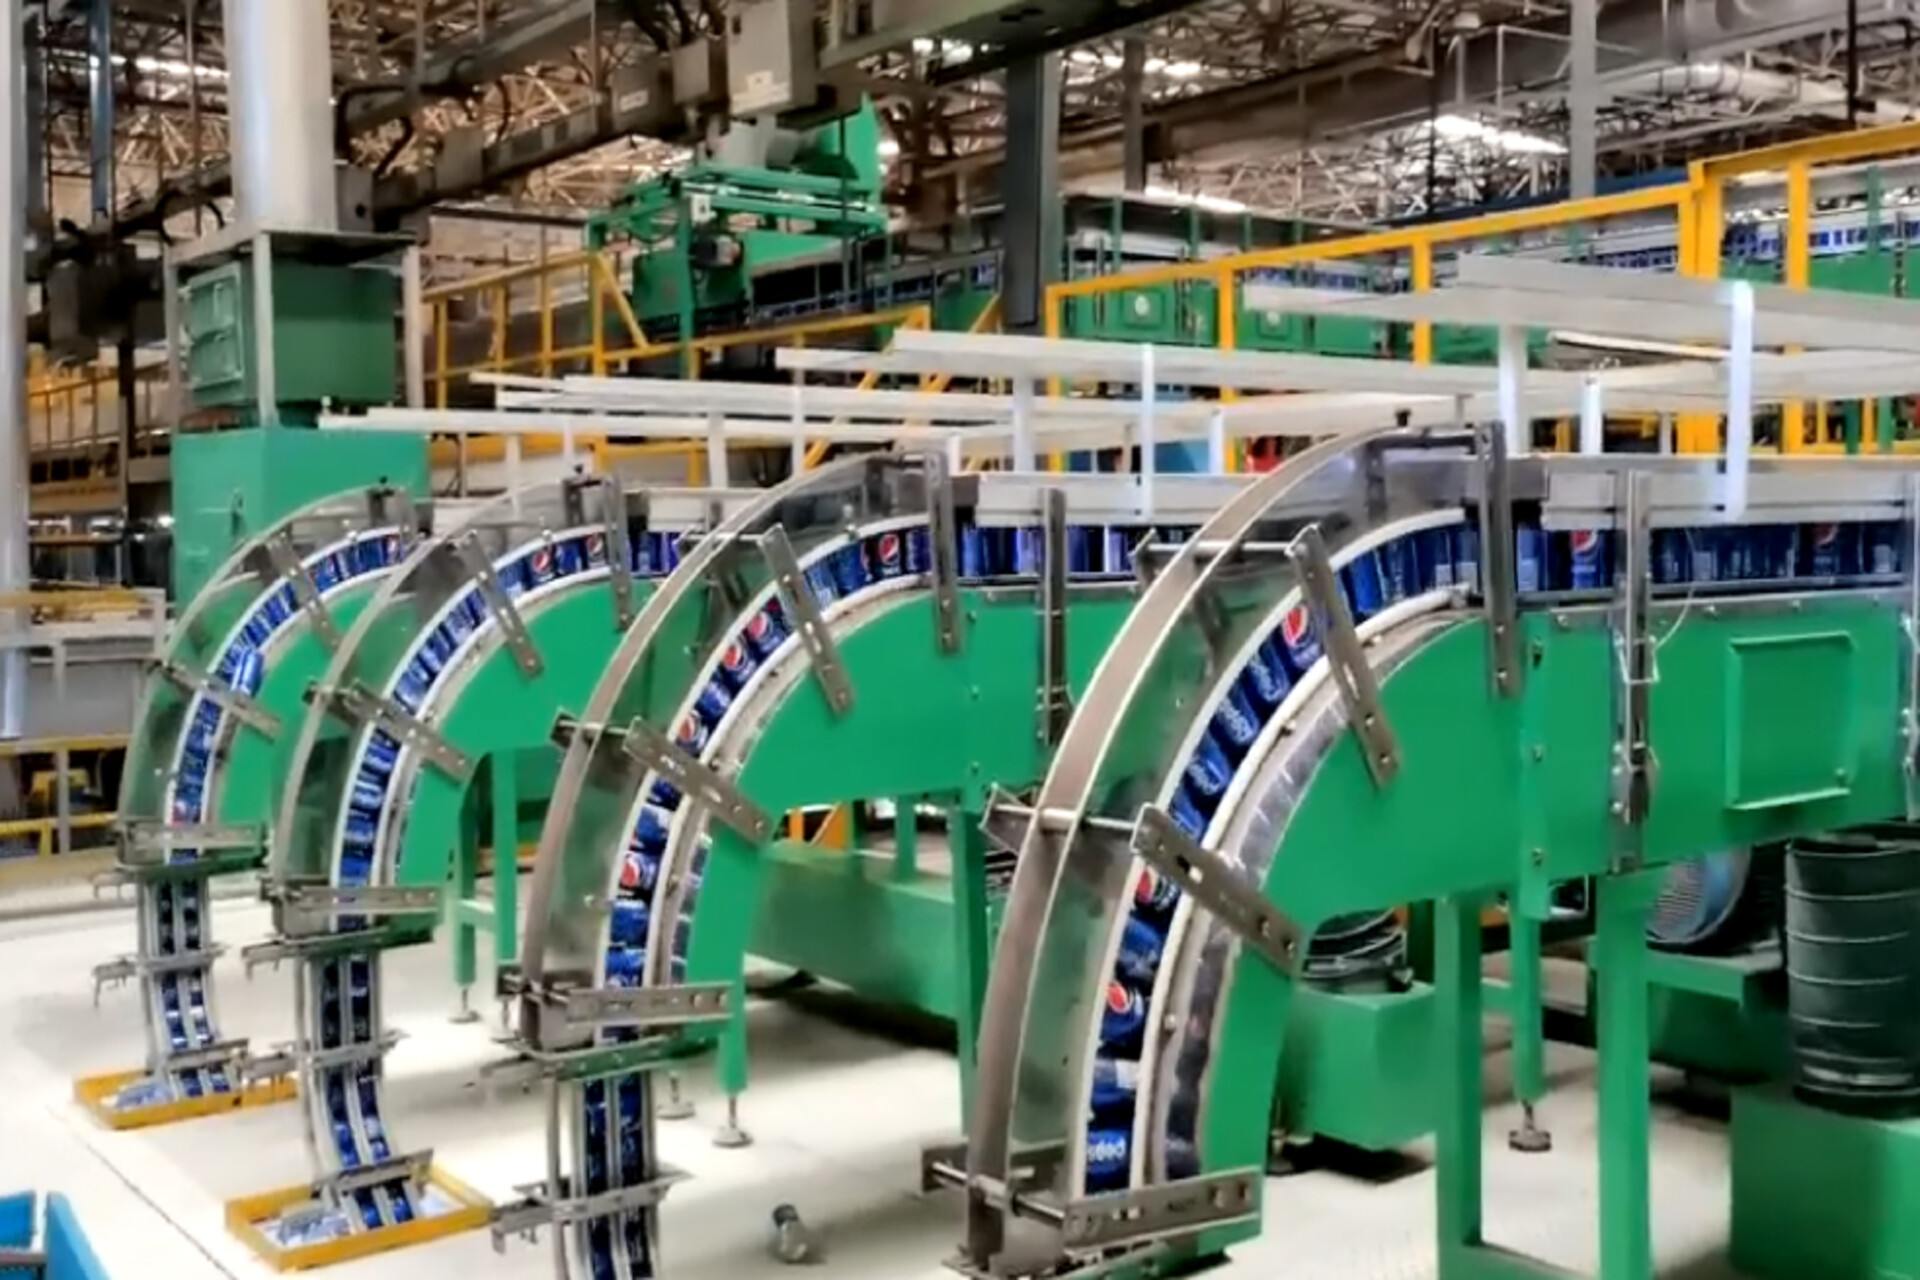
The performance inspection process includes checking the aluminum can’s height, diameter, wall thickness, and sealing integrity. For example, cans are placed in a pressure testing machine to simulate internal pressure during actual use, testing whether they can maintain structural integrity within the specified pressure range without leaking or bursting.
Additionally, corrosion resistance and mechanical properties are tested one by one to ensure that the cans perform reliably under various environmental conditions. Together, image inspection and performance testing ensure both the appearance quality and functional reliability of the aluminum cans.
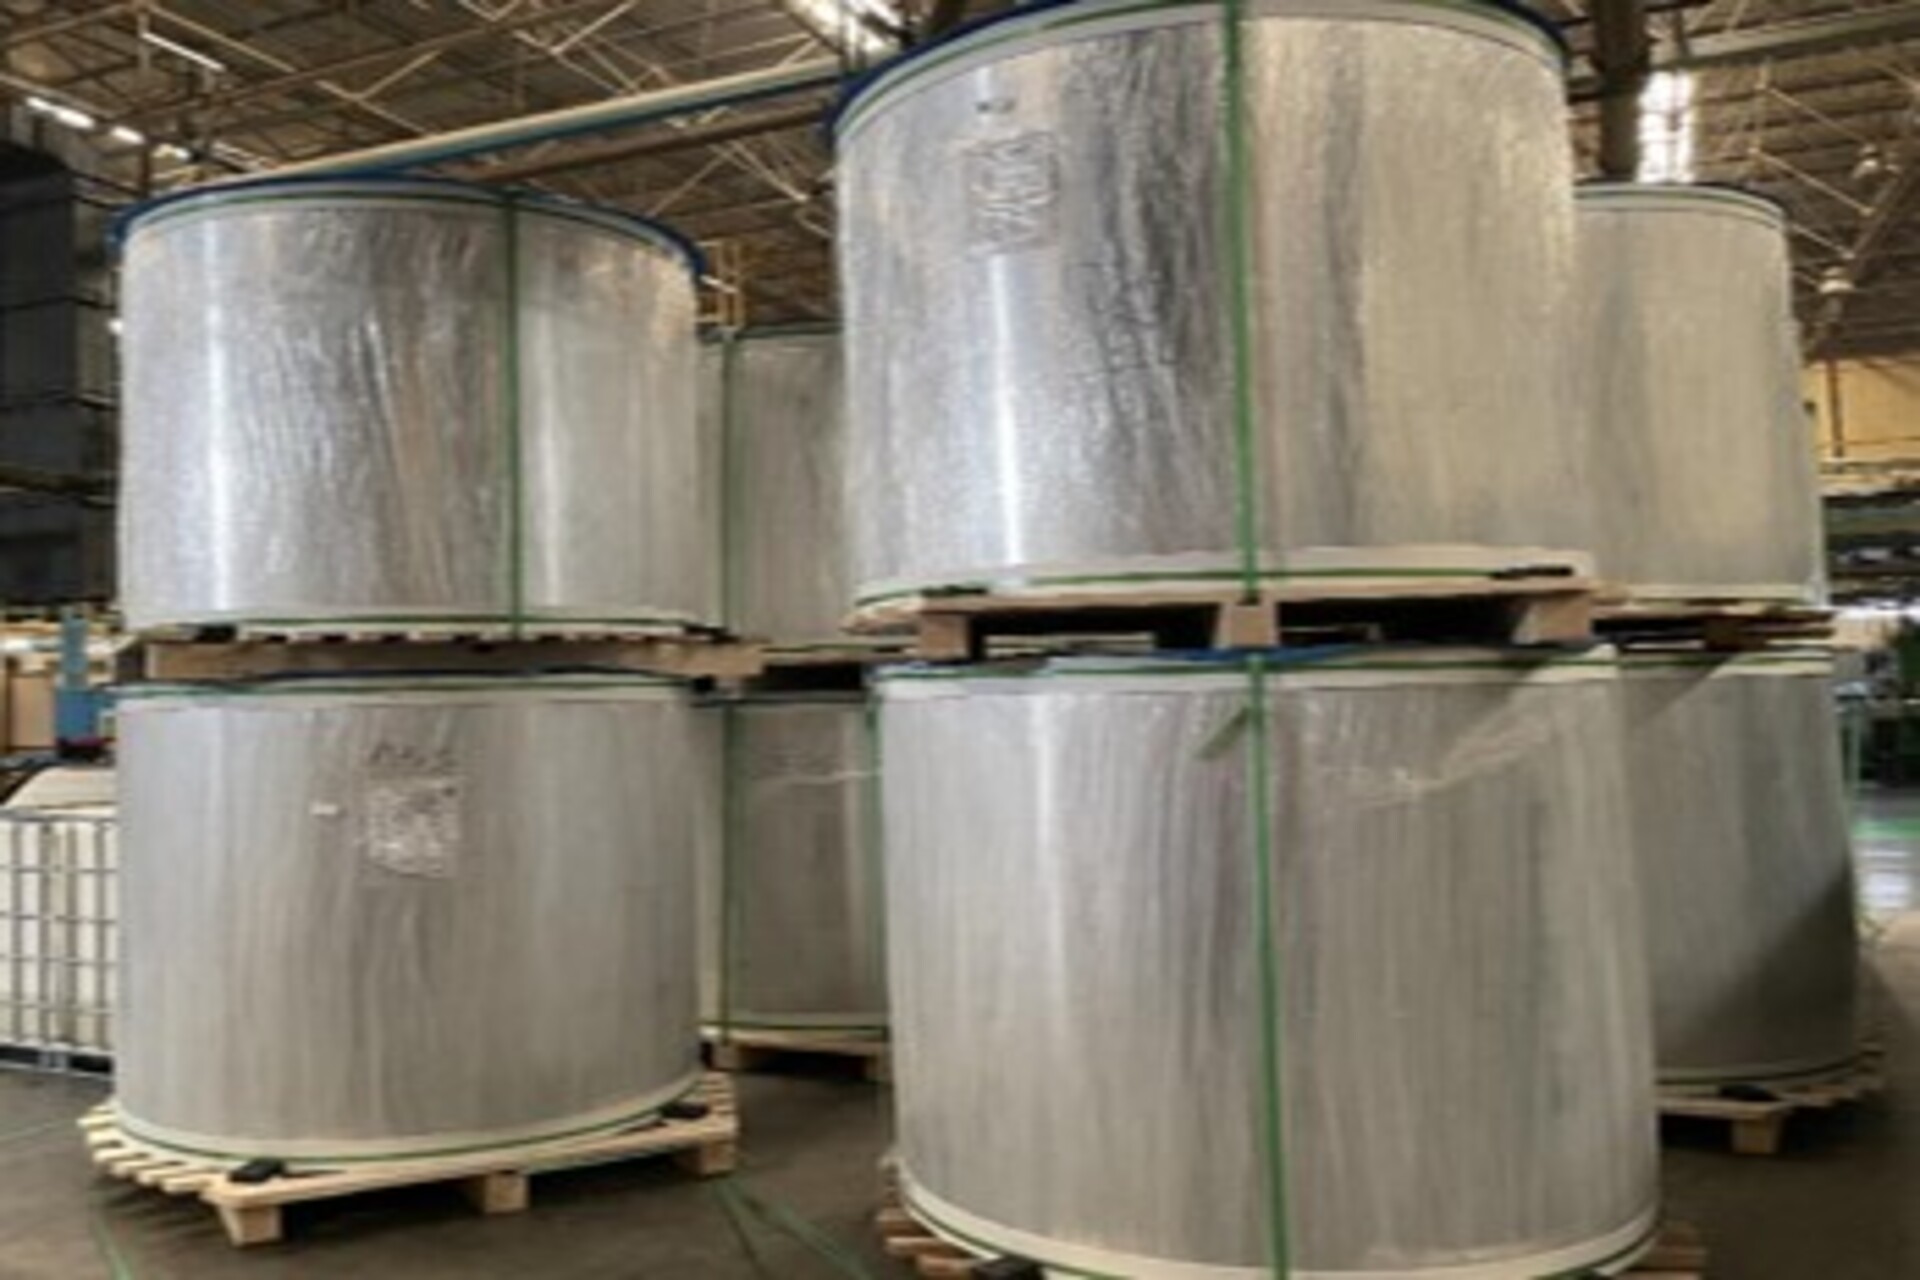
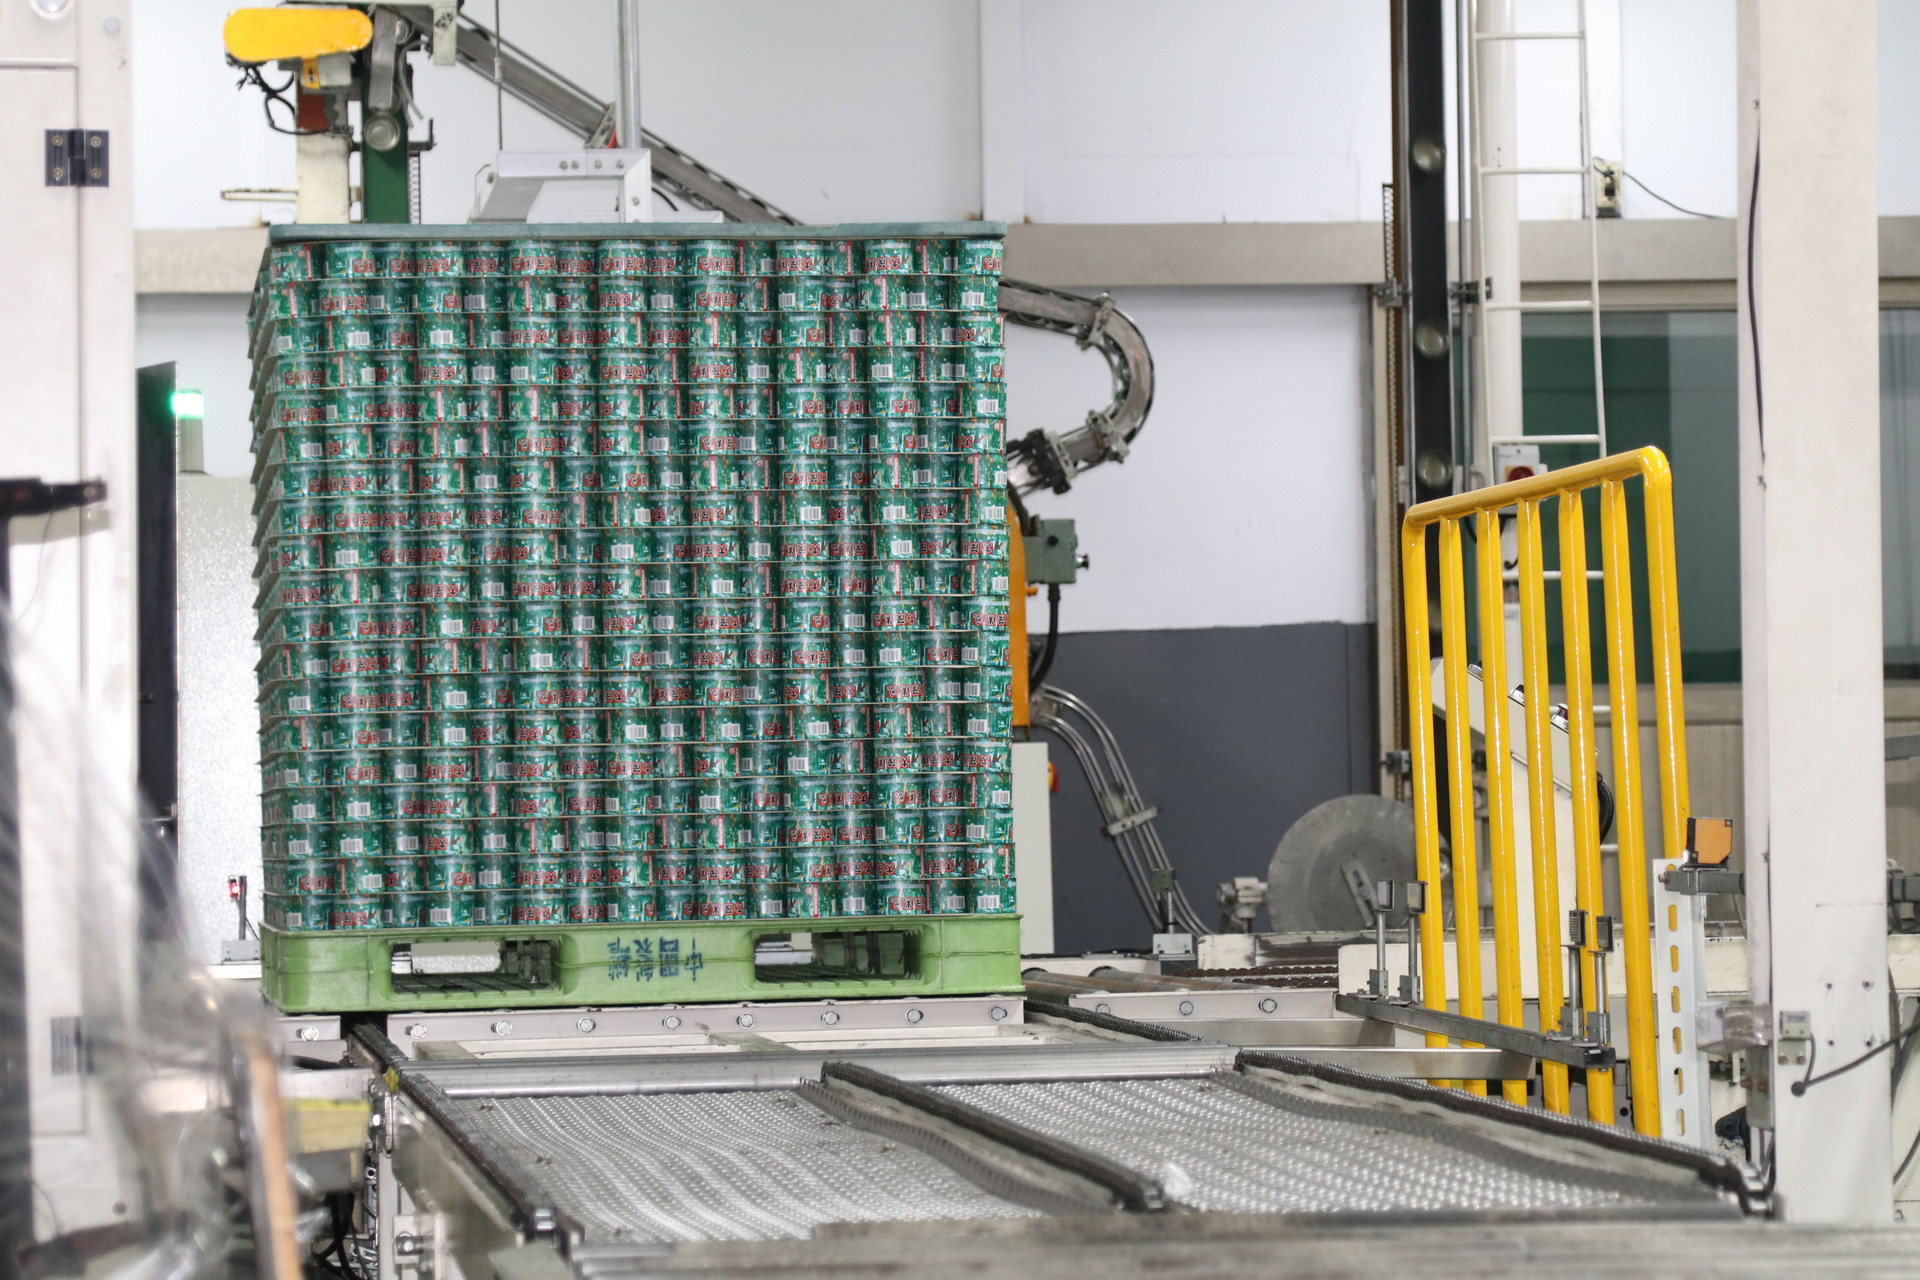
Finally, aluminum cans that have passed printing and inspection are packaged and prepared for delivery to food manufacturers for filling and final sealing processes.
07


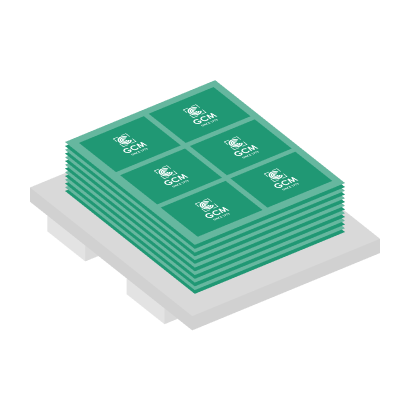
material
printing
drying
Three-piece steel cans are primarily made using tinplate, a composite material consisting of a low-carbon steel sheet coated with a thin layer of tin (Sn) through a hot-dip process. Based on product design, our company assists customers in printing high-quality graphics for can bodies, bottoms, and lids, including artwork, text, and brand logos.
After printing, the ink must be dried to ensure strong adhesion to the can surface, preventing peeling or smudging during subsequent processing stages.
Process Overview
What is Tinplate?
The term “馬口鐵” (pronounced ma-kou-tieh) originated because this type of tin-coated steel sheet was initially imported into China through Macau. Since “Macau” was transliterated as “馬口” (Ma-Kou) in Chinese at the time, the material came to be known as “馬口鐵,” literally meaning “Macau iron.”
01
Cutting
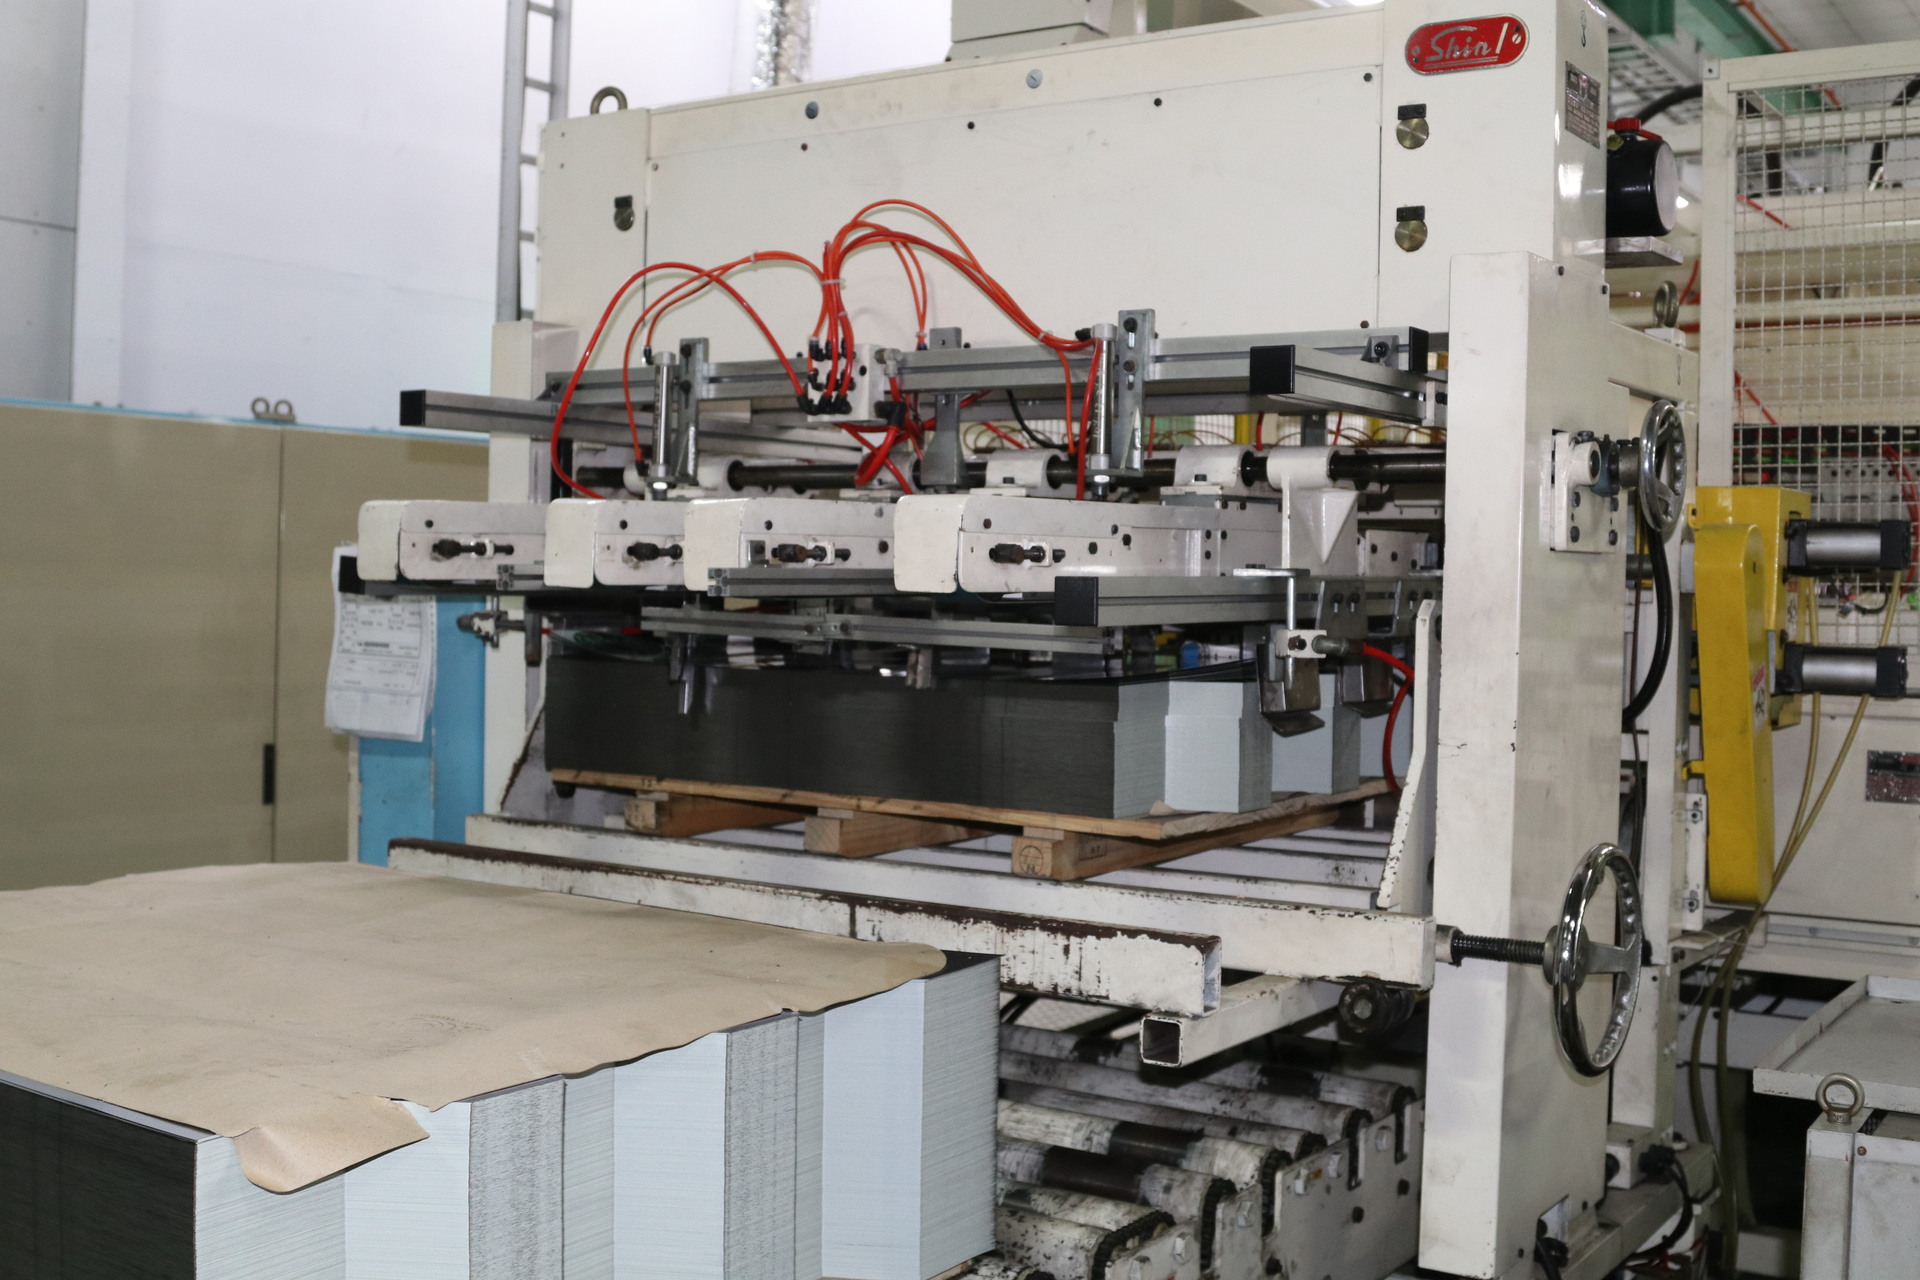
In the production of three-piece steel cans, cutting is a critical step that determines the size and shape of the can body, bottom, and lid, directly impacting the quality of the final product. At this stage, large printed tinplate sheets are cut to the required length using die-cutting equipment.
The accuracy and efficiency of the cutting process have a direct effect on subsequent steps such as forming and welding. If the dimensions or shapes of the cut pieces do not meet specifications, it may cause difficulties in later processes and even result in defective products.
GCM Inspection
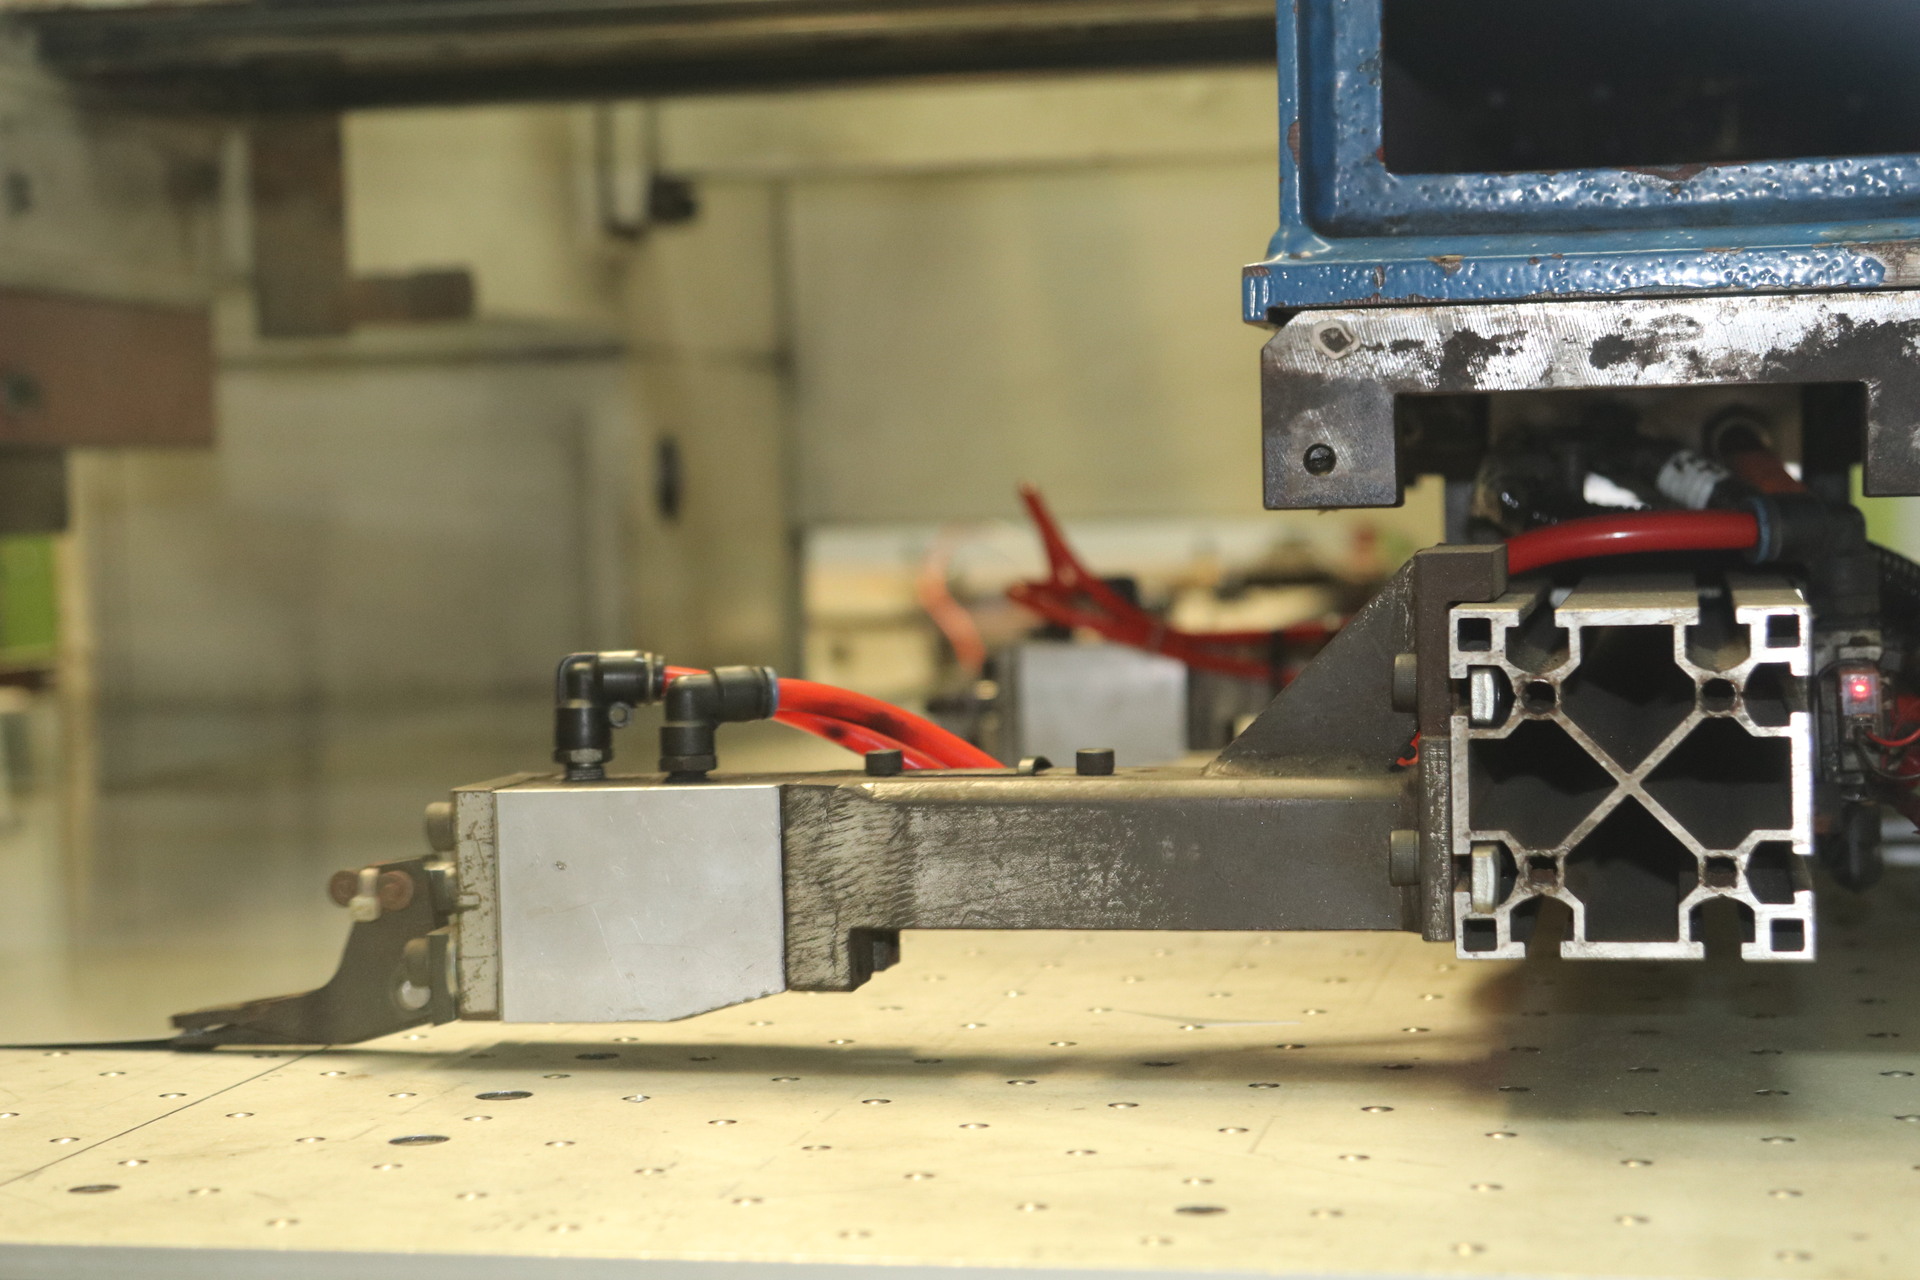
Ensuring that the slitter blade gap, as well as the cutting flatness and perpendicularity, remain within the designed tolerance range is a critical aspect of this processing step.
02

Forming and Welding
Forming and welding in the production of three-piece steel cans involve joining the pre-cut tinplate into a cylindrical can body. The mainstream technology today uses high-frequency electric current to melt the seam and create a strong, continuous welded joint.
The advantages of electric welding include lead-free processing, high strength, and excellent sealing performance.
03
Side Seam Coating
DRYING
This step is primarily used to cover the weld seam, enhance the can’s corrosion resistance, and improve the overall appearance of the product. The coating layer isolates the welded area from air and moisture, preventing oxidation of the metal both inside and outside the can. This effectively prevents rust and extends the product’s shelf life.
Process Overview
DRYING
Drying after side seam coating is also a critical step, especially in terms of drying parameter settings. For instance, if the drying temperature is too low, the coating takes longer to cure and may not dry properly; if the temperature is too high, it may cause discoloration or cracking of the coating.

04
Necking and Flanging
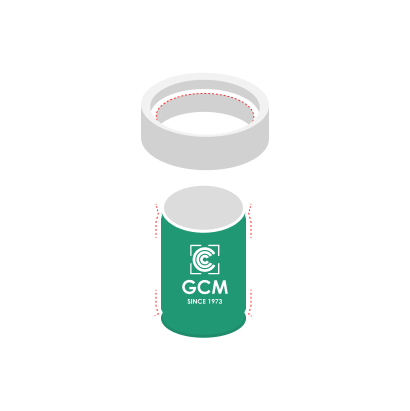
Necking and flanging in the production of three-piece steel cans involve reducing the diameter of the open end of the formed and welded can body, and folding its edge outward to create an opening suitable for seaming with the can end (or bottom). This process is crucial for ensuring the sealing integrity, appearance, and structural strength of the can.
Information
The thickness of the tinplate affects the difficulty of the necking process. Thicker tinplate may require greater forming pressure during processing.
05
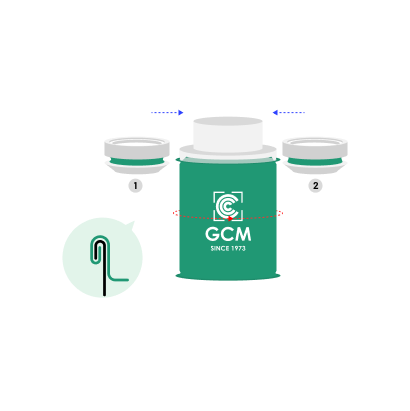
Seaming
The seaming process for three-piece steel cans involves sealing the can body, bottom, and lid together to form a complete container. This step is critical to ensuring the can’s sealing integrity, appearance, and structural strength, directly impacting the product’s quality and shelf life.
06
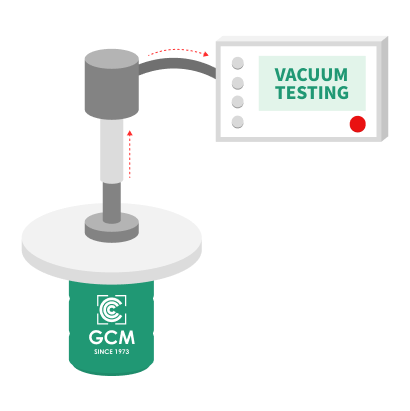
Vacuum Inspection
To ensure the sealing integrity of the can and prevent issues such as leakage or oxidation during storage, vacuum inspection is performed. This process effectively verifies the airtightness of the product and enhances overall product quality.
07
Body Stripe Coating
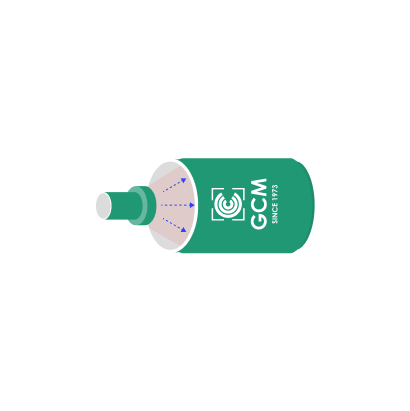
Body stripe coating is applied to enhance the can’s corrosion resistance, improve product appearance, and cover any scratches or imperfections that may occur during the production process. This step is typically carried out after the can body is formed and welded.
08
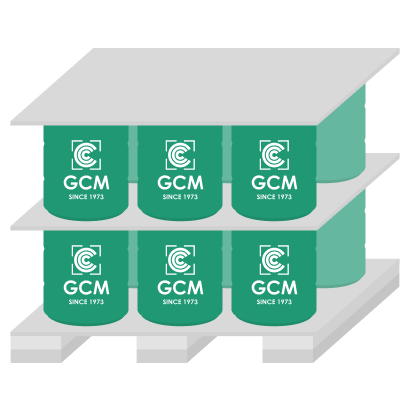
Pallet Packaging
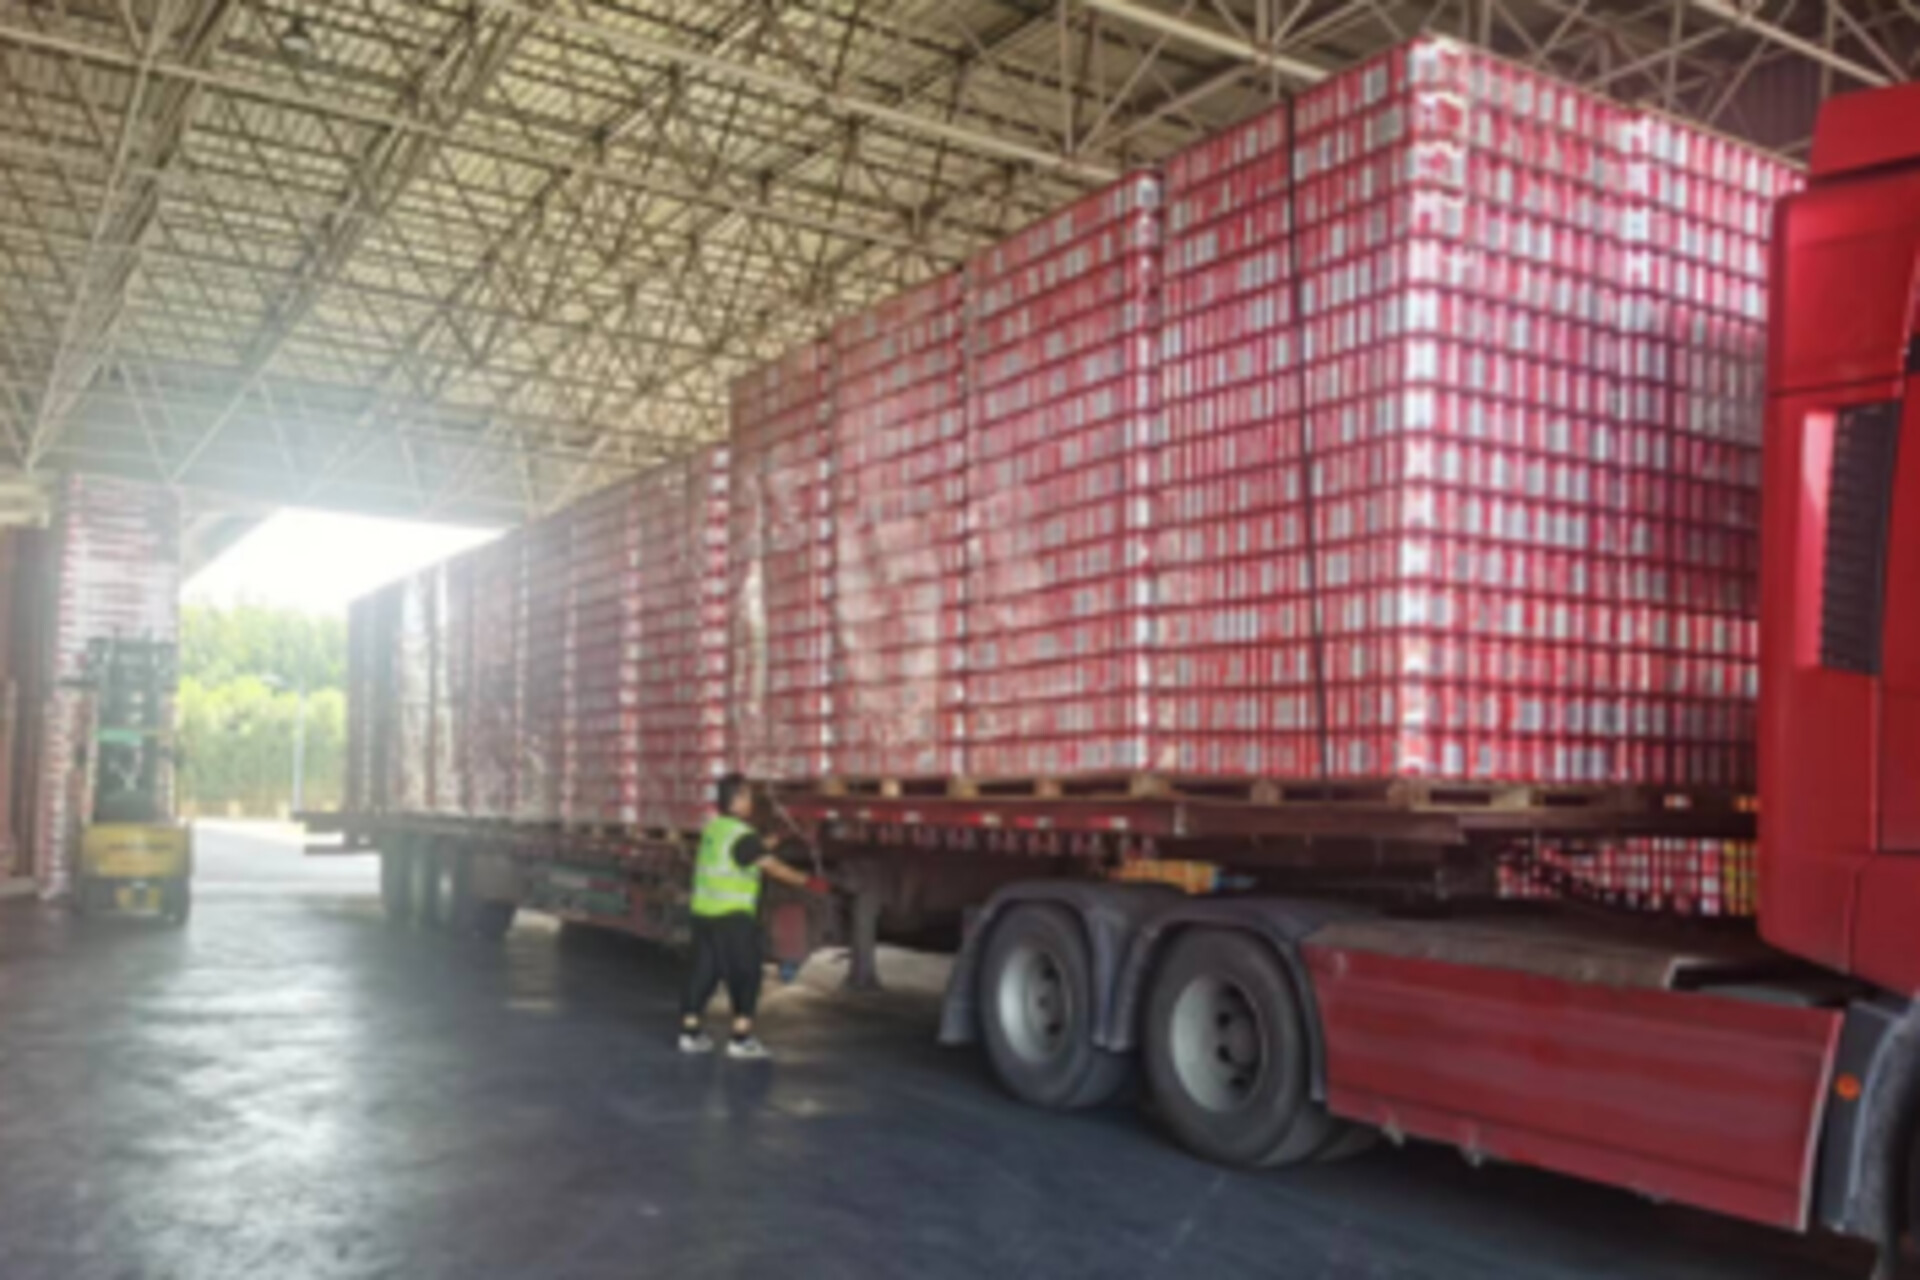
The final step in the production of three-piece steel cans is pallet packaging, which facilitates transportation, storage, and sales. Although this step may appear simple, it plays a crucial role in product protection and logistics efficiency.
The primary purpose of packaging is to prevent the cans from being damaged by external forces such as impact or compression during transportation, ensuring the integrity of the products.
09


MATERIAL
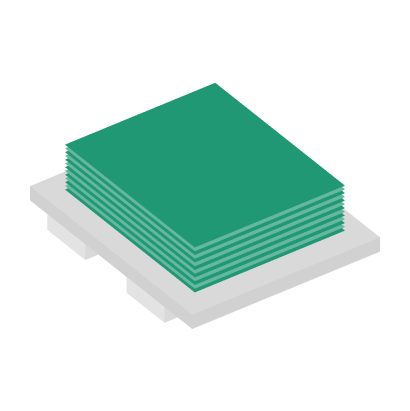
The two-piece DRD can (2-Piece Draw Redraw) is an aluminum can produced through multiple stages of drawing and plastic deformation. The material feeding stage marks the beginning of the entire production process. Before formal production begins, it is essential to verify that the thickness and composition of the material meet the required production specifications.
01
Coating
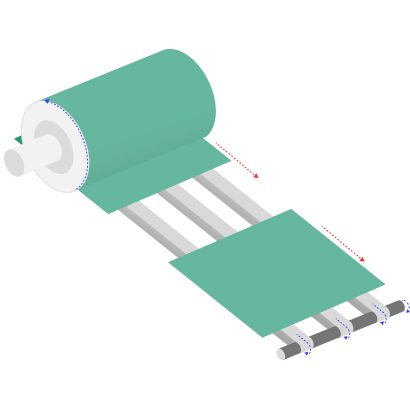
The purpose of the coating process is to form a uniform and durable base layer on the tinplate. Depending on the product’s application and customer requirements, appropriate coatings—such as epoxy resin coatings—are selected.
Process Overview
Function of the Coating
The coating effectively prevents the tinplate from rusting and extends the product’s service life. Coating parameters—such as application speed, coating thickness, baking temperature, and time—have a direct impact on the quality of the coating.
A well-applied coating not only protects against corrosion but also enhances the tinplate’s wear resistance, reducing damage during the production process.
02

distortion printing
Distortion printing is a technique in which pre-distorted images are printed onto metal sheets. By predicting and compensating for the geometric deformation that occurs during metal forming, this method ensures that the intended graphics appear correctly after the forming process. It is a crucial printing technology for accurately reproducing designs on DRD cans after the deep drawing and forming stages.
Process Overview
The core technologies of distortion printing include:
Printing special pre-distorted images onto flat metal sheets so that the original design can be accurately restored after forming.
During the design process, it is essential to consider the metal’s ductility, overcome the deformation of text and graphics during the forming process, and precisely calculate and compensate for the geometric distortion caused by deep drawing. This is a printing technique that requires a high level of expertise.
03
Cup Drawing
Compared to standard aluminum cans, the cup drawing process for DRD cans requires higher precision and complexity. Each stamping step demands accurate dies and pressure control to ensure uniform wall thickness and precise shape.

04

Repeated Extrusion
The repeated extrusion process is the core of this manufacturing procedure, shaping the originally flat metal sheets into empty cans with specific shapes and thicknesses. Due to its excellent sealing and structural strength, this method is ideal for packaging ingredients that require long-term preservation.
Process Overview
Through multiple stages of extrusion, the cylindrical material is gradually shaped into the final product, while adjusting the wall thickness. Since the can body and bottom are formed as a single piece without seams, the sealing is excellent, effectively preventing leakage. Additionally, the multiple extrusion steps enhance the can’s strength, making it resistant to deformation and cracking.
05
Trimming
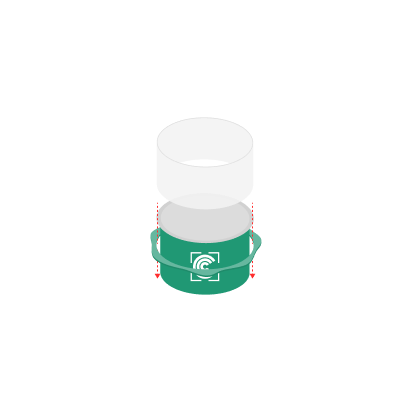
The main purpose of this process is to remove excess metal from the edges of the can body, gradually bringing the product closer to the designed appearance.
06

Rimming
The rimming process increases the strength of the can’s edges, making it more resistant to external forces, thereby further enhancing the overall structural strength of the can.
07
Optical and Vision Inspection
This is a non-destructive testing method using optical instruments to inspect products. It is used to detect surface defects, dimensional accuracy, and other items. The camera captures images, which are then analyzed using image processing software. The resulting data is compared with predefined standards to determine whether the product has any defects

08

Pallet Packaging
Since DRD cans also feature a stackable design, pallet packaging allows for more products to be accommodated, facilitating transportation, storage, and subsequent production processes. Typically, stretch film and strapping are used to secure the DRD cans to the pallet, preventing them from shifting or tipping during transportation. Afterward, relevant product information is labeled, and the goods are ready for delivery to customers.
09



Material
Stamping
The aluminum alloys used for can ends must possess good strength, corrosion resistance, and formability. Common alloys include the 3003 and 5182 series. Incoming aluminum (or steel) materials undergo strict quality inspections, including thickness measurement and surface examination, to ensure they meet production standards.
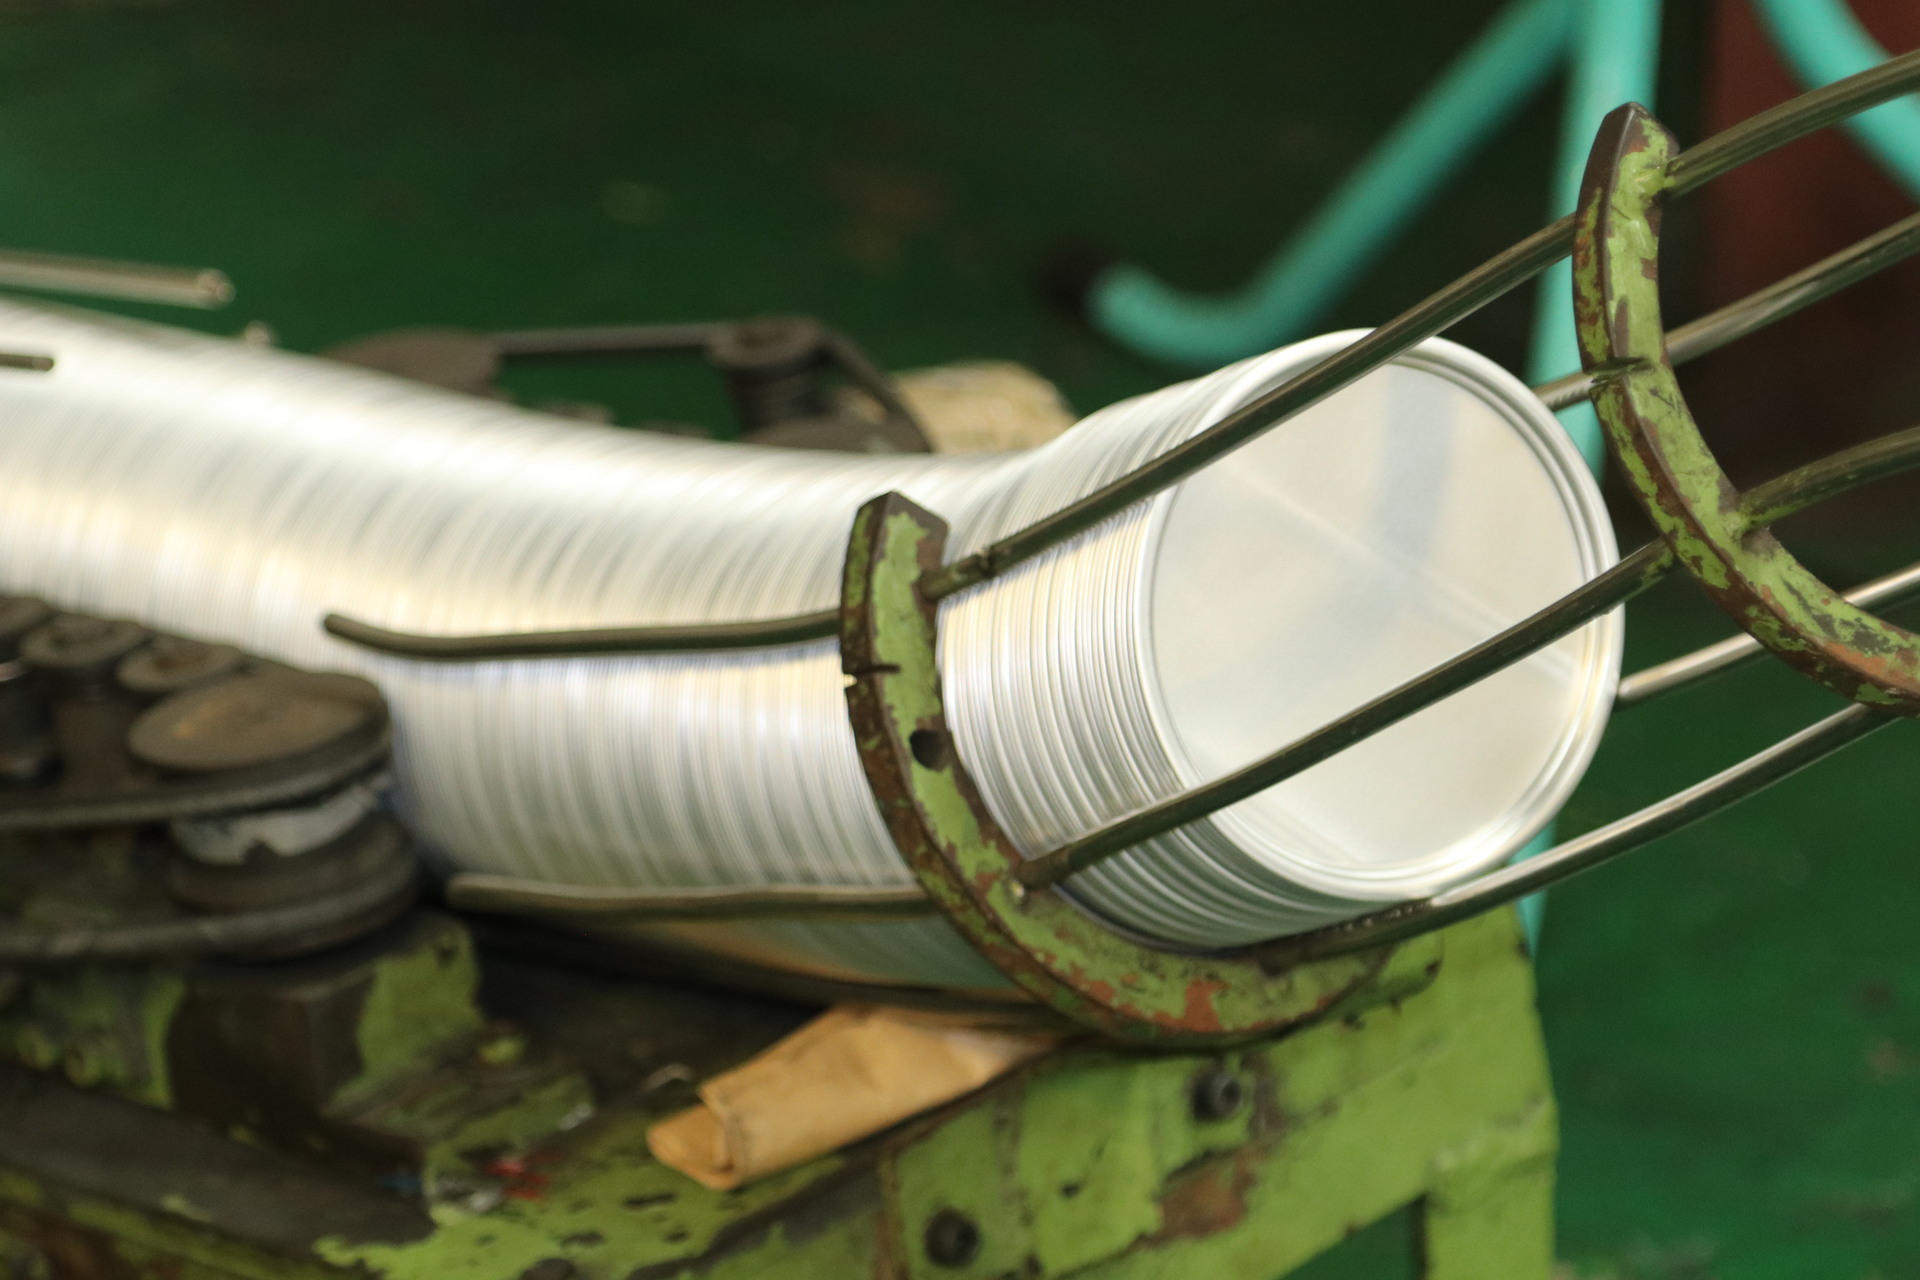
The stamping process involves forming flat aluminum sheets into complex shapes through a series of progressive stamping steps, eventually shaping them into can ends or can bottoms.
01
End Curling
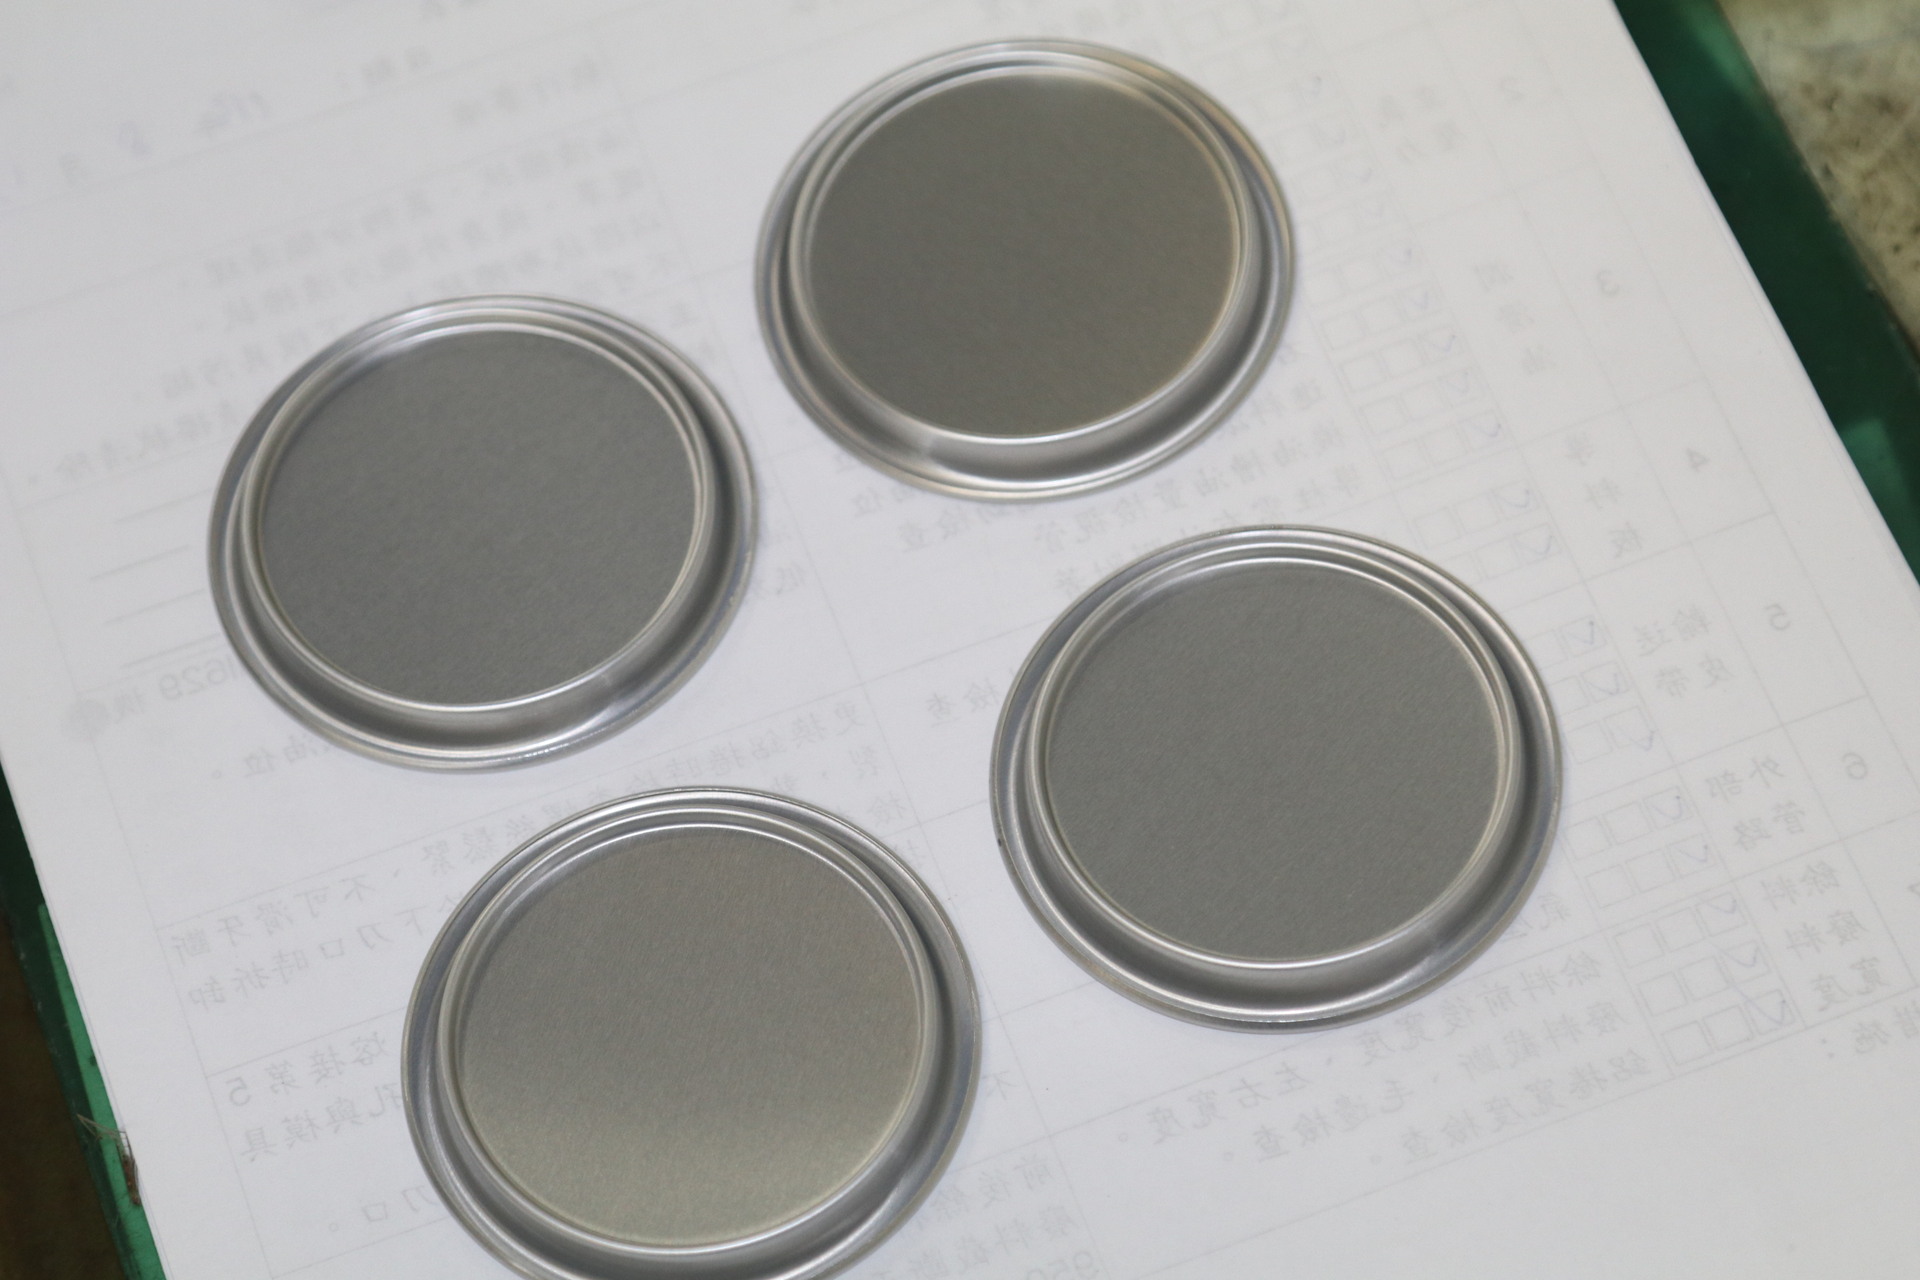
The so-called end curling refers to the process of curling the edge of the can end inward to form a smooth, rounded rim known as the curl. This curl enhances the tightness of the seal between the can end and the can body, improving sealing performance and preventing product leakage.
After curling, the can end undergoes strict inspections, including measurements of curl height, width, and roundness, to ensure it meets quality standards.
GCM Quality Inspection
After curling, inspections are conducted on specifications such as curl outer diameter, curl height, uncurled height, and shell depth.

02
End Sealant Coating
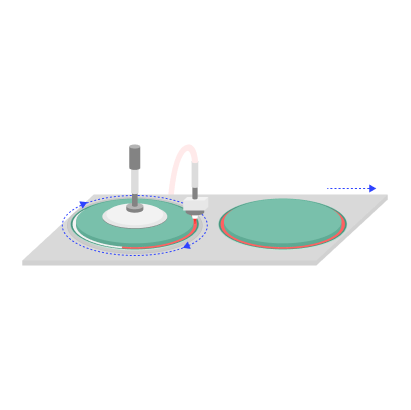
The sealing compound is a critical medium that ensures a tight and secure connection between the can end and the can body. Its performance directly affects the product’s sealing integrity, corrosion resistance, and shelf life. In this stage of the process, the prepared compound is evenly applied to the inner rim of the can end using specialized spraying equipment. The thickness and uniformity of the application have a direct impact on the sealing effectiveness, making this a crucial step in the production process.
03
Image Comparison Inspection
Through the image comparison system, various features of the can end—such as shape and defects—can be inspected quickly and accurately. The system enables high-speed inspection of large volumes of products, effectively improving production quality and efficiency while detecting tiny defects that are difficult to identify with the naked eye.

04
Stamping Process
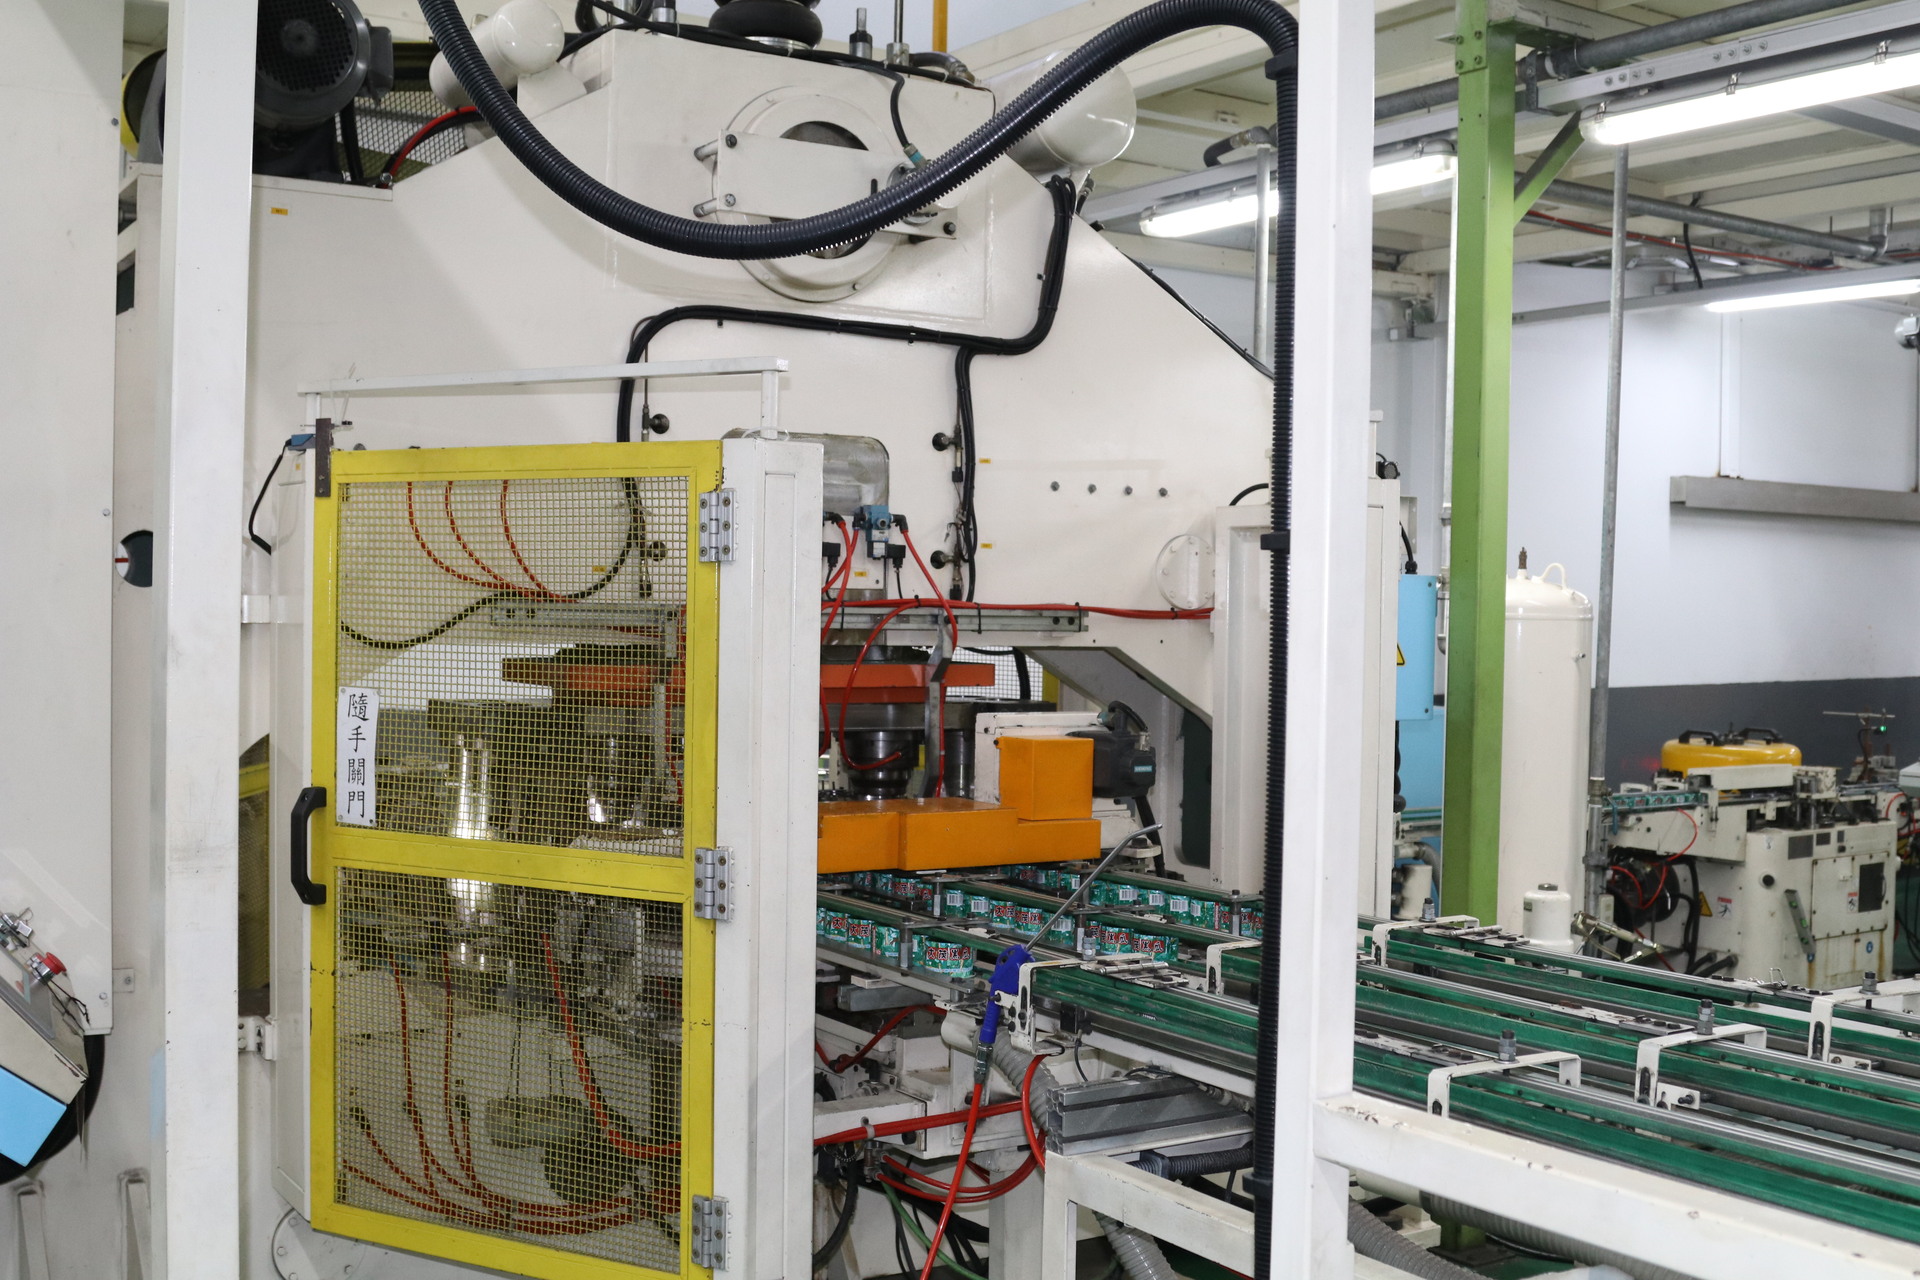
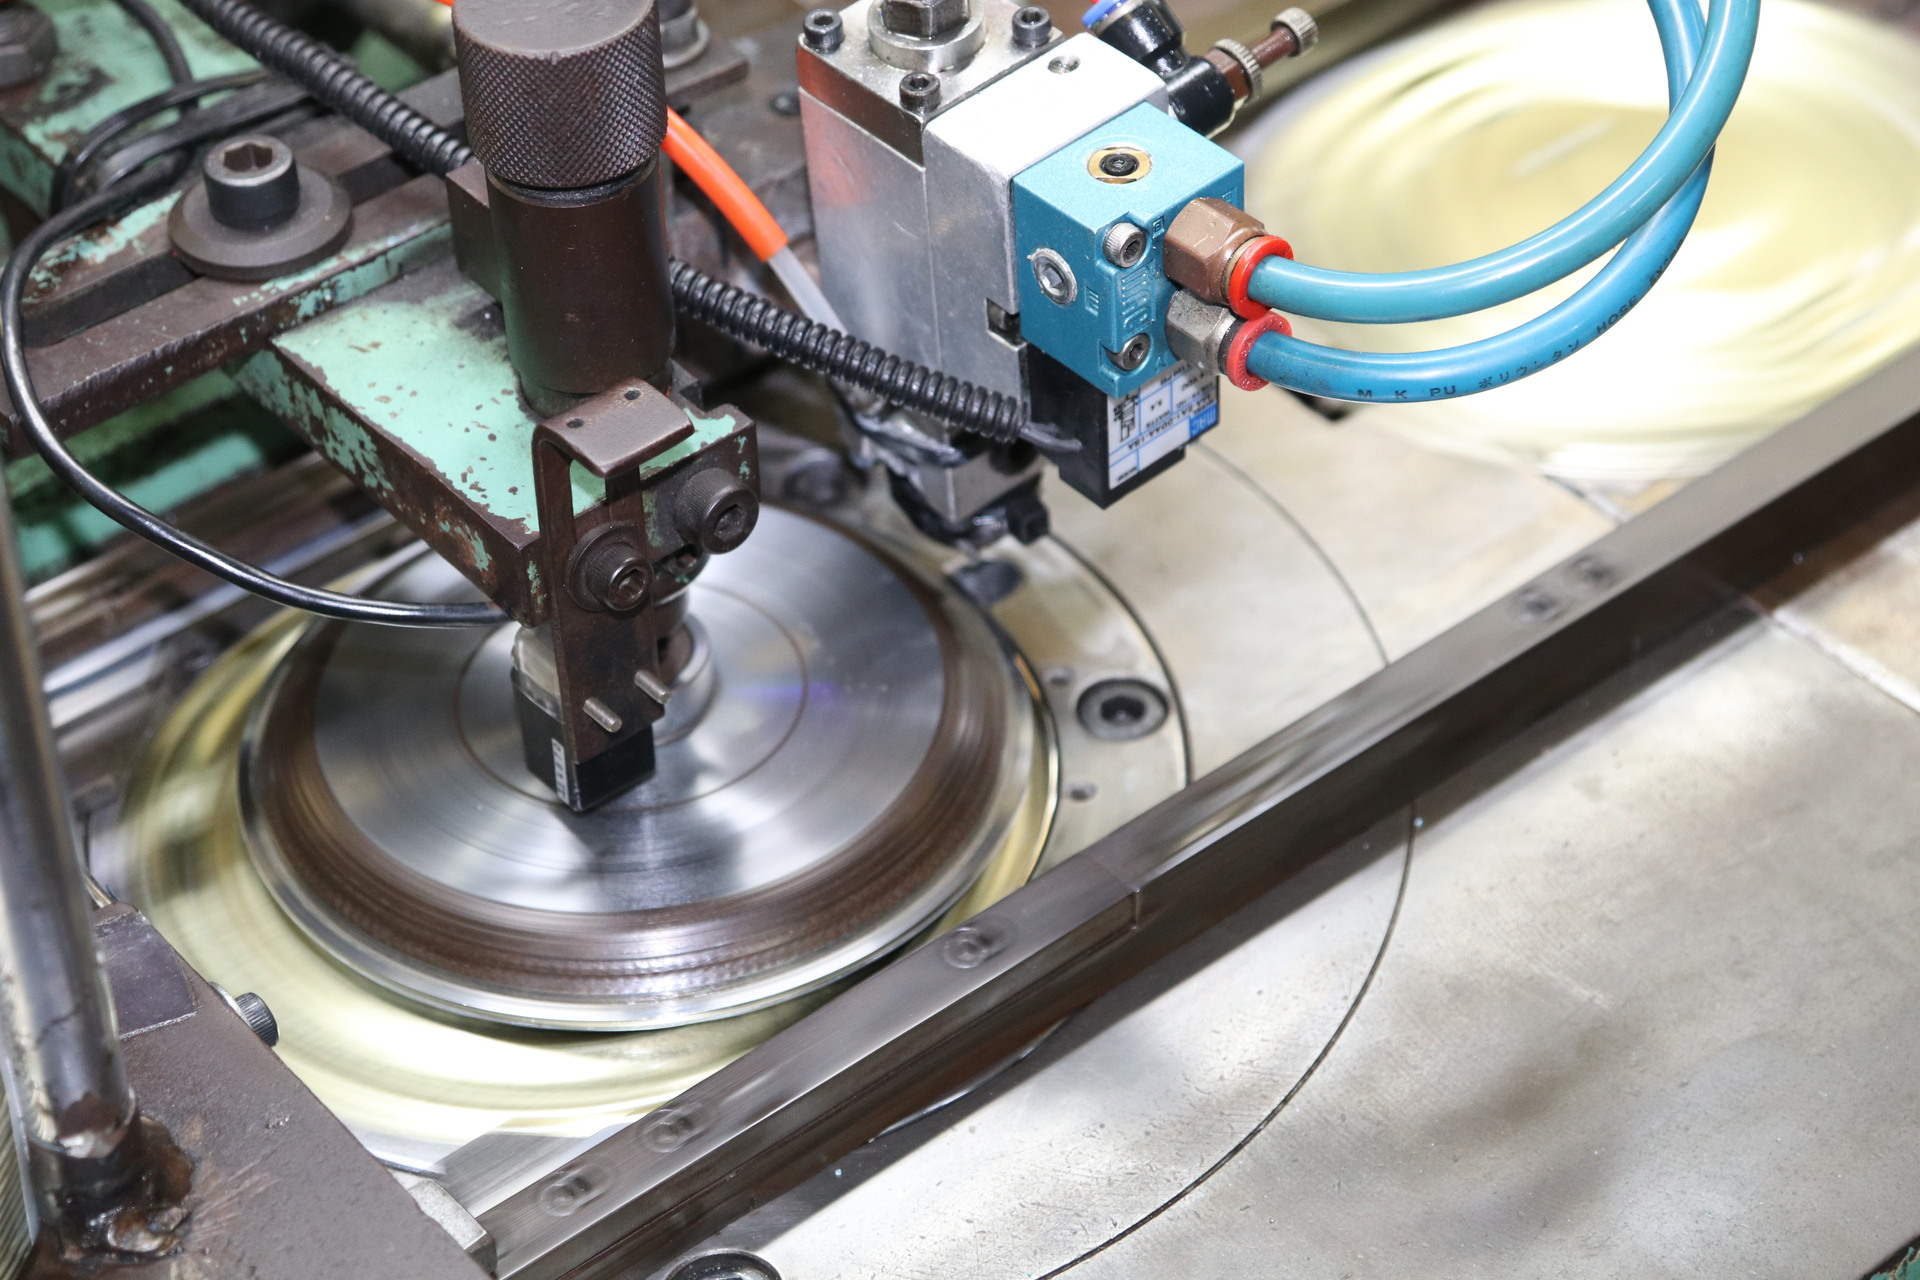
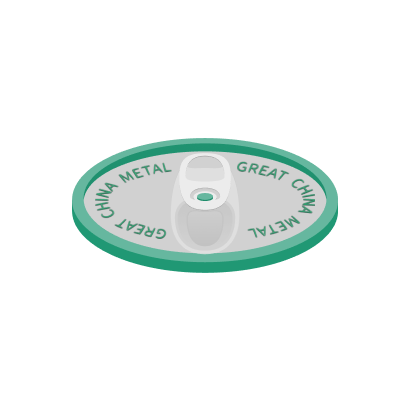
A compound press is a type of multi-station stamping machine that allows a workpiece to pass through multiple stations within a single operating cycle, completing various stamping operations. Each station is equipped with a different die to perform a specific stamping task. Driven by a transfer mechanism, the workpiece moves sequentially through each station until the final product is formed.
05
Optical Inspection
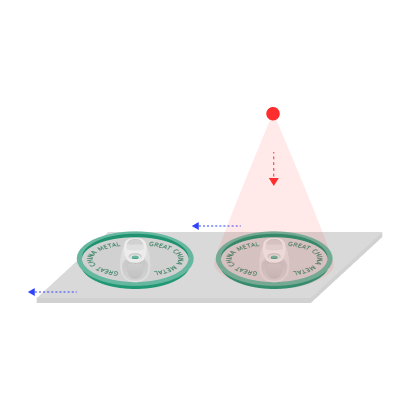
Optical inspection utilizes optical principles to capture images of can ends (or can bottoms) through cameras. These images are then analyzed using image processing software, and the resulting data is compared with predefined standards to determine whether any defects are present.
This process is non-contact, preventing any potential damage to the product. It also delivers more objective results, eliminating the subjective judgment errors often associated with manual inspection.
06
Pallet Packaging
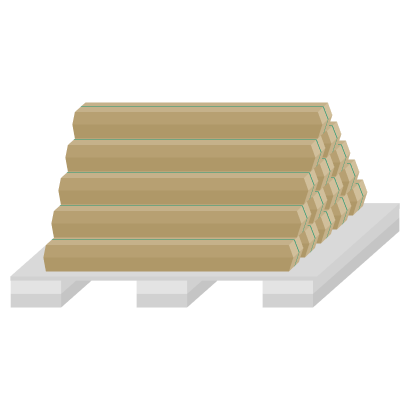
The final step in the can end (or can bottom) manufacturing process is typically pallet packaging, which facilitates transportation, storage, and the next stages of production. Although it may seem simple, this step plays a crucial role in overall production efficiency and product protection. Proper packaging effectively prevents damage such as scratches or deformation during transport and storage.
07

